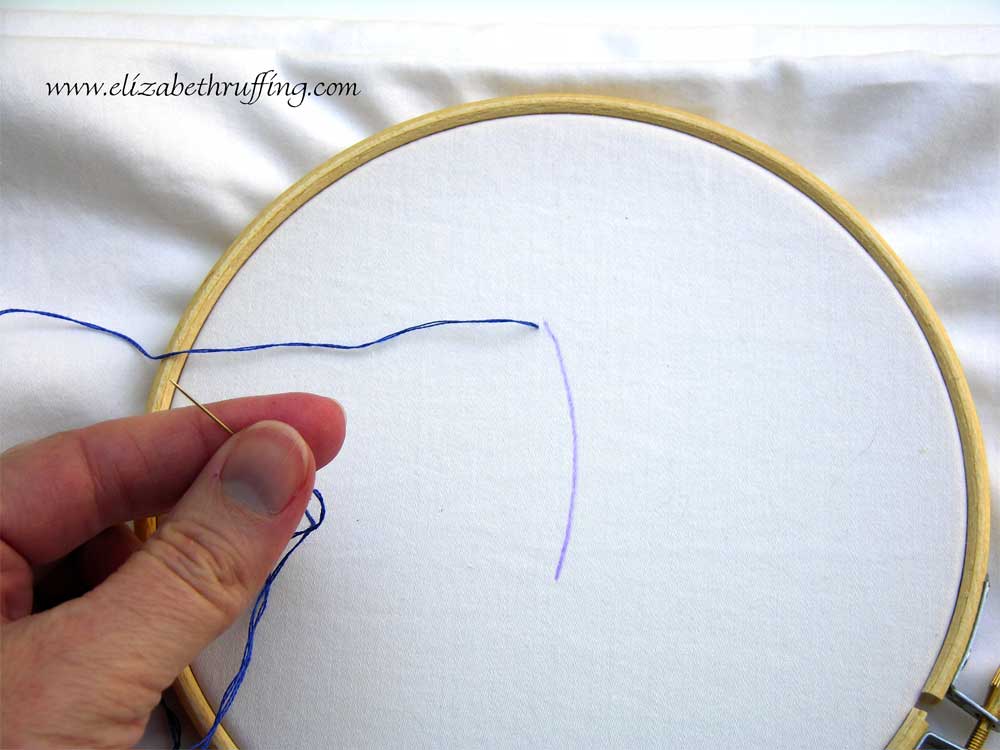
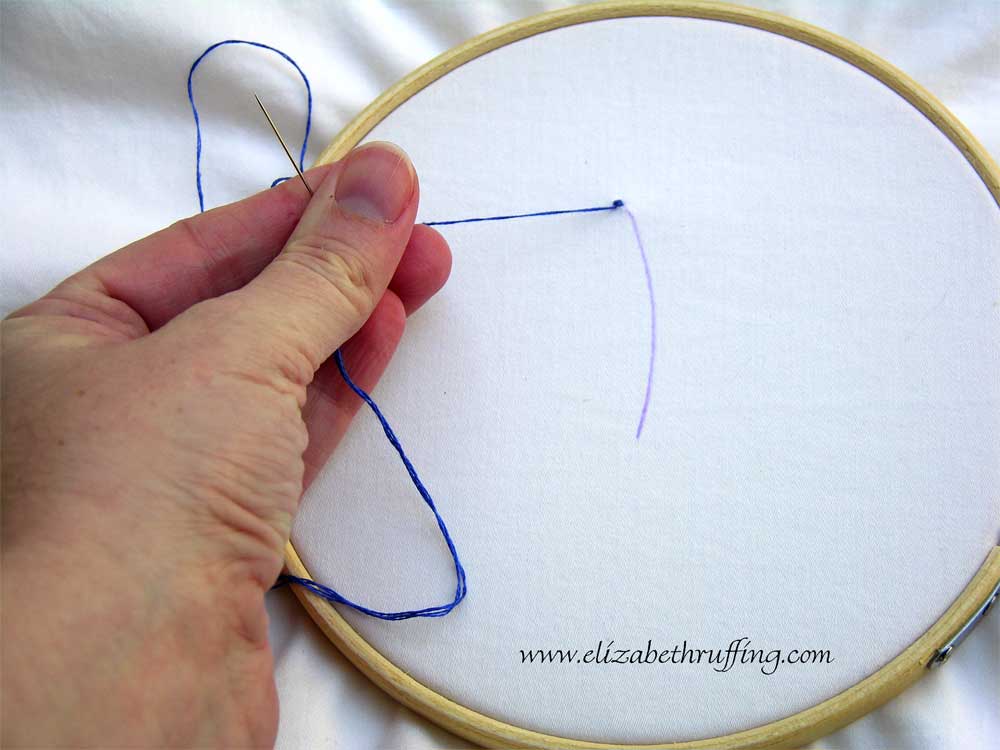
 Back to the bluebird block…I finished embroidering the raw edges of the branch using the blanket stitch. I experimented with an alternate stitch, but liked the blanket stitch better. For the rest of my raw edges, for the most part, I used a satin stitch. The satin stitch was pretty easy and it looked very nice. Just a rundown on the basic steps first…Poke your threaded needle through your fabric from the wrong/back side to the right/front side of the fabric, just to the inside of your raw edge. I’m using a purple line in my photos to represent the actual edge of your appliqué. (You can click my photos to make them larger.)
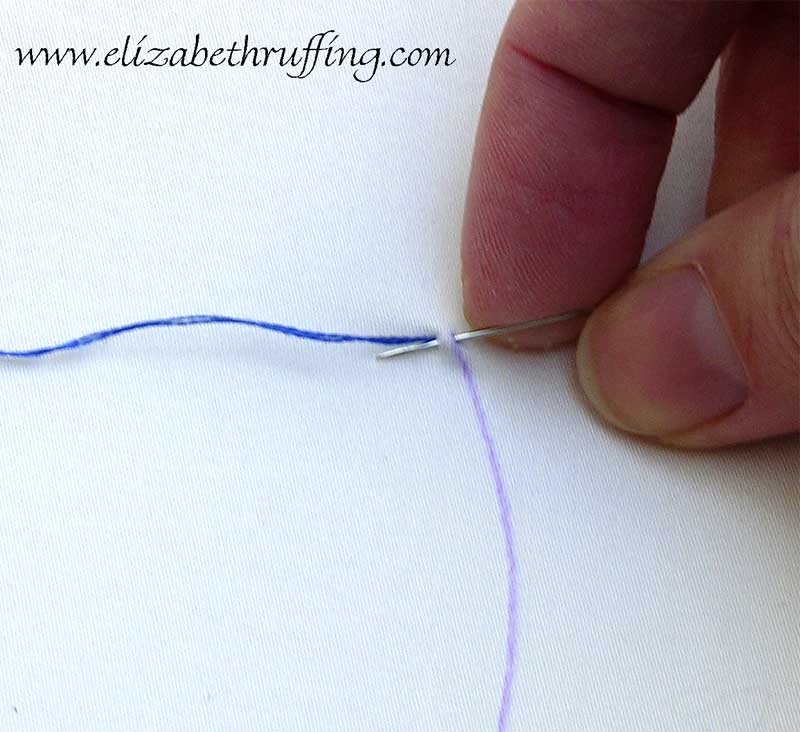 On the right/front side of your fabric, poke your needle through to the back of your fabric along your raw edge, and, in one movement, back out to the front of your fabric, just inside the raw edge, and just next to the point where your first stitch emerged.
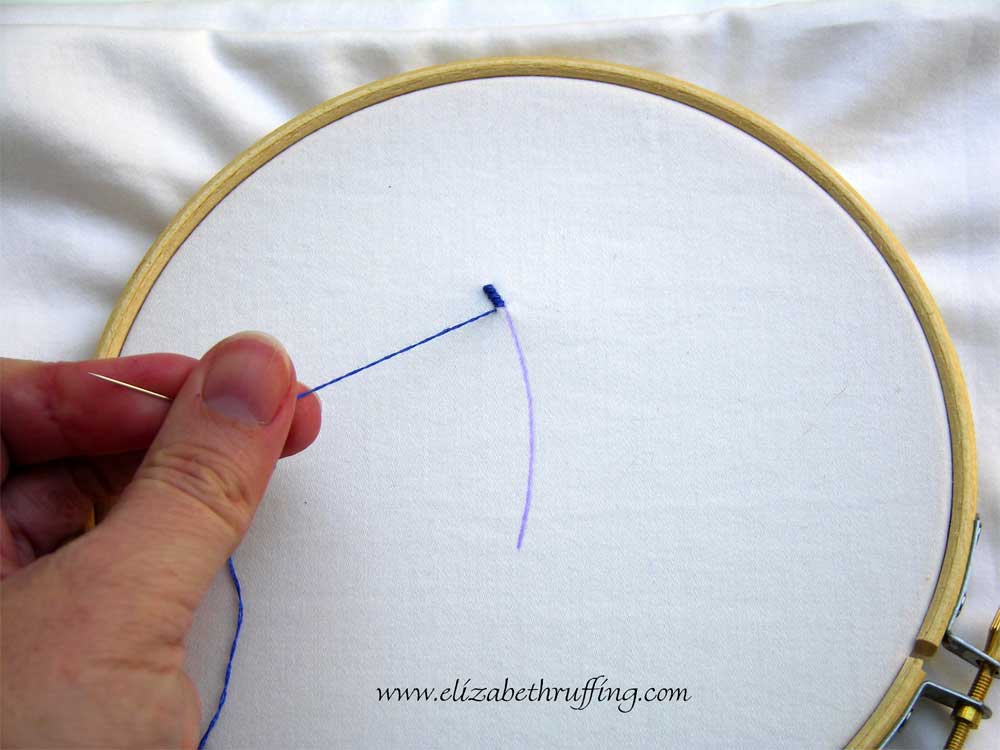
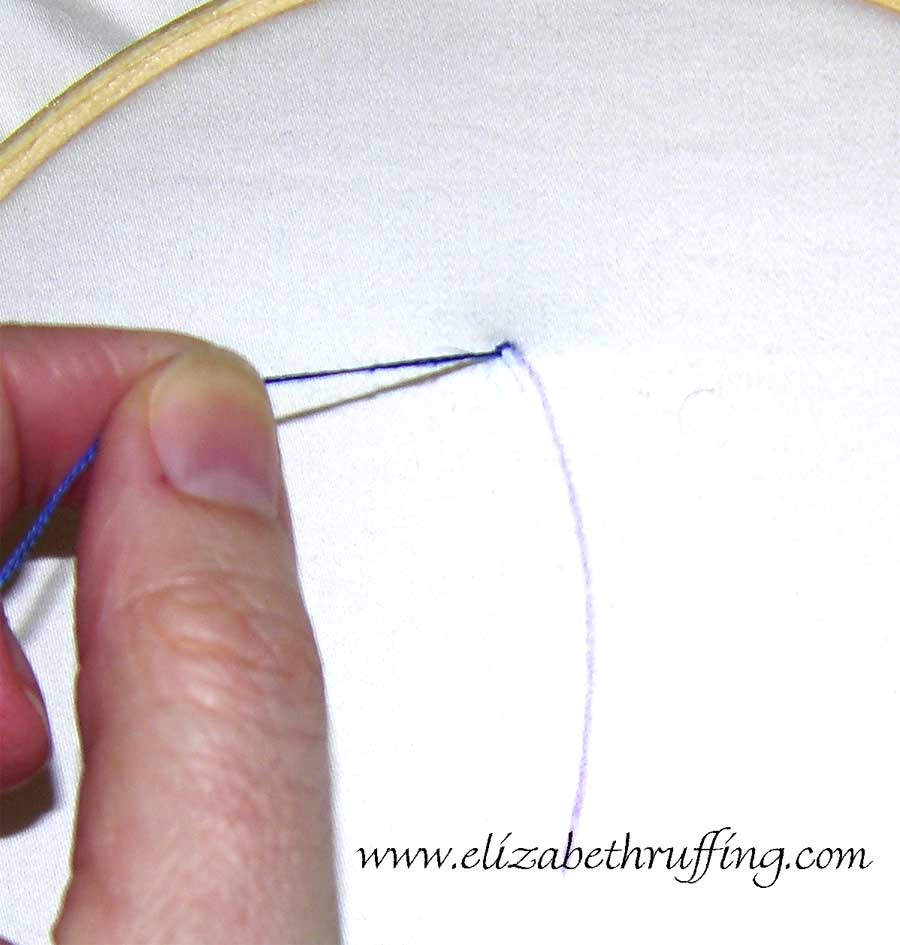 Pull your stitch gently taut without making it tight enough so that your fabric puckers. You will be repeating these basic steps over and over along your edge to finish your raw edge.
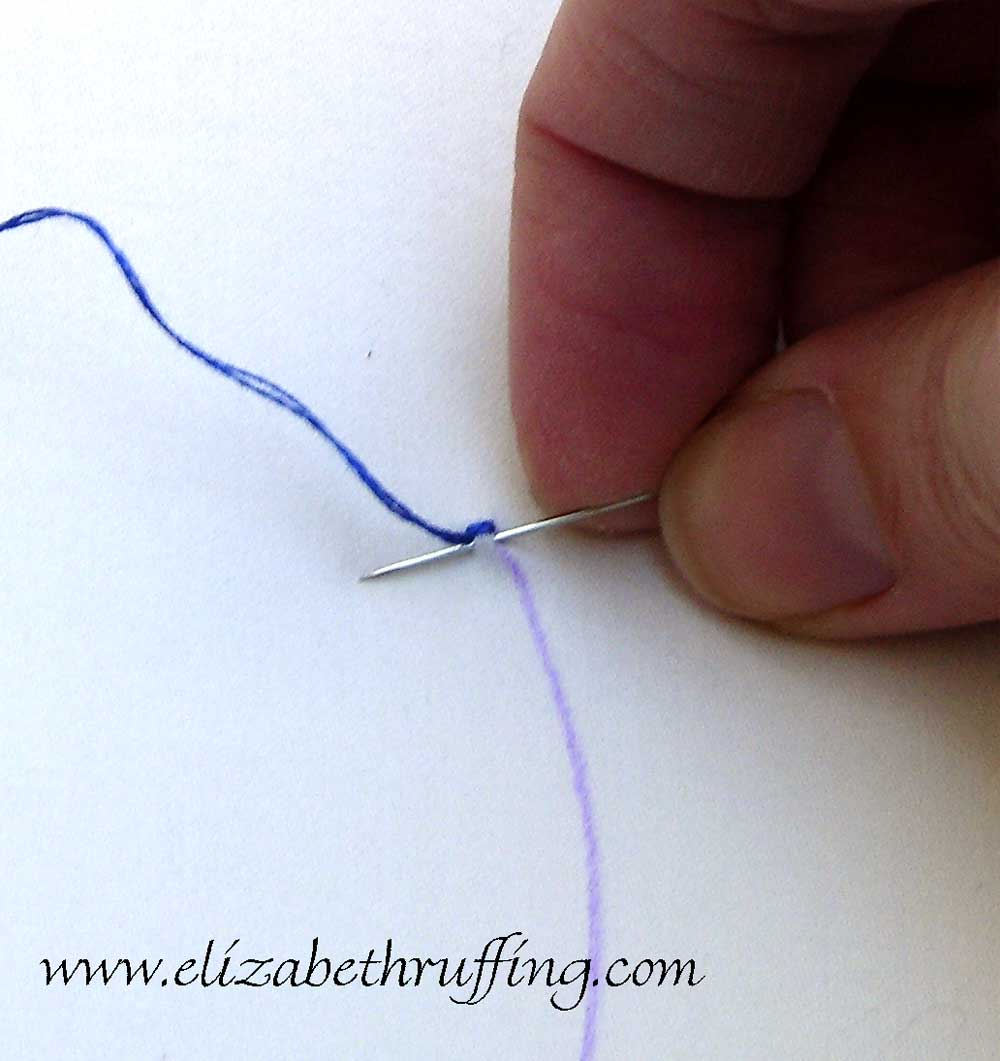 Take your next stitch just under your first stitch as you repeat the same steps.
 Keep an even tension on your stitches by pulling your floss gently.
 Continue along your raw edge until you have reached the end of the shape you are working on. You will switch colors of embroidery floss depending on the color of your appliqué shapes. Again, I made a little knot in the back when I ended a color or ran out of floss on my needle. Since the block will be quilted, it shouldn’t matter too much.
 You will need:
- Assorted colors of embroidery floss depending on your fabric choices (I used DMC black/310, white, 168, 260, 317, 370, 392, 646, 726, 742, 783, 797, 826, and 842)
- An embroidery needle (I think mine was a size 10)
- A hoop (I used a 9 inch wooden hoop for an 11 1/2 square of fabric. If your square is smaller, you might want a smaller hoop.)
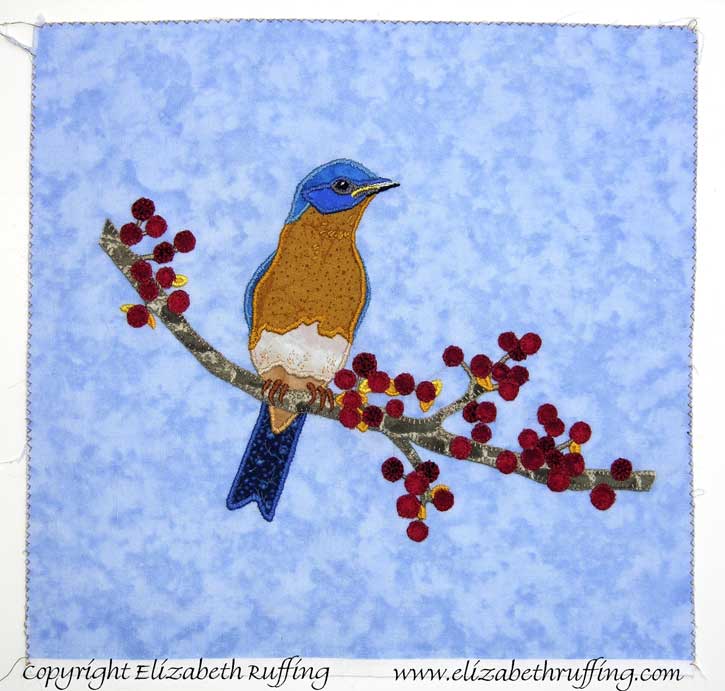 Following the edges of each colored shape, follow the basic satin stitch steps to finish each edge.
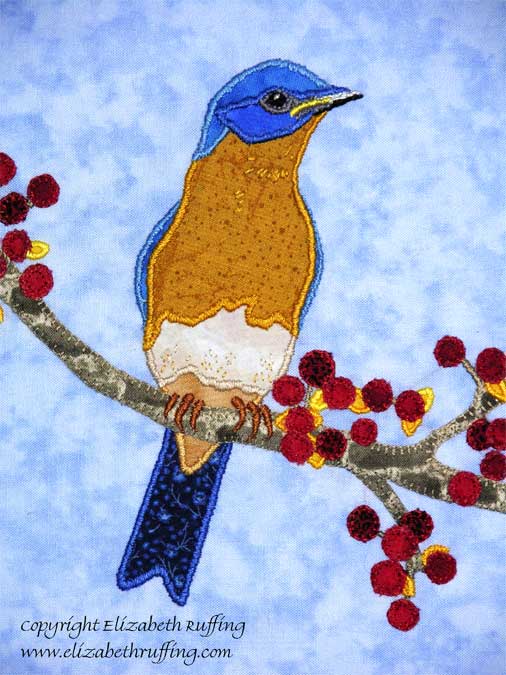 I took a few random stitches here and there just for effect, like on the bird’s belly and chest.
 I added a little white stitch in his eye for a highlight.
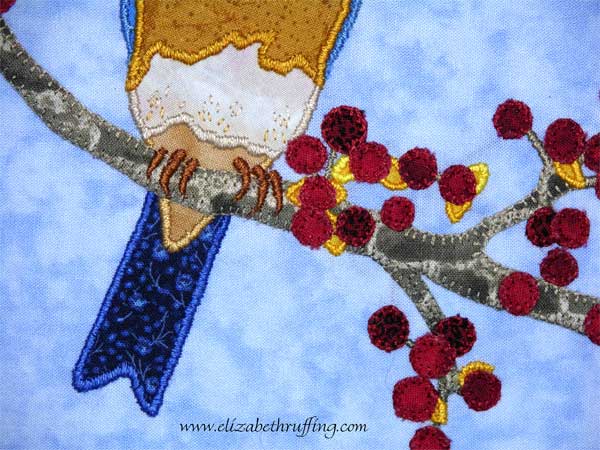 His claws are also done in a satin stitch. You can see the blanket stitch along the edges of the branch in this picture too. I tried using a lighter gray on the top of the branch, and a slightly darker gray along the lower edge of the branch. Where the branch got very narrow, I used a satin stitch right over my fabric because I felt it was too thin to hold up on its own.
That is about it for finishing the embellishment on this block. It will be trimmed down and squared off later when I set it into its destination. It’s finished size will be 9 inches, which means it will be trimmed down to about 9 1/2 inches to include seam allowances. I will be careful not to cut through any of my embroidery stitching to make sure it doesn’t come out later. But, we will wait to trim it for now. I am still debating over how I will use the block. We shall see…


