I made up free catnip toy patterns for catnip toy squares, cigars, and kickers, and a catnip toy tutorial to show how to make them.
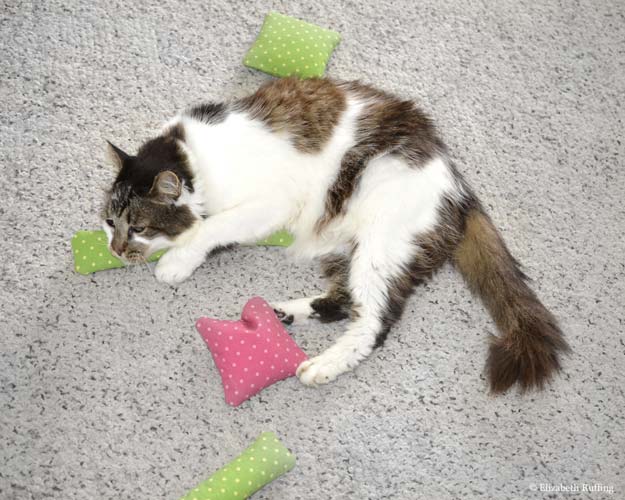
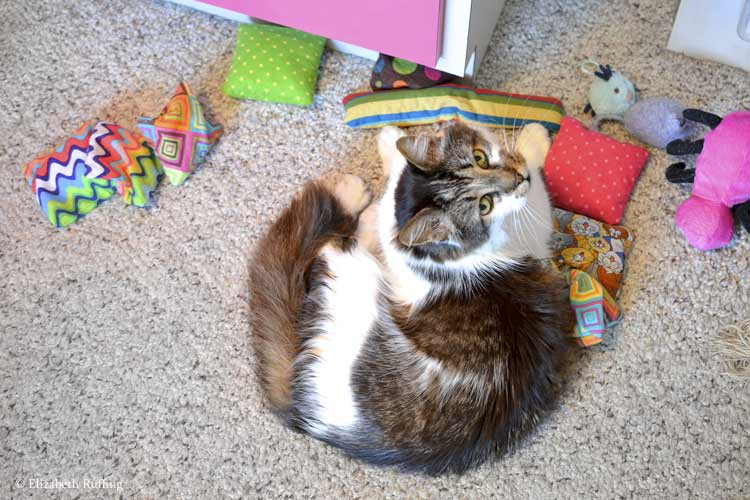
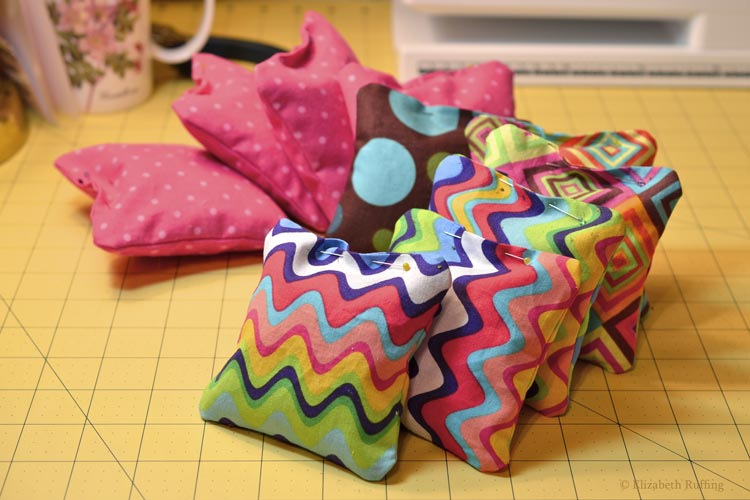
 These catnip squares, cigars, and kickers are being enjoyed by all the kitties.
As I mentioned in my last post, we have additional kitties in the house. I decided I would make some catnip toys to smooth the jealous feelings and cheer everyone up. This is a tutorial showing how I made them.
 I based the approximate sizes and shapes on catnip toys I got from Alley Cats and Angels, a local cat rescue here in North Carolina. They have a variety of catnip toys you can order by mail, and all the proceeds go to help their rescue cats. Their catnip squares, cigars, and kickers are all made by volunteers. They have additional catnip toy designs as well. They use potent organic catnip to fill their catnip toys. Our cats love them.
I made mine a little differently, with just catnip inside, instead of stuffing as well. The cats enjoy them either way.
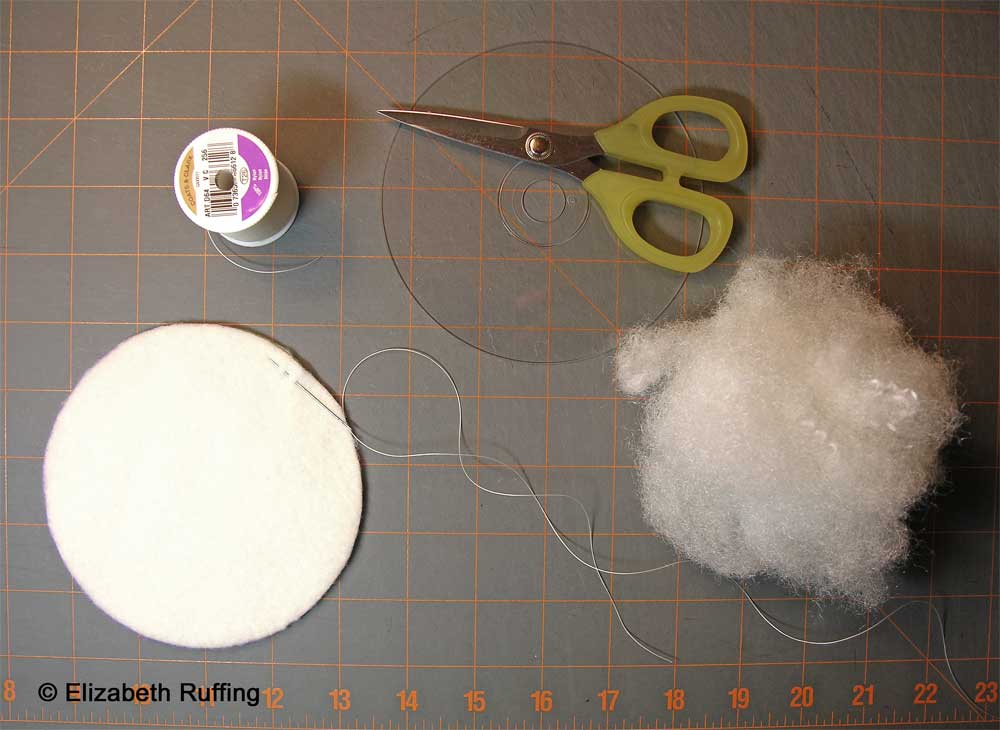
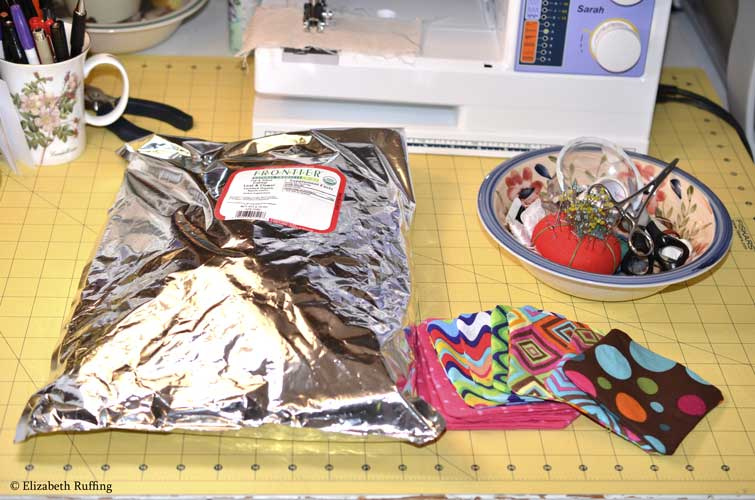
 I used Frontier Catnip Leaf and Flower Certified Organic Catnip for mine. I found it online on amazon.com. It comes in a great big 1lb bag, shown below. You can also find organic catnip at Target, Walmart, PetSmart.
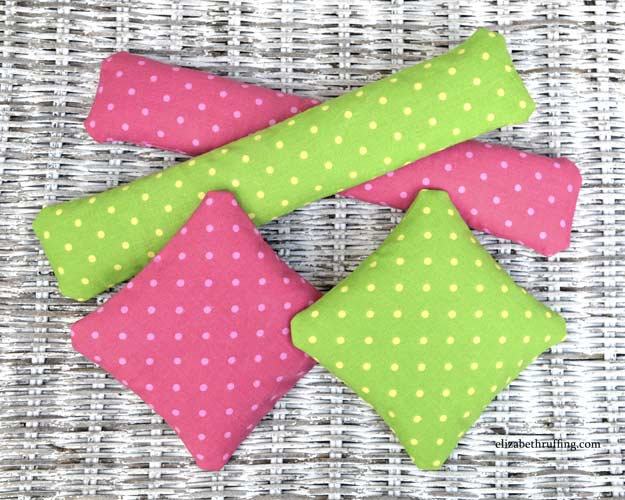
 I made up template patterns for catnip squares, cigars, and kickers with a choice of cropped corners or squared corners. I made mine with the cropped corners, and my directions are for the toys with the cropped corners. Pictured below are the cigars and 4 1/2 inch squares.
 You can also draw the shapes with the following measurements on card stock, and cut them out to use instead, if you don’t have a printer. If you want cropped corners like I have, mark a dot 1/2 inch down from each corner edge, draw lines across the corners, and clip the tips of the corners off your templates. These are the PDF’s of my catnip toy patterns. The sizes shown are the approximate sizes once sewn, before stuffing.
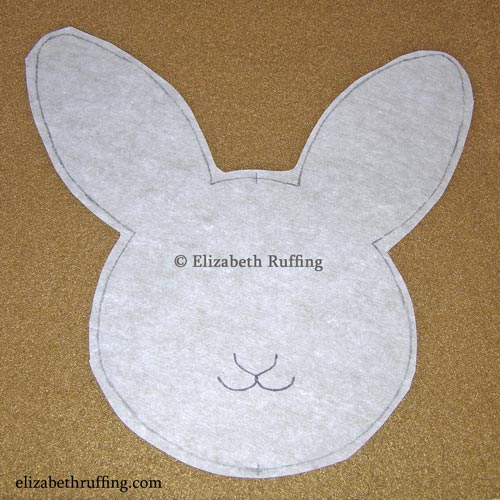
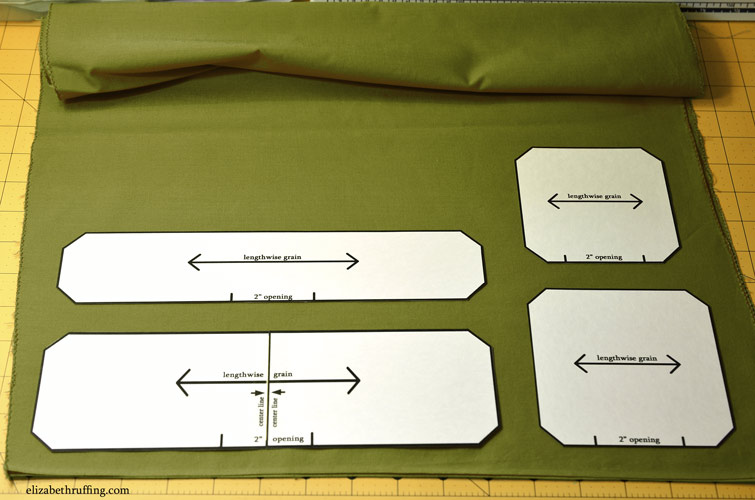
My pattern for a 4″ x 4″ catnip square
My pattern for a 4 1/2 ” x 4 1/2″ catnip square
My pattern for a 2 1/4″ x 10 1/2″ catnip cigar
My pattern for a 3 1/4″ x 10 1/2″ catnip kicker
Save them to your computer and print them on 8 1/2″ x 11″ card stock. I had a little trouble printing them, and so be sure to check that you want to print them at “actual size” in the options that appear when you print. On my computer, the only link to print them that worked was the picture link of the little printer at the bottom of the PDF page which shows up when you hover your mouse over the bottom of the PDF page.
 To start, cut your paper templates out of your printouts along the outer edges of the solid black lines. Clip off the corners of the paper templates to make the toys with cropped corners, as I did.
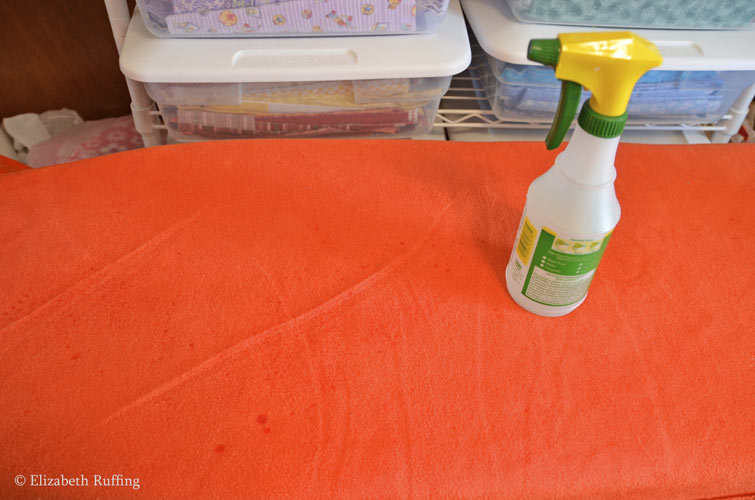
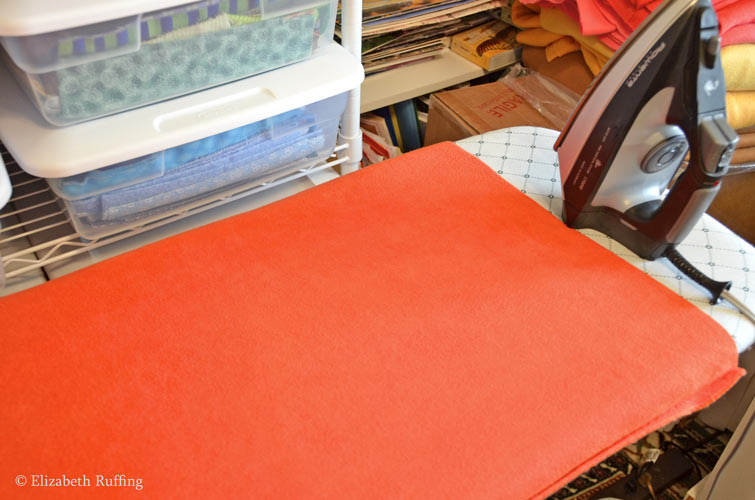
I pre-washed an assortment of cotton quilting fabrics to use to make my catnip toys. I followed the manufacturers’ instructions, washing the fabric on warm, after finishing the raw edges of each fabric with a zig zag stitch, on my sewing machine, so they wouldn’t fray in the washing machine.
I put the cotton quilting fabrics in the dryer for a few minutes, and pulled them out before they were totally dry. I ironed them so they would be nice and flat. I pre-wash all of my fabrics, to get rid of the chemical smell, and to shrink them, in case I want to wash them later.
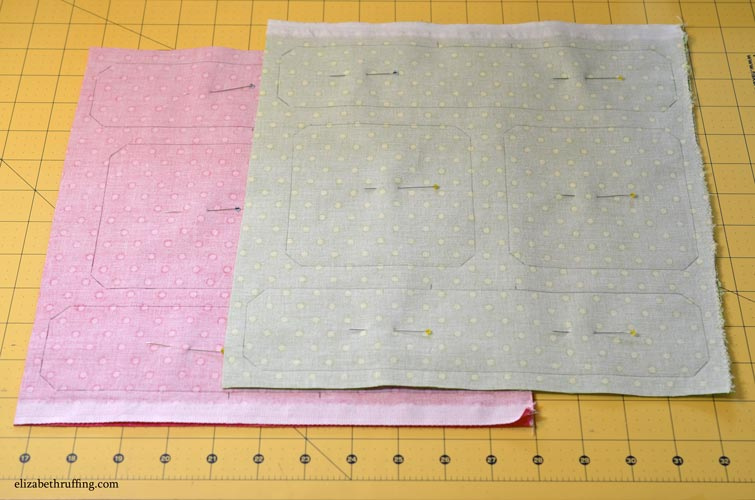
Fold your fabric in half, selvage edge to selvage edge, right sides together. If you are using scraps, arrange them so the lengthwise grain is lined up and going in the same direction on each piece. The lengthwise grain line runs parallel to the finished selvage edge of your fabric.
The lengthwise grain is the grain line that stretches the least when you pull it. Give your fabric a small stretch to check, if there is no selvage edge left on your scraps.
The grain of the fabric is usually visible on quilting cottons. If you look closely, you will see threads run in two directions, at right angles to each other. The lengthwise grain goes the length of the fabric, as it comes off the bolt, and the crosswise grain runs along the width of the fabric, perpendicular to the selvage edge.
Lay the paper templates on the fabric with the arrows parallel to the lengthwise grain of the fabric. The long edge of the cigar and the kicker will be parallel to the selvage edge. The markings for the 2 inch openings will also be parallel to the selvage edge, as shown above.
 Be sure to leave at least 1/4″ around each shape (that’s at least 1/2″ between two shapes that are next to each other) for the seam allowances.
You will be sewing right on the lines you will be drawing around the templates, and you will need to leave that space around the shapes when you cut them out.
Trace around the paper templates with a pencil, drawing the lines on the fabric, marking the opening on each one for turning. I used a mechanical pencil to draw my lines. Putting a piece of fine sandpaper, with the grit facing upright, underneath my fabric, helps keep my fabric in place while I draw my lines.
My openings are 2″ long and centered on the long side of the cigar, and in the middle of the side of the square. It is easier to sew the toys closed if you mark the opening along the lengthwise grain, parallel to the selvage edge, as I have done above, because there will be less stretch. That will help you when you stuff the toys, and it will help you when you hand sew the openings closed. It is much easier to hand sew along lines that stay flat and smooth.
After you have drawn your lines onto your fabric, pin the fabric shapes together, and then roughly cut them apart, leaving at least 1/4 inch of fabric around each fabric shape for the seam allowances.
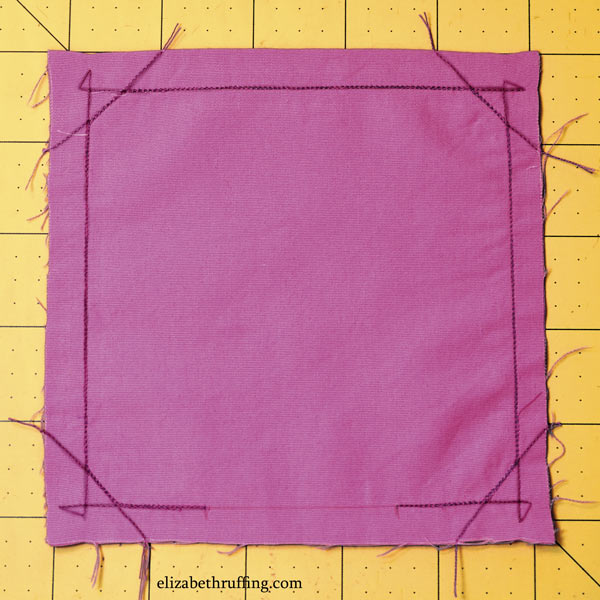 Sew right on top of the lines you drew on the fabric, leaving the 2 inch openings free. I used a tiny 1.2 stitch length. Start sewing immediately past the opening, sew around the edge, and stop when you reach the second mark for where the opening begins.
I wanted to reinforce my seams by sewing them twice and I wanted to reinforce the corners where I clip them. So, this is what I did: I started sewing at one opening mark. I sewed right past my turn at the corner, lifted the needle and presser foot, pulled the fabric a little so I could pivot, and then I continued to sew the next side of the shape, ignoring the crop line. I did this at each corner all the way to the other opening mark. Then, I pivoted and sewed back in the other direction along my line.
On the second pass through, I sewed the cropped corner lines. When I was back at the first opening, I lifted the needle and presser foot again, pulled the fabric free a little, and sewed across each cropped corner again, edge to edge, to reinforce it. I left the fabric right in the machine, and only pulled it as free as I needed to to sew.
When I was done sewing, I just clipped the threads to free the edges from each other. It sounds a little complicated, but I found it easier to do. As long as you end up with your sewing on top of the lines you drew, the rest doesn’t have to be terribly neat.
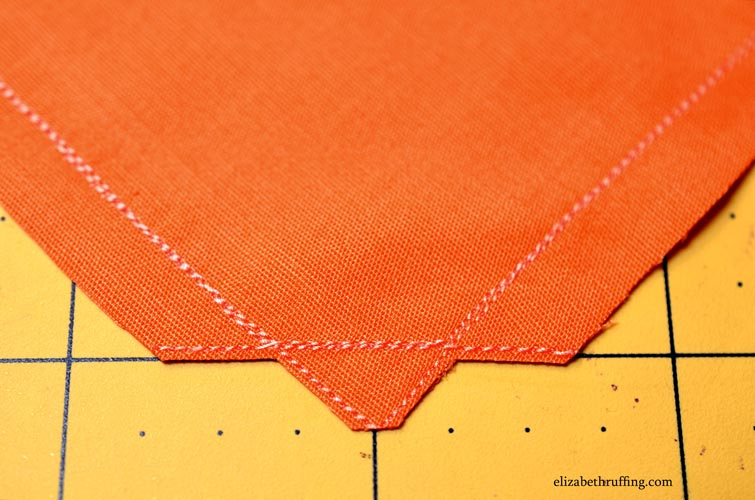
 The picture above show what my corners looked like, once they were sewn, before any trimming.
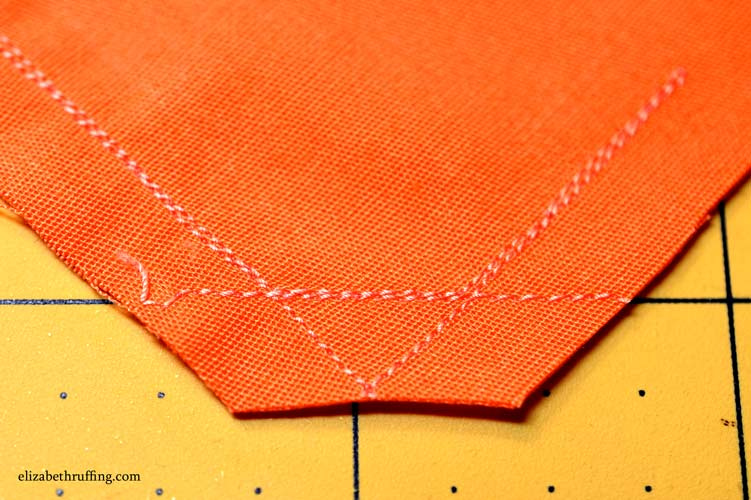 Now it is time to trim your seam allowances and clip your corners. You need at least 1/4 inch of fabric around the outside of your sewing lines. Your trimming doesn’t have to be very neat. Just make sure you have the extra fabric around the outside of your sewing lines. Treat the first corner clips the same way, leaving at least 1/4 inch of fabric outside the sewing line for your cropped corners, as shown in the picture above.
(If you made squared corners instead of cropped ones, you’ll have just this one clip, at a diagonal across the outside of the corner point. You will need to be careful not to clip too close to the sewing line at the corner point. Before clipping squared corners, I sew diagonally across my corners, to reinforce them, and then I trim next to the diagonal sewing line I just made, leaving about 1/32″ or about three thread widths of fabric outside the sewing line.)
 Now for the corner clips. When clipping corners, the first snip you take is roughly parallel to the seam line you are facing with the scissors, and the second snip is parallel to the next seam line you are facing when you snip. The clip shape looks sort of like a mirror version of the seam lines. If you sewed yours the way I did mine, you will have the reinforced sewing lines to use as a guide, as shown above.
Clip close, but not right up to the stitching, leaving about 1/32″ or about three thread widths from the sewing line, on the outside edge, so you don’t poke a hole through when you turn and stuff your toys.
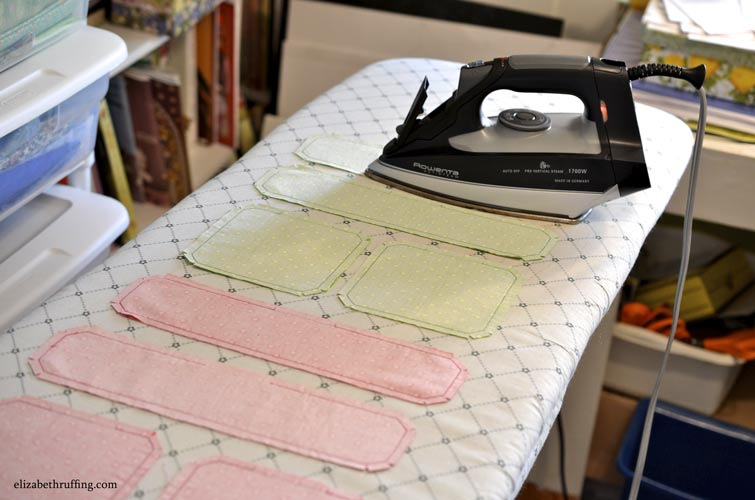 Press the shapes with a steam iron, at the appropriate setting for your fabric. I used cotton fabric, and a cotton setting on the iron.
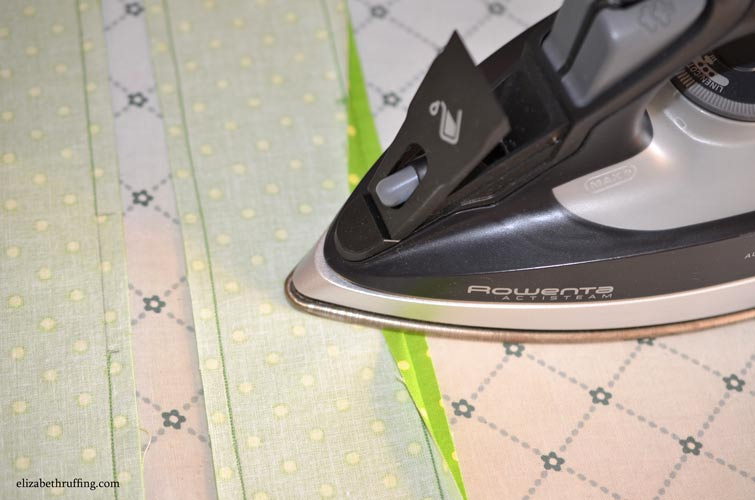 Fold back one side of your opening, along the drawn line. Press just the opening back along the drawn line. Flip the shape over, and fold the other side of the opening to match. Press just the opening.
 The cigar and the square will now look like this, above.
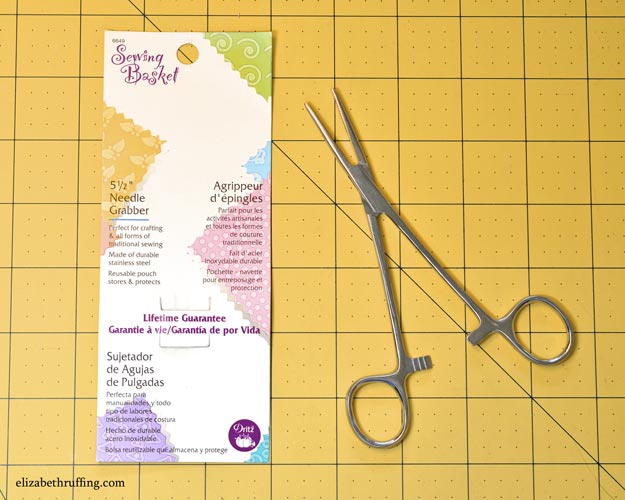 I used hemostats to turn my shapes right side out. Tube turners will work well also. I got my hemostats at Hancock Fabrics, but you can find them on eBay too. Mine have the teeth, which helps grip the fabric. The one I have is called a “Sewing Basket 5 1/2″ Needle Grabber”.
 Hold the edge of the shape furthest from the opening, or one of the two, in the case of the cigar. Stick your hemostats inside your opening, and grab the edge you are holding, from the inside.
 Pull gently until that edge comes out your opening.
 Carefully pull it all the way through. For the cigar, do the same thing for the other half of your shape.
 Stick your hemostats back inside the opening and use them to gently push along the seam lines to completely turn the shape right side out. Don’t poke your corners too hard, especially if you are using squared corners instead.
 Now your shapes look like this, above.
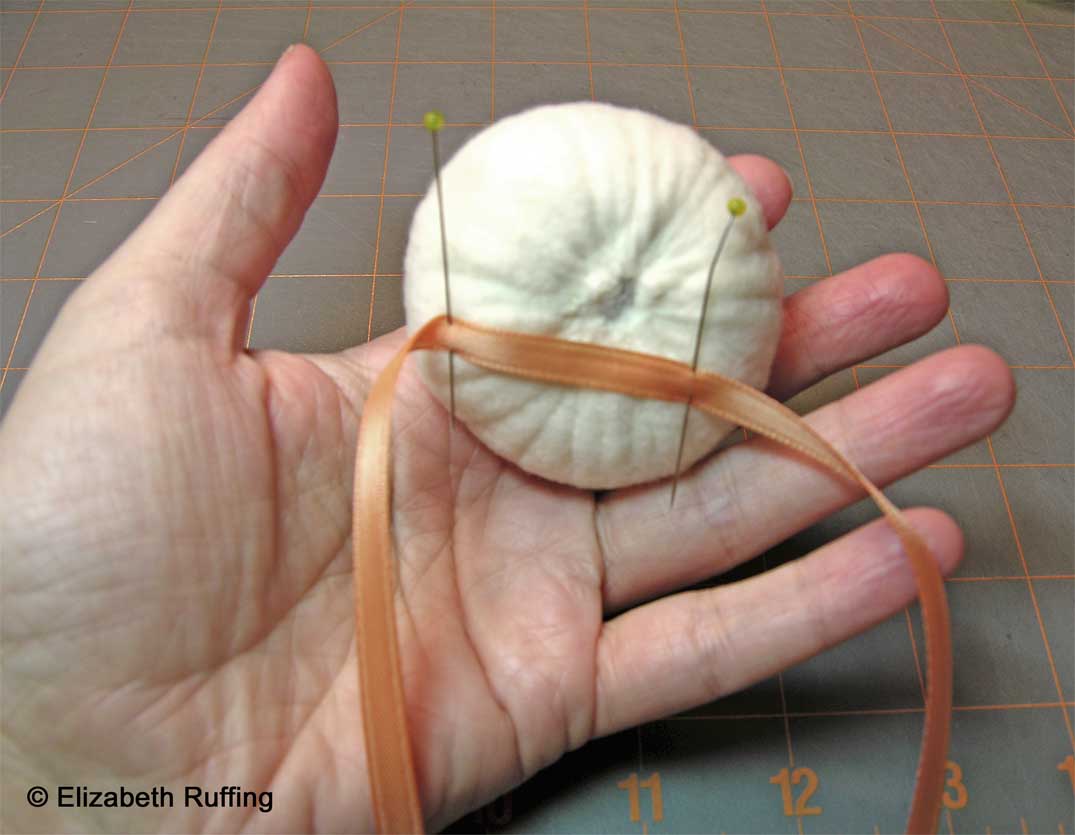
 I poured my catnip into a bowl, so I could scoop it into my openings a little at a time with a spoon. I filled the cigars, shown above and below, on one end, then the other, and then filled in with catnip in the middle.
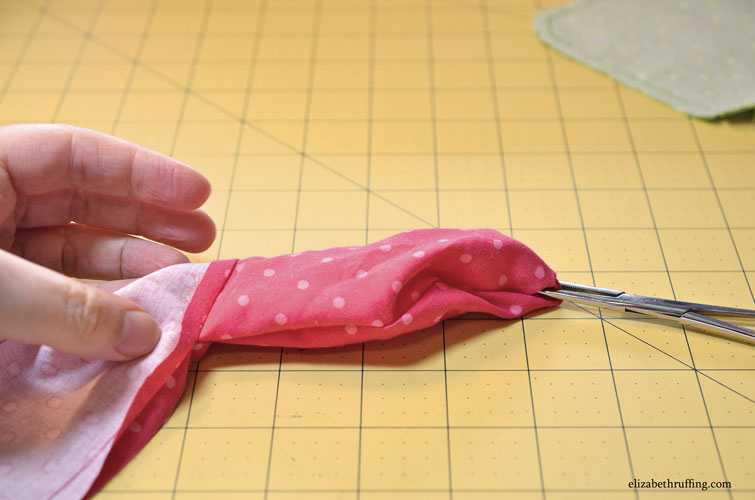
Fill your toys as firmly as you want with the catnip. Our cats seemed to prefer the ones that were more floppy, like bean bags, and weren’t filled all the way.
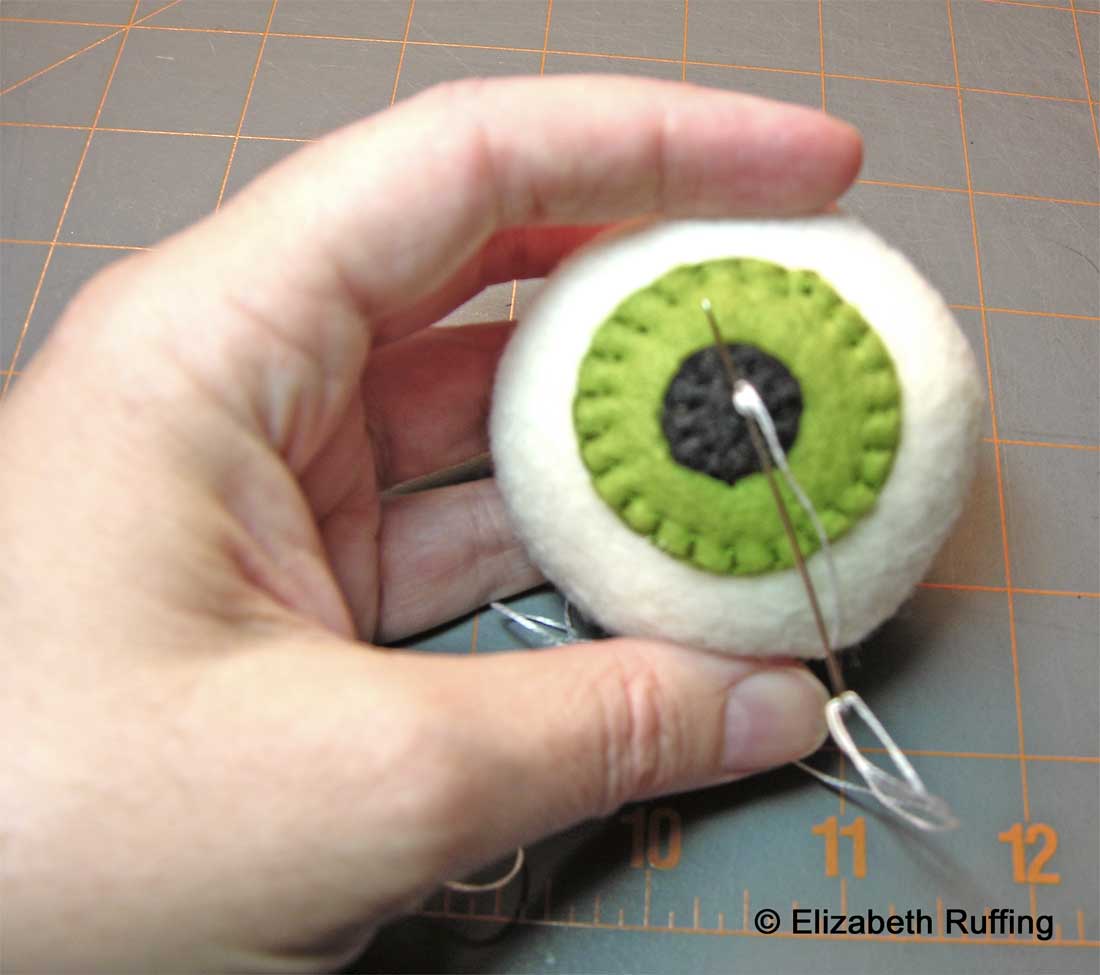
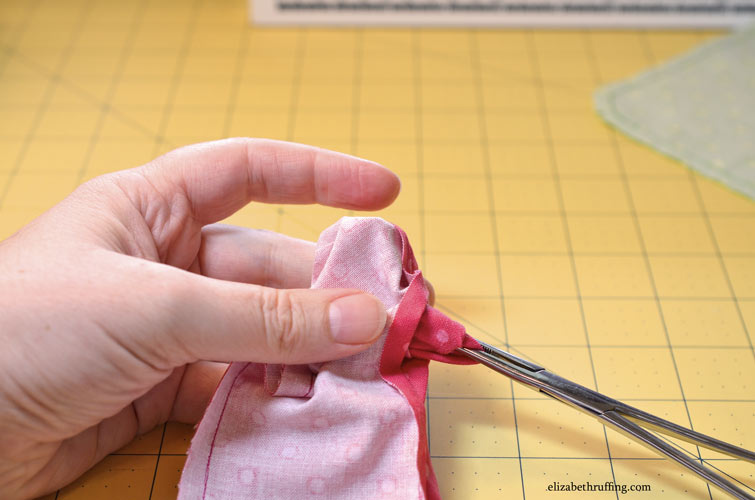
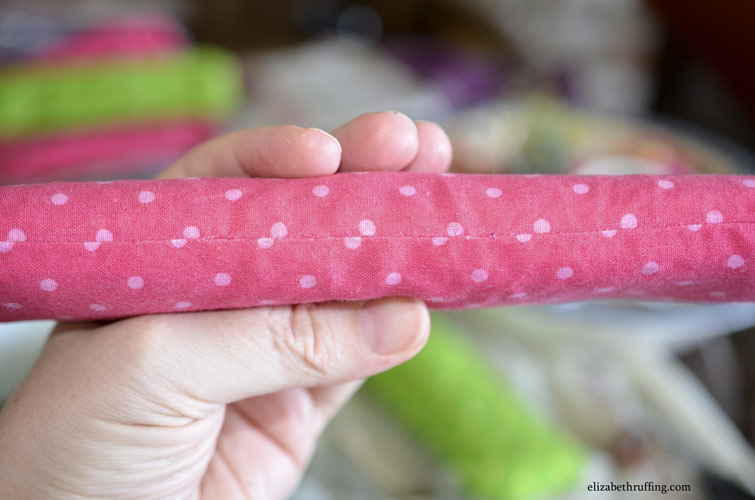
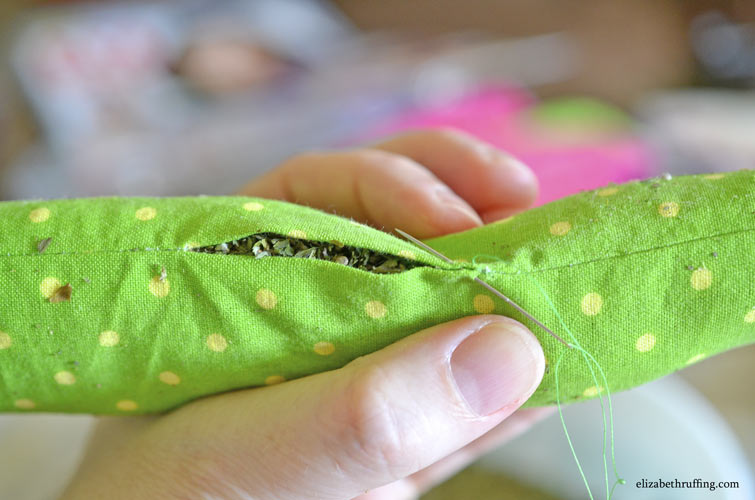 When you are ready to close your catnip toys up, pinch the folded edges of your opening together and sew them closed by hand with a slip stitch or a ladder stitch. Your closure will be neat and won’t be very visible, as shown below. You can even open the slip-stitching to replace the catnip with fresh catnip later.
 The catnip squares are filled the same way, with spoonfuls of catnip. They are a little easier. You can fill them, and pin the openings together before hand sewing them shut. Just be absolutely sure to remove your pins!
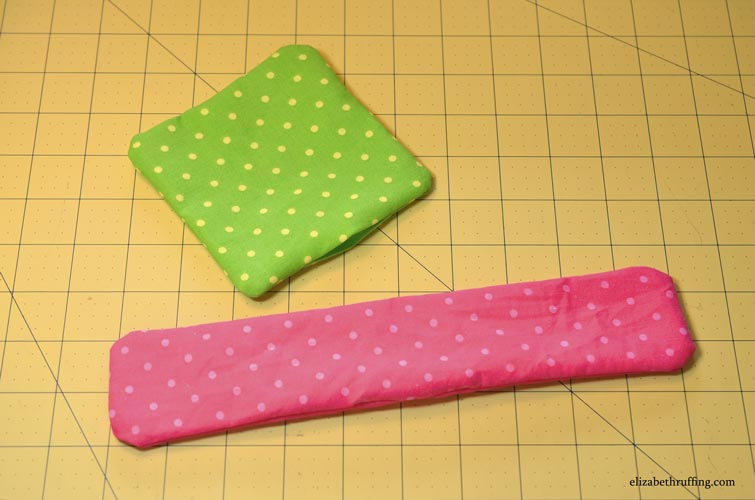
 These are some recycled catnip squares. I bought these from Alley Cats and Angels, the local cat rescue, and after some wear, I emptied them, hand washed them inside out, pressed and sewed them using my 4 inch square templates, and refilled them. I liked the fabrics so much, I wanted to keep them going. They look almost good as new.
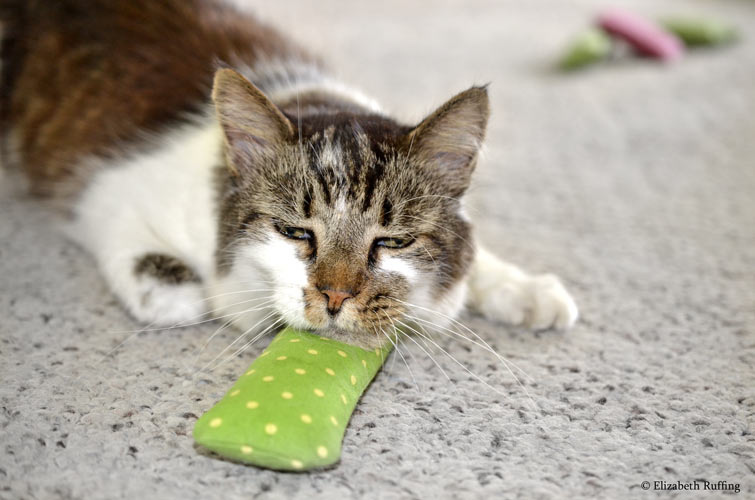
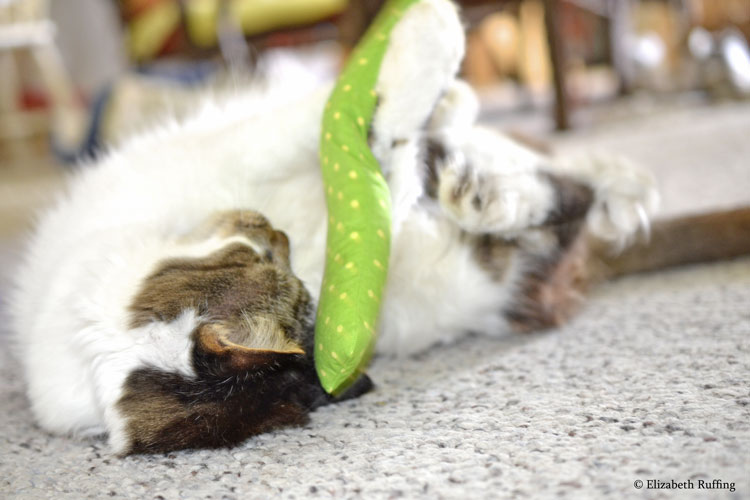
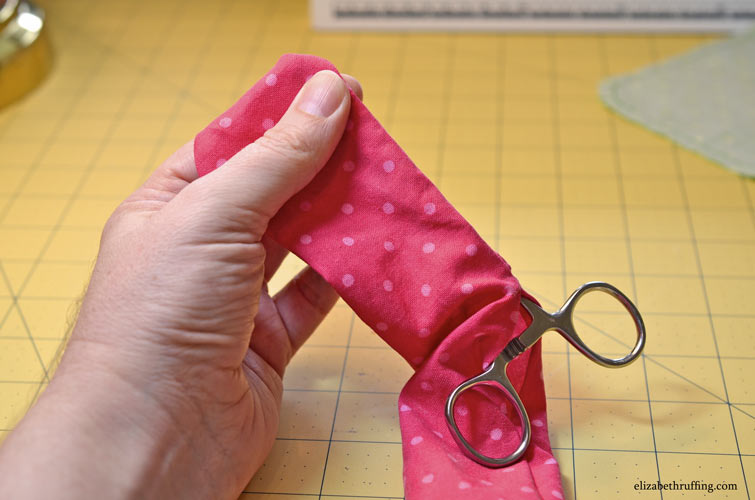
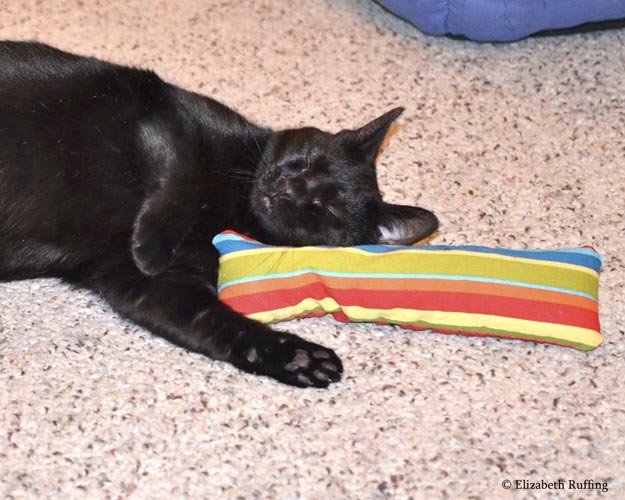
 Below is one of my finished catnip kickers, which is wider than the catnip cigar, having a soothing effect on Bindi.
 I hope my free catnip toy tutorial is helpful to you and that your kitties will enjoy the catnip toys you make for them!
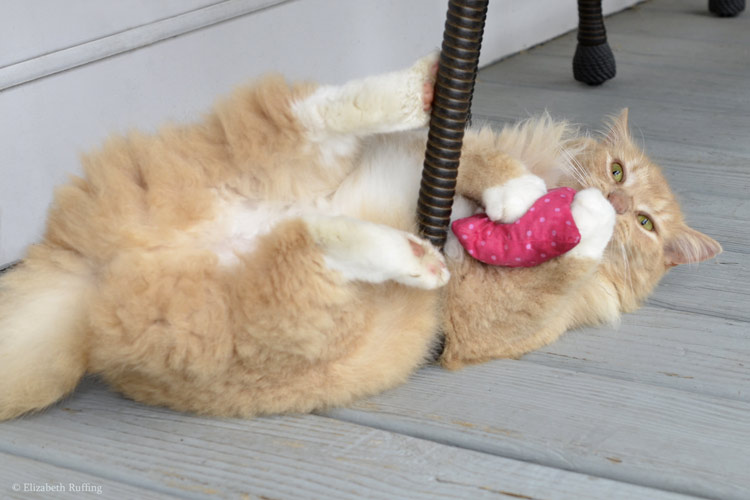 They are popular here. Santana the Peeping Tom Cat, who is a visitor from our neighbors’ house, has his own collection.
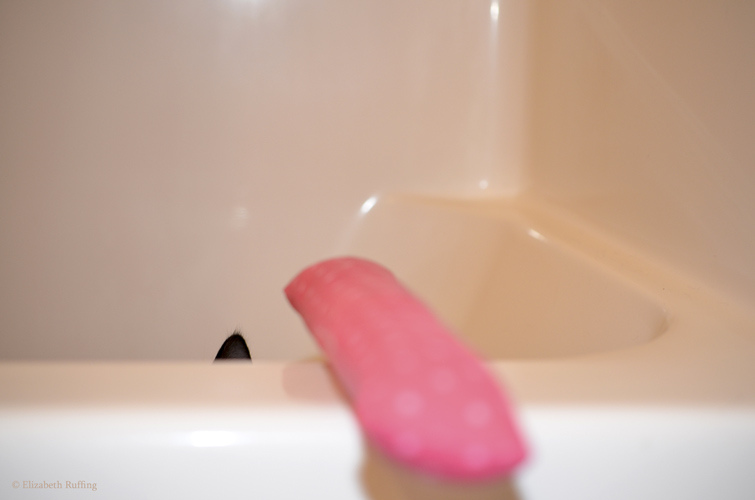 Here is Jojo playing with her cigar. She loves to hide in the tub and sneak up on it. I call her a tub-shark:
I hope you enjoyed my catnip toy tutorial. Patterns and instructions are copyright Elizabeth Ruffing. Please don’t sell my patterns. You are welcome to use the catnip squares, cigars, and kickers patterns to make all the catnip toys you want. Please feel free to make toys to use for fundraisers, to donate to shelter cats, and to give to your friends!
Please buy some of Alley Cats and Angels’ catnip toys too! Cats love them!