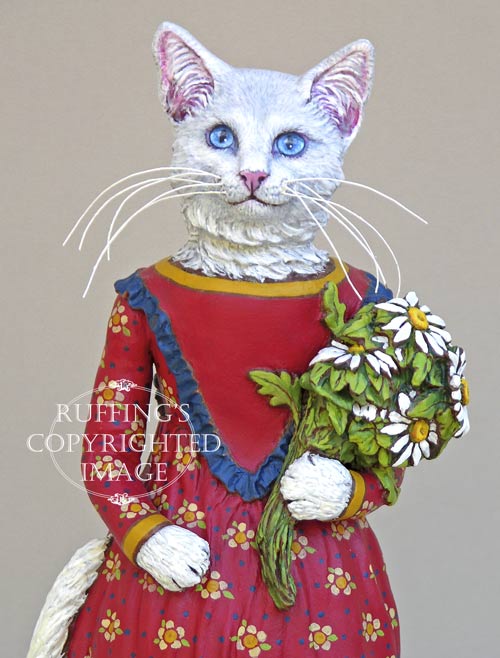
 I am pleased to introduce the very royal Princess Anna.
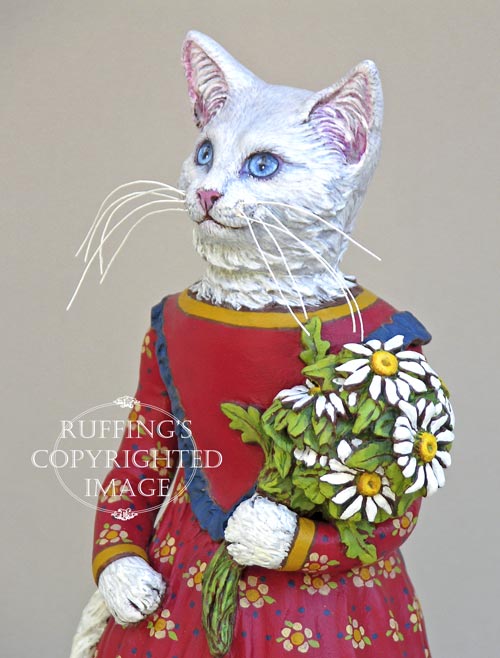 While palace life is really quite nice in many ways, Princess Anna has found that it’s not all that it’s cracked up to be. She eats the finest kitty food and wears the finest kitty dresses, yet sometimes she longs to sample just a tiny bit of the world outside.
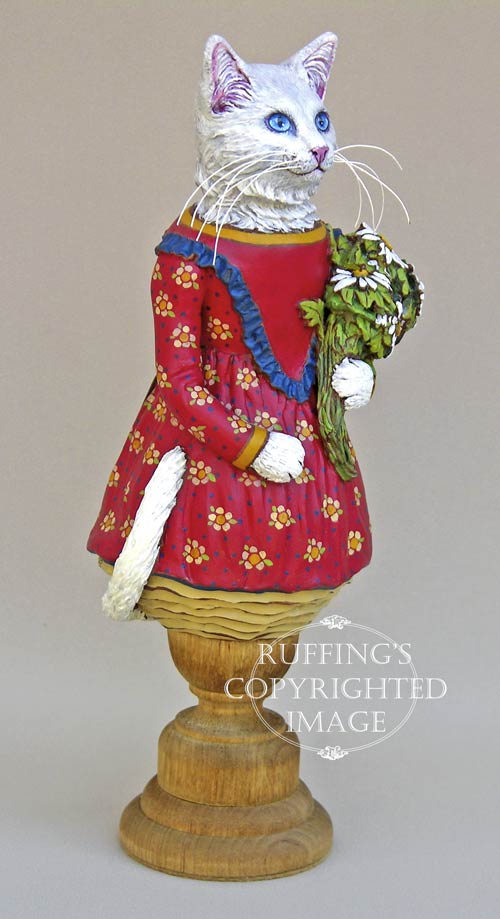 On this particular morning, Princess Anna looks out from her window at the white shapes that dot the distant hillside.
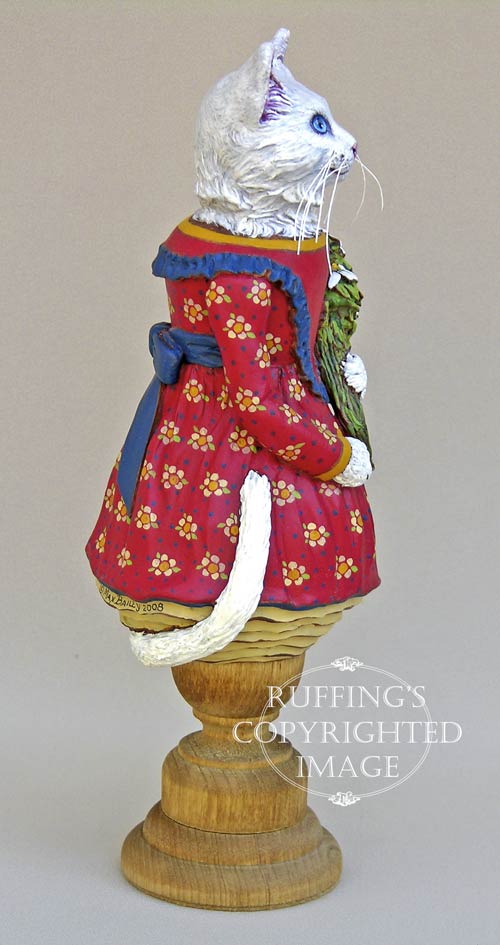 “They can’t be snow,” she thinks aloud, “for winter has come and gone, and the sun has warmed the earth.”
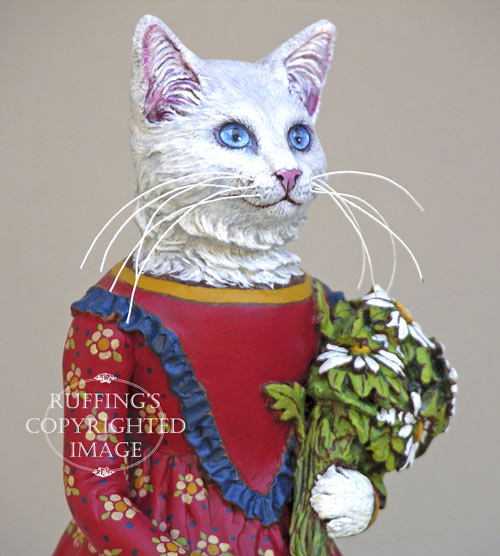 While the palace guards are looking the other way, Princess Anna heads for the hills. She brushes aside the tall grasses that grow in the meadow, and forges ahead.
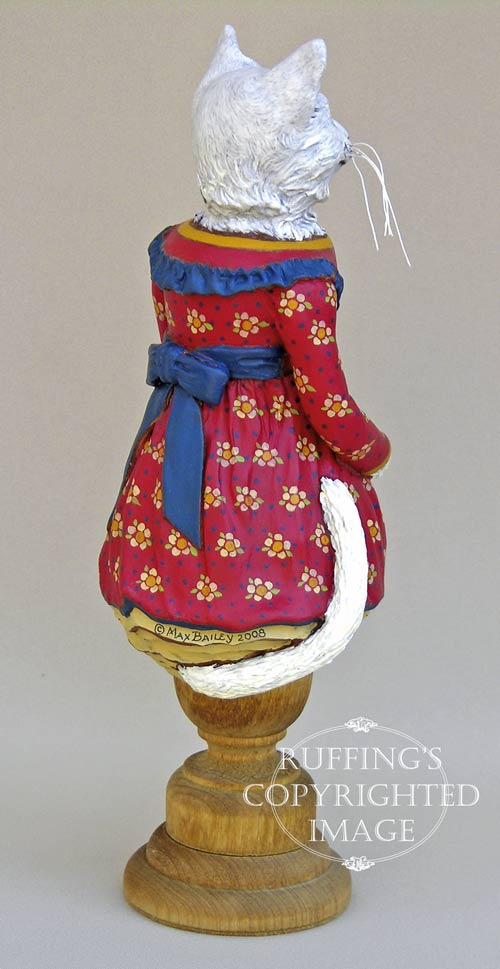 She feels the soft breezes blowing in her hair, and the sun’s rays warming her lovely and determined little face.
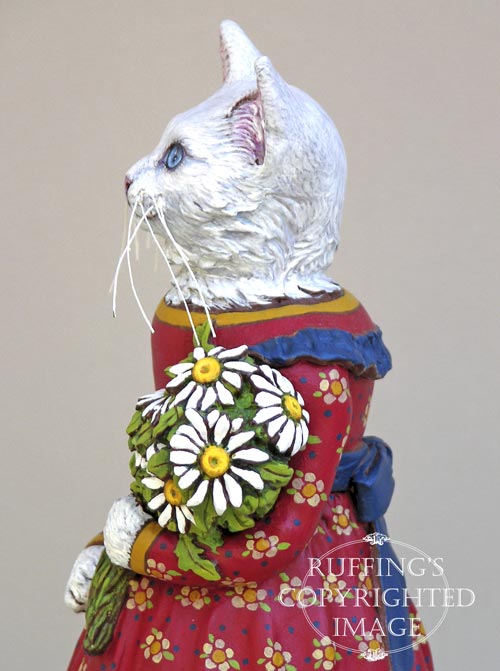 She is gone for a long time.
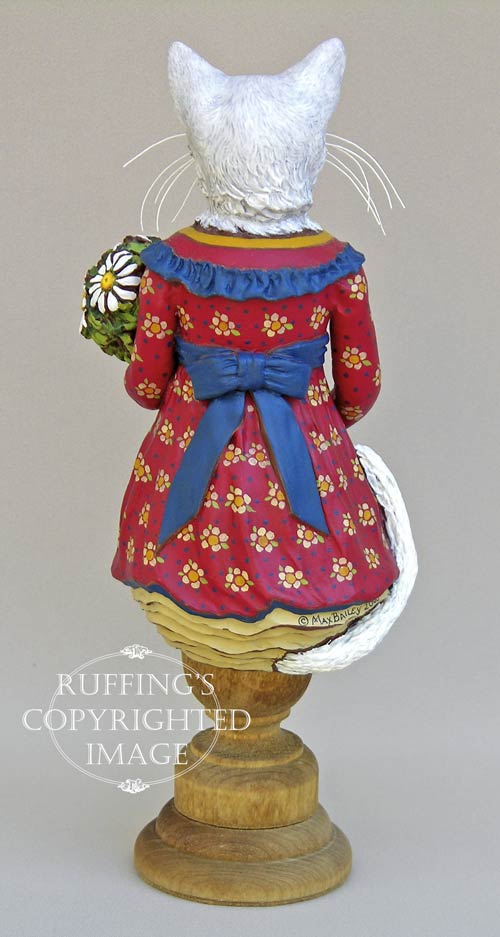 The palace guards are the first to see her return, triumphantly holding a bouquet of white daisies. They smile at each other and pretend not to see her sneaking back through the side entrance of the palace.
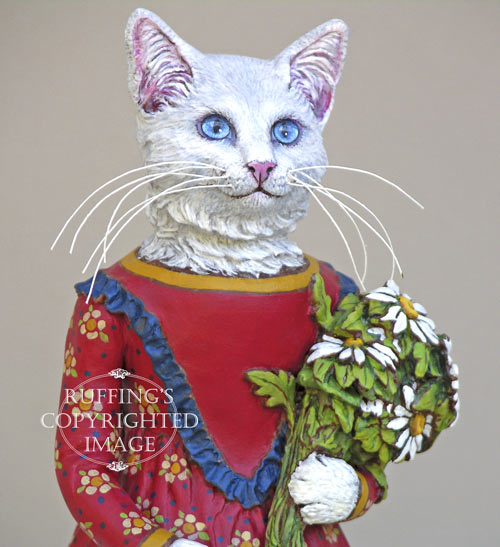 “The Princess is happy,” the guards pronounce, and nothing further is said about the matter.
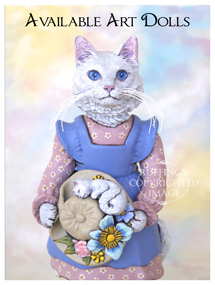
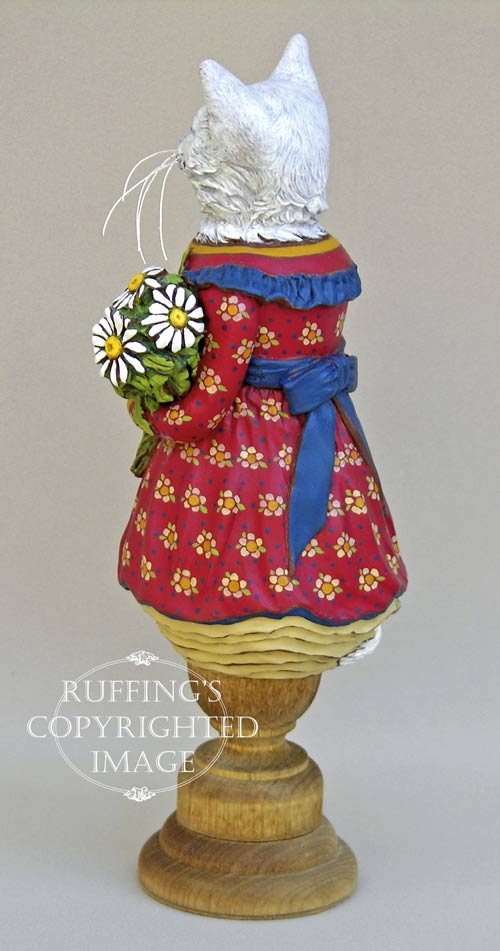
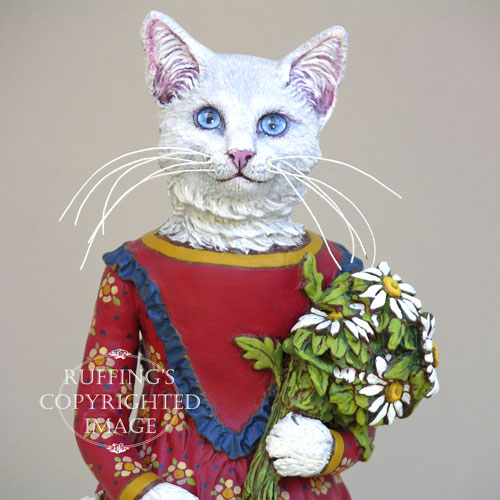 Lovely Princess Anna is as white as the daisies she carries. Her eyes are a soft blue, and her nose is a delicate shade of pink. Anna’s flowered red dress has a gold band around the neckline and sleeves, and is adorned with a deep blue ruffle and matching sash that ties neatly in a bow at the back. Her pale gold petticoats can be seen below her hemline.
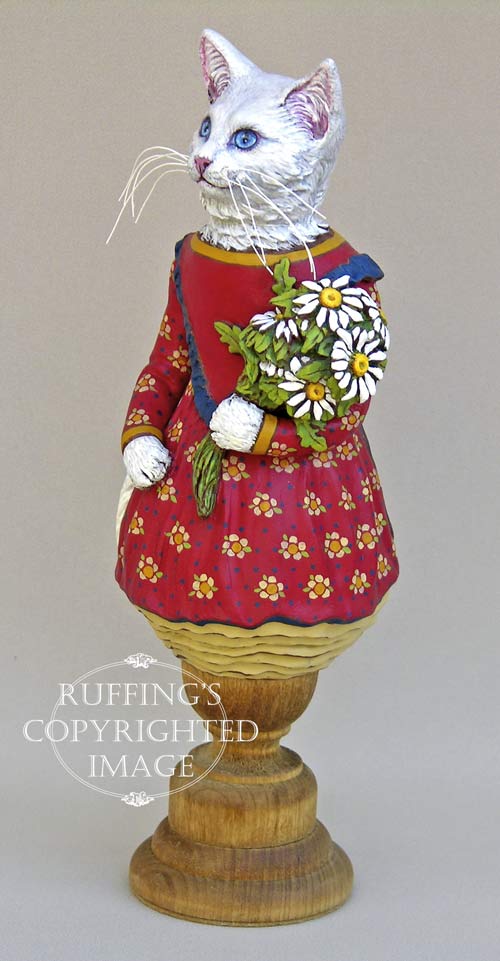 I sculpted Princess Anna and her daisy bouquet from paperclay, and used stiffened cotton thread for her royal kitty whiskers. She is an original one-of-a-kind work of art, meant for display only. No molds are ever used in my work.
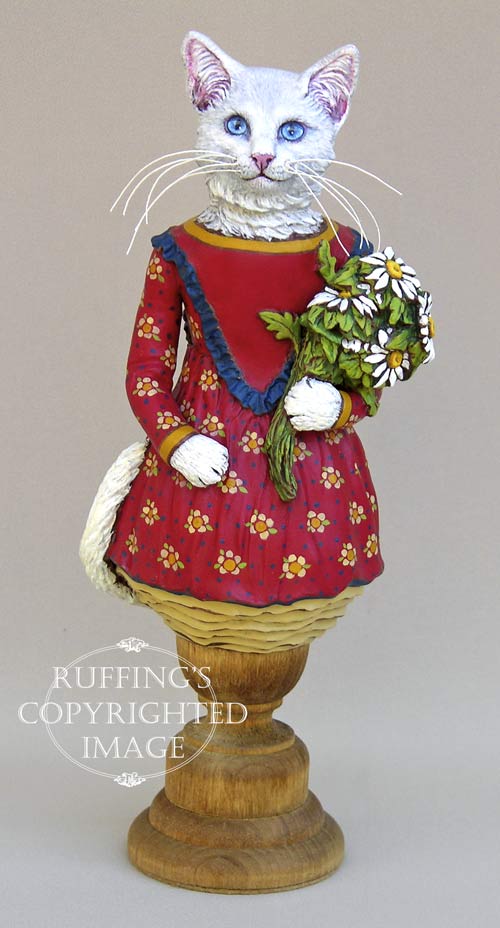 The Princess is completely hand painted with acrylic paints, then signed and dated and sealed with matte varnish for protection and preservation. She rests firmly on a turned wooden base that is stained and sealed in golden oak, and she stands 9 and 1/2 inches tall.
 Update: Princess Anna has already been adopted. Thank you!
 Ziggy needed an accessory and so I painted a little car for him. He seems to like it. I think it sets off his onesie nicely anyway.
 I experimented with a white background for photographing him today, and I am still struggling to get it right. I think I will go with tan when I set up the tripod and photograph him for real. I need to raise him up on a stand first too. If I can muster some patience, perhaps I will try to learn to use manual light metering. I’m always trying to fix things in Elements instead. I’m sure the camera can do all kinds of wonderful things if only I would learn to press the right buttons and turn the correct dials.


