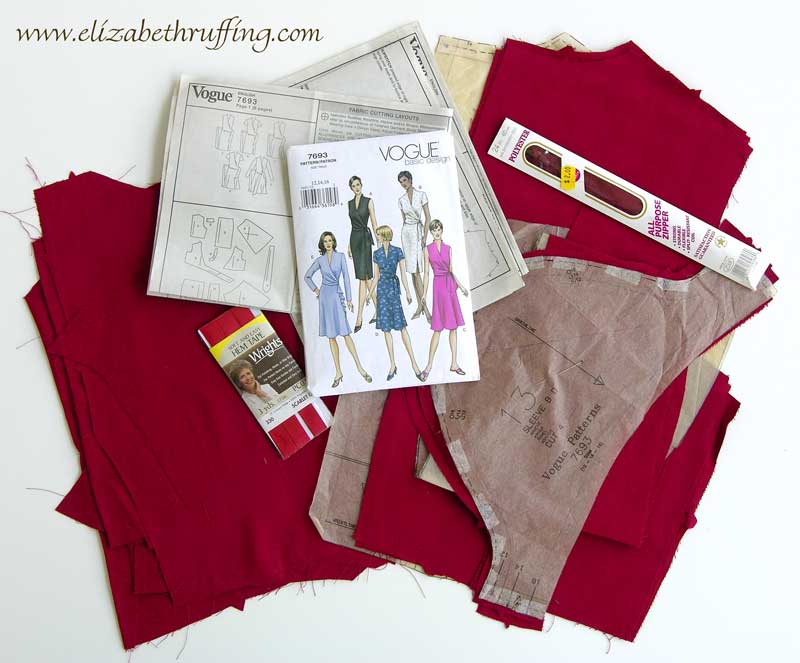
 I transferred my corrected sewing lines onto my pattern pieces and re-cut a couple of pieces where the seam allowances were too narrow from my sizing mistake. It is a good idea to buy extra fabric as mistakes almost always happen. In the “old days” fabric stores would give you a little more than you asked for, to compensate for shrinkage and pattern repeats, or just to be generous. This doesn’t happen too often now. Depending on what I am making, I estimate how much extra yardage I might need if I had to re-cut the largest piece. If that becomes too extravagant, I take my chances and try to be extra careful.
I also drew extra lines on my front bodice paper pattern pieces as guidelines for strips of interfacing, about 2 and 5/8 inches from the center edges. Since this is a wrap dress, the front edges are on the bias, which has a tendency to stretch. Unlike the skirt part of the dress, I don’t want this to grow. In fact, I want to make it just slightly shorter, by 1/4 of an inch, than the pattern pieces. This is a modification of a technique from Sandra Betzina’s Power Sewing. This will keep the dress from flopping open when I bend forward.
I cut out Fusi-Knit interfacing, following the lines I have drawn on my paper pattern. I just lay the interfacing over the paper and trace the lines. Then I remove 1/8 of an inch from either end of the interfacing pieces, to make them a total 1/4 inch shorter from top to bottom. I find it is easier to look at my cut-out fabric and figure out which side up the interfacing should be when I cut it out. The glue side should be against the wrong side of your fabric piece. For me, it is just easier to figure this out while I have the fabric piece in front of me.
My bodice is lined with the same fabric I am using for the rest of the dress, rayon challis. I lay my facing pieces of my bodice, the ones I am using as lining, on my ironing board, wrong sides up, and using my fingertips, I very slightly push the bias center edges toward their middles, to make them shorter. I lay my paper pattern pieces over the fabric pieces to check for size. I want to make the edges 1/4 of an inch shorter from top to bottom than the pattern edges. I want the middle third of this area to be taken in the most. I use steam from the iron to shrink the edges to size. Hover the iron over the fabric to let the stream shrink the edges. On rayon, this works very well.
 Once the center edges of the bodice are the corrected size, I lay the Fusi-Knit on top. Adjust the temperature on your iron to the synthetics setting, wait a moment for the iron to cool a little, then use the iron to “tack” it down to the fabric in a couple places so the interfacing won’t shift. Fusi-Knit requires a little extra attention so you don’t melt it. I melted some just today! Lay a press cloth over the Fusi-Knit and follow the manufacturer’s instructions to bond it to the fabric. Remember not to touch an overly hot iron directly to the Fusi-Knit during the construction of garments as well. Use a scrap piece of fabric and interfacing to get an idea of the proper temperature settings. This will save you a possible mess. I have melted fusibles onto my iron and my ironing board before, which reminds me…make sure you have the rough glue side of your fusible against the fabric and not your iron. I have done this without thinking a few times too.
I interfaced my back collar pieces while I was doing this as well.
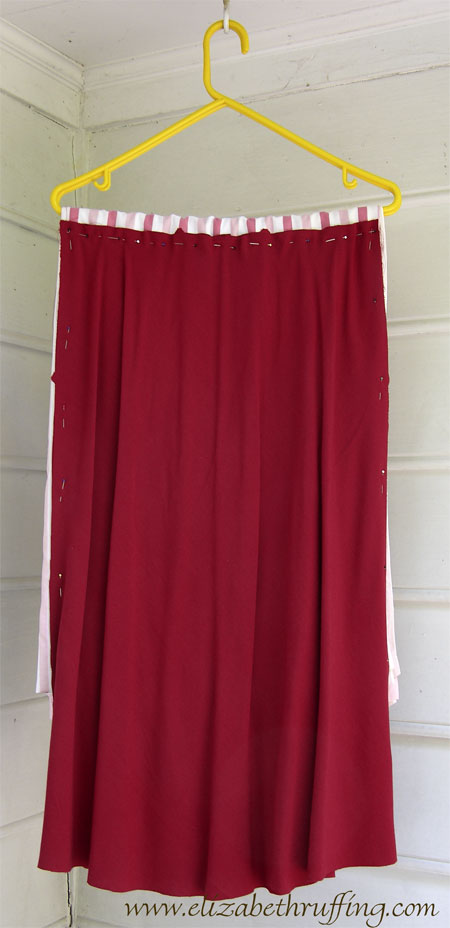
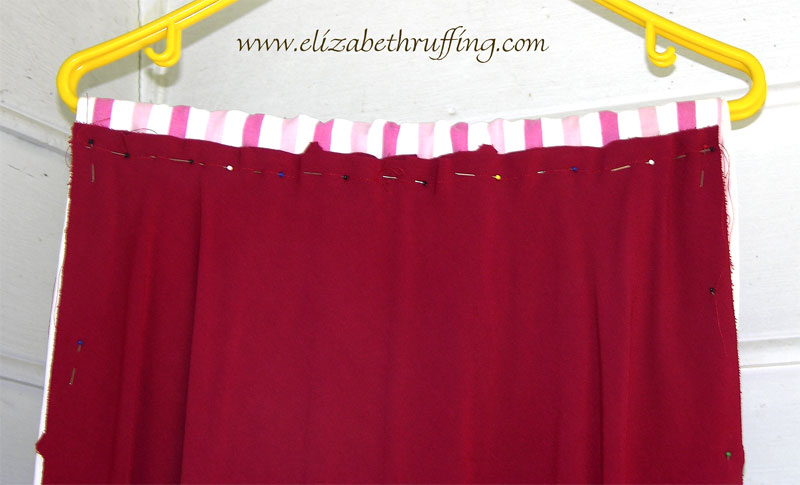
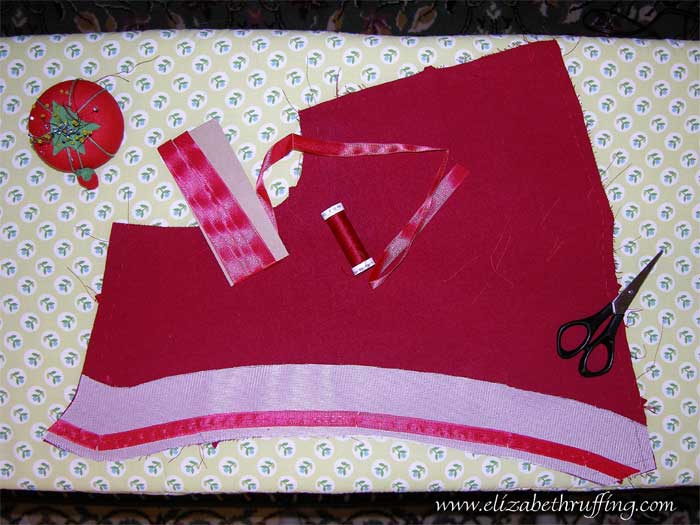
Again, using the paper pattern as a guide, I measured some hem tape to the same shortened lengths of the front edges of my bodice pieces. Stay tape or twill tape is fine to use too, but hem tape is what I had and it was light-weight, like my fabric. I hand-basted the hem tape along the sewing lines of the front edge, just as an added measure to prevent stretch should the elasticity of the interfacing loosen over time. I clipped the hem tape at the curves at the top near the neck area.
Oddly, I still haven’t looked at the pattern directions! I’m relying on my memory, but I really wish I had kept notes when I made this dress before. I usually put things together my own way, based on modifications I’ve made, and notes would have been helpful. I did find some on the pattern pieces themselves, but that was after I studied my previously-made version of this dress! Notes are nice.