Posted on

Handmade Winter-themed Holiday Cards by Elizabeth Ruffing

I’ve just put together a few sets of blank cards for the holidays this year, that I might also do as mini prints. Above is “The Rabbit Dances“.

This is “Snowy Night“.

I attached the images to acid-free ivory card stock using acid-free glue to make cards that are 5 by 6 1/2 inches. They are blank inside, and have matching ivory envelopes.

Happy holidays!

Posted on

Mini Giclee Cat Art Prints by Elizabeth Ruffing

I’ve decided to introduce mini versions of my prints. I’m not sure how long I’ll offer them, but they are currently available in our Ruffing’s Etsy shop.

These prints are made from my original acrylic paintings and are printed on nice heavy-weight, 100% cotton art paper, using archival-quality, pigment-based Epson inks. They are signed below the image in pencil, and they each come in a protective cello sleeve.

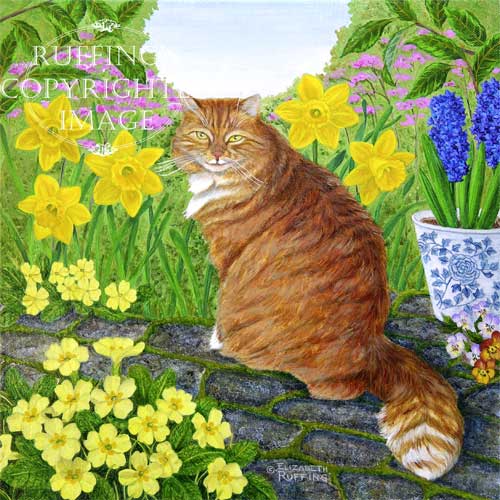
From top to bottom, they are “The Guardian”, “Laurence with Primroses and Daffodils”, and “Something Stirring”.

Posted on

New Handmade Winter-themed Holiday Cards

I’ve just put together a few sets of blank holiday cards for my Etsy shop. They are suitable for any winter holiday, or to be given just because. Above is “The Rabbit Dances“.

This is “Snowy Night“. Both images are printed on 100% cotton archival art paper, using Epson archival pigment-based ink for longevity, which means they can be saved, framed, and displayed.

I attached the images to acid-free ivory card stock using acid-free glue to make cards that are 5 by 6 1/2 inches. They are blank inside, and they come with matching ivory envelopes.

They are available, for a short while, in sets of four, with a choice of four of one image, or two each of each image.

Prints of “The Rabbit Dances” can be found here on our web site, and prints of “Snowy Night” can be found here on our web site.

Happy holidays!

Posted on

Blue and Yellow Quilt, October Block

I’m still moving along on this Block-of-the-month quilt. Every month, I think I will slip behind, but I’ve managed to keep up with my class. I drew out templates on poster board and template plastic and hand pieced this block, as I have most of the blocks for this quilt. If anyone wants to follow suit and make templates, the blue and white corner squares are based on 4 1/2 inch finished-sized squares, with an diagonal line drawn corner to corner. The center white square is 3 inches, finished size. And the yellow and white rectangular sections are based on 4 1/2 by 3 inch finished-sized rectangles with lines drawn from corner to corner in both directions.

Cut out your templates and lay the templates on the wrong side of your fabric. Try to line up the outside edges of the main sections of the block and the outside edges of the block itself parallel with the straight of grain of your fabric. Draw around the templates with a pencil (the mechanical kinds work best, especially with a piece of sandpaper under your fabric to keep it from slipping around), and the cut out the pieces 1/4 inch outside the lines to create a 1/4 seam allowance. The pencil lines become your sewing lines. You just match them up by inserting a pin through both layers, and hand sew the pieces together with a small running stitch. Press your block once all the pieces are assembled.