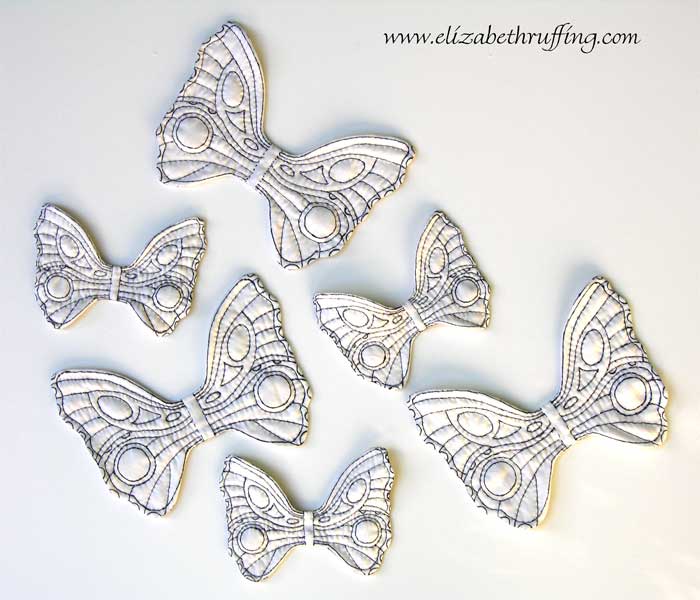
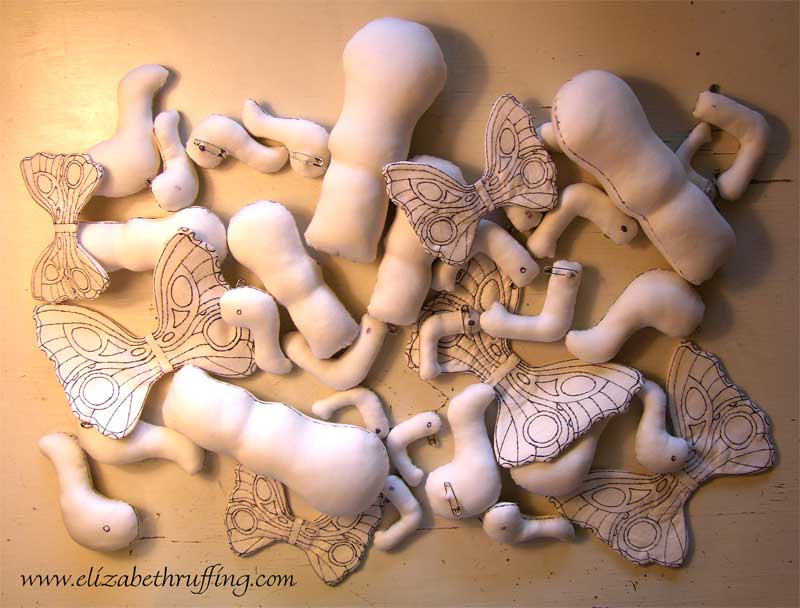
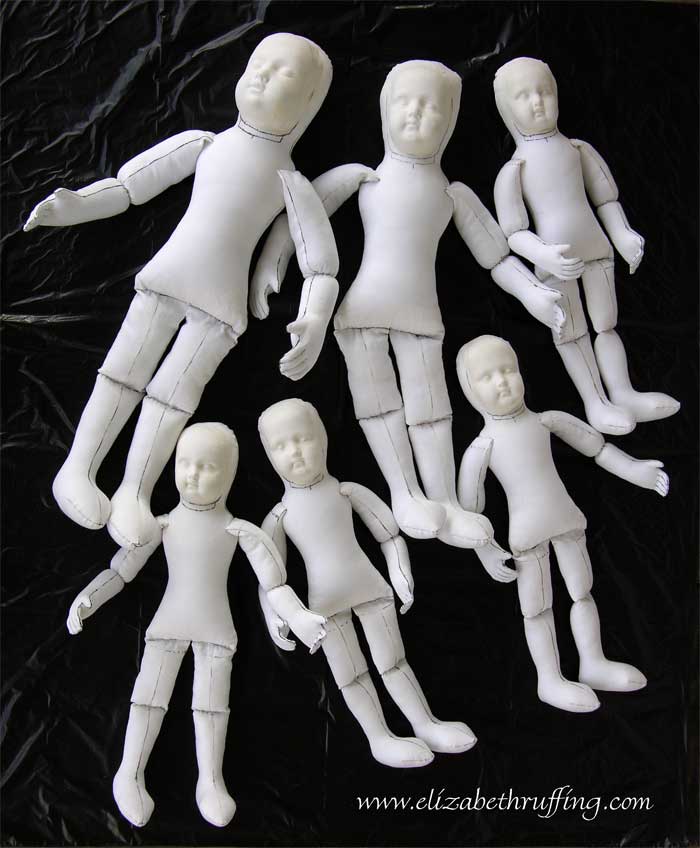
 These look to me like of a group of astronauts who just stepped outside their space station for a little floating exploration. I’m thinking their first thought must have been, “We’d better stick together.”
That, or they are a pile of dolls drying on a piece of black plastic. I kind of prefer the space version. Someone pointed out to me that it is interesting that I frequently create things with wings, or creatures that exist in space or in the sky when I myself have never even flown on a plane and am resistant to the idea. Perhaps I just prefer the fantasy.
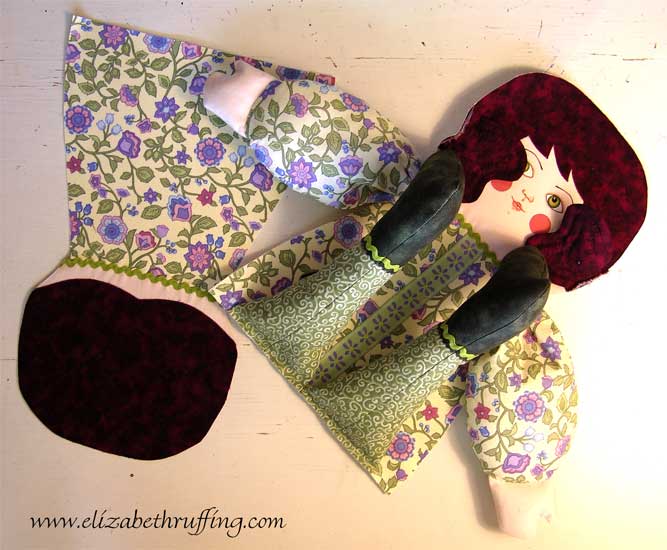
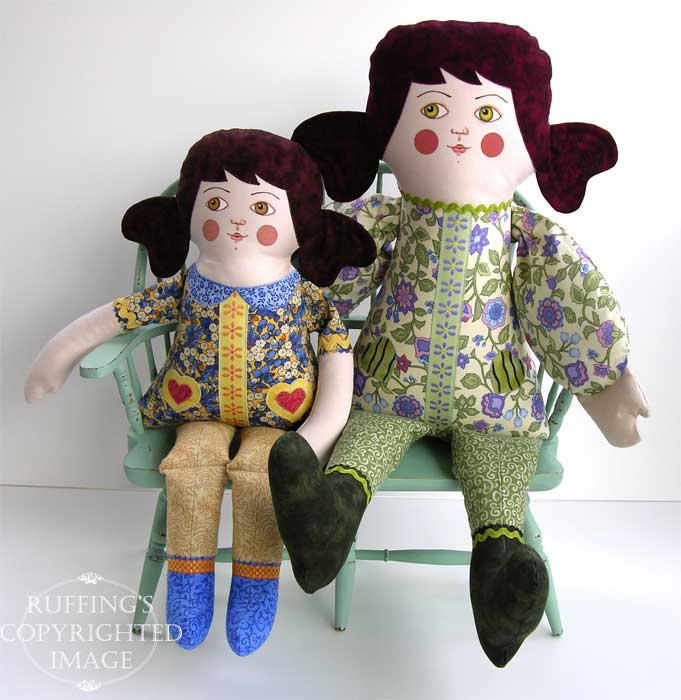
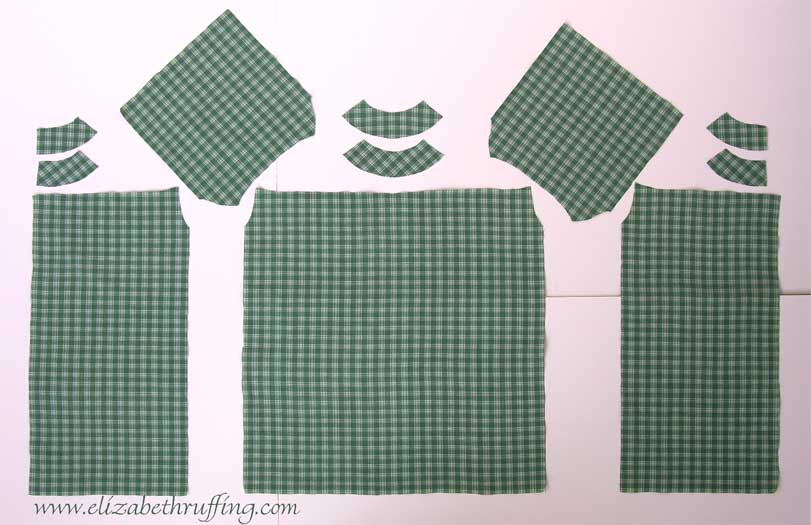 These are the pattern pieces for an Izannah Walker-inspired doll dress like the pink one I made before. I made the pattern myself. It is not terribly hard to draft if you have some pattern-making familiarity. I drew the yoke by laying tracing paper over my doll pattern, at the neck. I drew a neckline, then added a line below it, equidistant from the first line from the center front to the shoulder seam. I added a little ease at the shoulder seams. The front and back and sleeves all dip very gently to match the total dip of the yoke from the shoulder points to the center front. It is symmetrical and the same in front as in back, except for the added seam allowance in the back to allow for an opening and an overlap, and so it can be drawn in quarters, then folded and traced the rest of the way.
There is a raglan effect on the sleeve, which is done by making a curve down from the top and then out toward the side seams on the front and back. The curve on the sleeves turns out and down, and then up and out as you draw from the top of the sleeve to the underarm seams. Dress length and sleeve length depend on the doll, but extra needs to be included for hems, casings, or pin tucks. Widths depend on the amount of fullness you want.
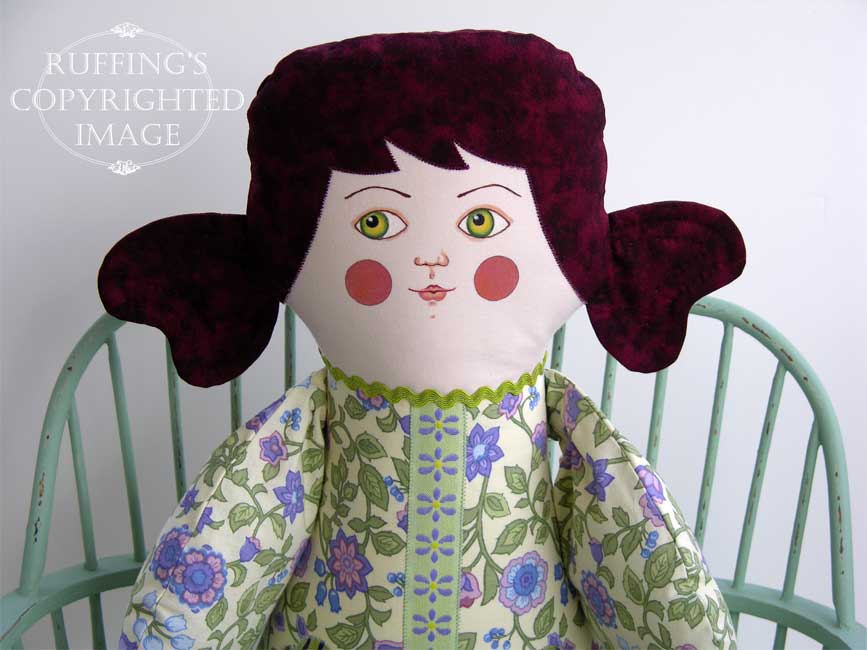
I add casings to the wrist area of the sleeves for gathering, and sew the sleeves to the front and back. I then do the hemming and pin tucks if I want any. I finish the back opening and sew a seam about halfway up from the bottom of the dress. I interface the yoke, and sew it together at the shoulders. Then the whole bottom of the dress is gathered onto the yoke. I sew a yoke facing on at the neck edge, sew the back edge of the yoke, turn it right side out, turn the bottom edge of the yoke facing under, and hand stitch it down.
I add snaps in the back and make a sash or a band similar to a cummerbund to gather the fullness of the dress in, and that is about it. Whew.