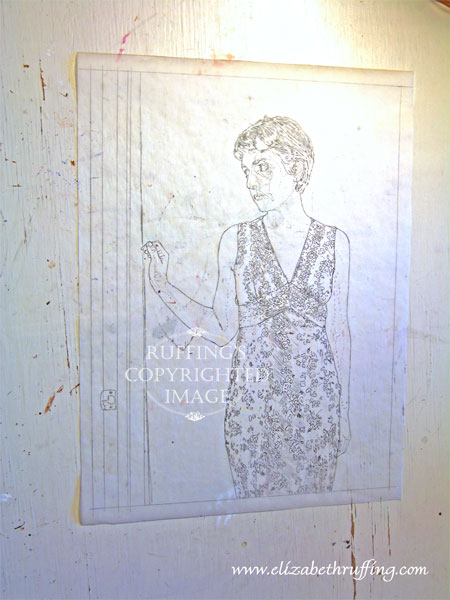
 This is a preliminary outline for a self portrait I’ve have been planning in my head since I don’t know how many months ago. It looks more elegant in person. The distortion in this photo of it makes it look a bit compressed and uncomfortable, but you get a rough idea of it. I’ll draw out a background design on an overlay, and then trace it onto one outline to be transferred.
I went to brunch at the NC Museum of Art this weekend, and wandered around for a while. I was still getting over a cold, and was feeling rundown, and later light-headed, which might or might not explain this weird sensation I had that the paintings were communicating with me, especially the portraits. No, I don’t mean I heard voices or anything like that. Perhaps it was just that I was uncomfortable, but it struck me that I felt a kinship with them.
 It occurred to me that painting is a language that people who sensitively observe things use to communicate with other people who sensitively observe things, about what they see and experience. Later, I realized it wasn’t the people in the portraits, or the paintings themselves, I felt a kinship toward…It was the artists who painted them. I remembered Oscar Wilde had a good quote about all portraits being self-portraits. It’s from The Picture of Dorian Gray: “Every portrait that is painted with feeling is a portrait of the artist, not of the sitter.”
I keep thinking that painting is the answer to my feeling better in general. It seems very important. I’ve been doing all these things to feel better, watching my diet, exercising, trying to keep a decent sleeping schedule, but I need to do this too, just as much as I need to do those other things.
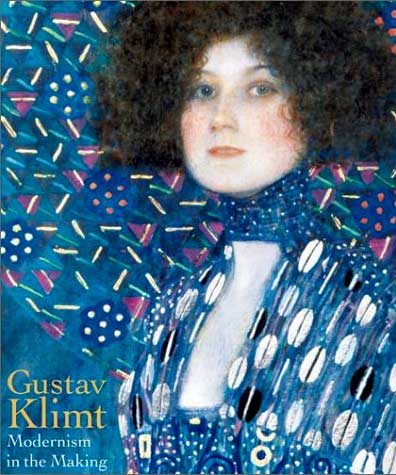
On the way home from the museum, at a used book store, I found and purchased this very nice book on Gustav Klimt, one of my favorite painters, one who always inspires me. It’s called Gustav Klimt Modernism in the Making. It was a good find.
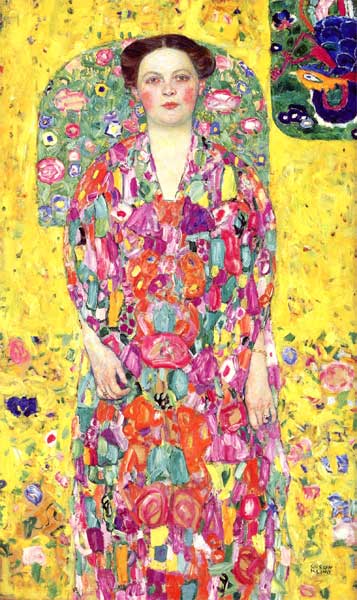 I’m particularly drawn to this Portrait of Eugenia Primavesi, above. I left my book opened to this page for a couple of days, while I thought about how I wanted to do my own self portrait. I did a series of Klimt-inspired self portraits back in college, and I’ve been wanting to explore that again.
I bought a 12 x 16 piece of Claybord Textured, also known as Aquabord, so I could use both watercolor and acrylic paint together. I really prefer watercolor for painting faces and skin tones.
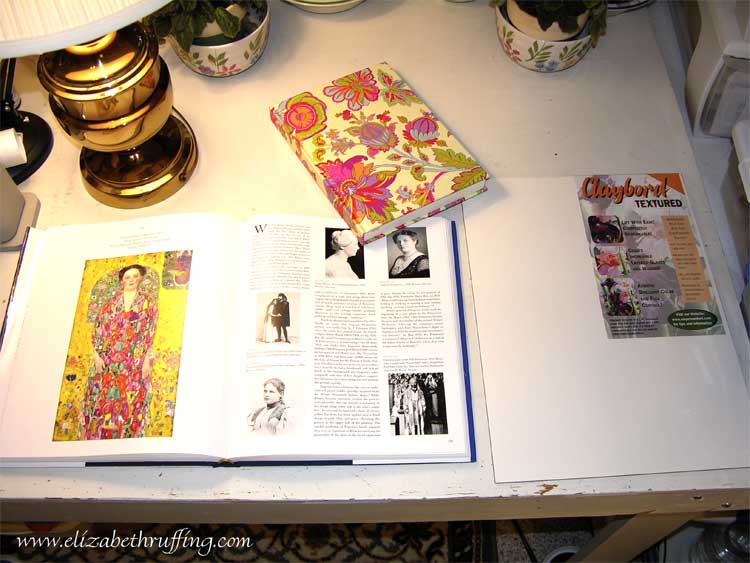 I also picked up a new journal, which oddly enough, has a lot of the same colors as the portrait I like. I think my own self portrait will be blue, blue-green, and lavender. I think I will have to try yellow at some point. First, I need to get my feet wet. Or my brushes wet, I guess.
Oh, a cool thing for today…one of my videos reached 1001 views! I don’t think I will try to paint my self portrait while filming myself though. One self portrait at a time is enough!
