Posted on

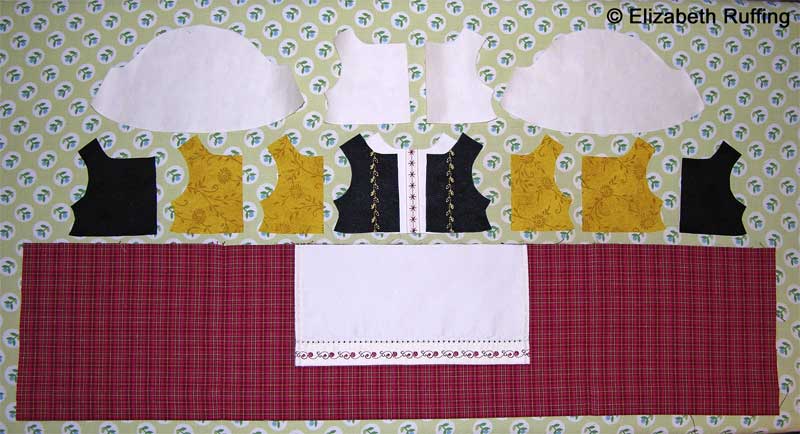
Doll dress in progress, cutting out the pieces

I selected a red plaid, a black-on-black print, a gold-on-gold print, and an off-white cotton sateen for my doll dress. I knew I’d be adding some decorative stitching, and so I stayed modest in my print selection, choosing nothing too busy-looking. I didn’t have a piece of red plaid wide enough for my skirt, and so I had to piece it. I divided my pattern in half for the front panel, and in quarters for the two back panels, adding 1/4 inch seam allowances.

Matching a plaid is a bit tricky. I find the easiest way to do it is to center my front panel on the plaid, cut it out, and then fold under my side seam allowances. Then I place the front panel on another section of plaid, right sides up, and move it around until the pattern is aligned. Being careful to note where the seam line is, I gently flip the fabric over, right sides together, and pin along the seam line. I then hand baste along the seam line, open it up to double check I have it in the right place, and then I sew it by machine. I also find it is easiest to choose a line in the plaid design to use as a guide for each seam line and cutting line, whenever possible.
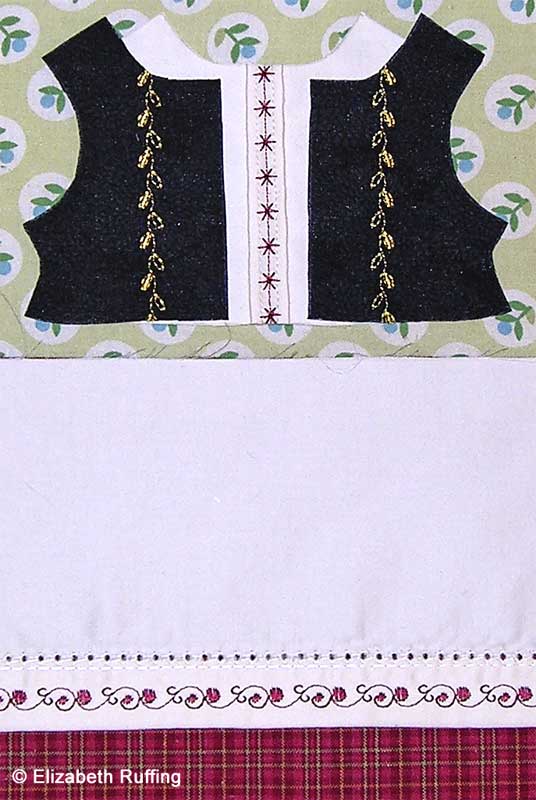
Instead of trying to machine stitch a decorative stitch directly on these tiny dress pieces, I cut my fabric out in a larger-than-necessary size first, a square or a rectangle, and did my decorative work on those. I did this for my decorative stitches and for the two pin tucks I made in the front of my bodice. I made see-through plastic templates from a plastic quilter’s template sheet for the pattern pieces that needed decorative work, and marked my seam lines with a permanent marker on the plastic. Then, after I did my decorative stitching and my pin tucks, I positioned my templates over my work, until I liked their placement, and then drew around them with a marking pencil. Then I cut out my fabric in the final dress pattern shape.

I got to try out my mirror stitch function on my new sewing machine too. On the vest, I flipped my leaf design so the two sides of the vest would mirror each other. Pretty cool. I used tear-away stabilizer under my fabric and Fusi-Knit interfacing, where necessary, for the decorative stitching to avoid puckering. I used rayon thread on top for the decorative stitching, with regular cotton sewing thread in my bobbin.

Posted on

Adapting a doll dress pattern

Now that I’ve got my doll dress muslin done, I can use the pieces from my own, custom dress and add elements from other patterns, adjusting them to fit, according to my dress muslin. You can see in the photo above, that I’ve taken the pieces from my dress muslin, and traced them to make pattern pieces on paper. Once I have my own basic pattern pieces in the right sizes and shapes, I can take pattern pieces for additional elements, like sleeves, vests, and aprons, such as those from commercial patterns, and adapt them to fit my own pattern pieces. This is something you can do with clothing patterns for people as well.

In this case, I’m using my own bodice and skirt pattern pieces, and I am adding sleeves, a vest, and an apron from an adorable Brown House Doll pattern. Be sure to check out Bev Brown’s designs if you like to sew clothing for dolls. They are super. I adapted my bodice and skirt from doll dresses Max came up with before.

Here, I’ve redrafted the BHD pieces to fit my dress. I do this by tracing the elements I want to adapt, and laying the tracings over my pattern pieces. Then I can redraw the lines to fit my pattern pieces. The top of the sleeve needed to be redrawn to fit the armhole of my pattern. The vest had to be completely redrawn according to the lines I marked on my bodice for my neckline, armholes, and waistline. The apron should work as it is, but I will be adding a row of machine-embroidered fabric on the lower edge, which means I may need to widen the sides of the apron to compensate for the amount I will need to turn under on the raw edges.

Making another muslin at this point is not a bad idea, but, instead I will leave my seam allowances a little wide, in case I need to adjust them. I made some changes to my bodice that I haven’t retested. Next comes fabric selection.

Posted on

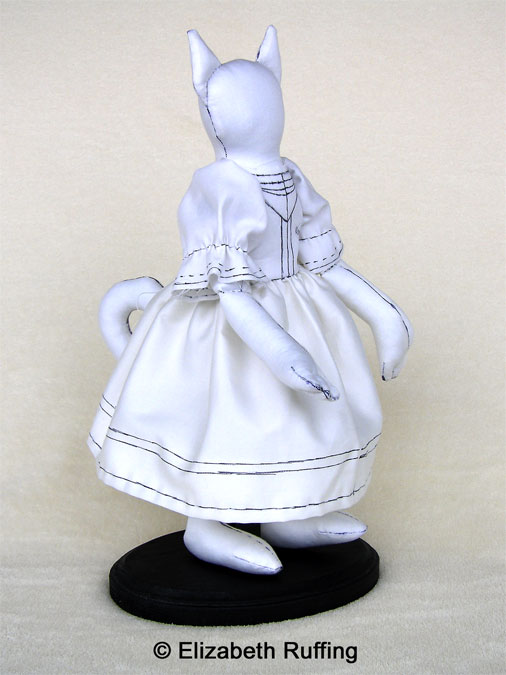
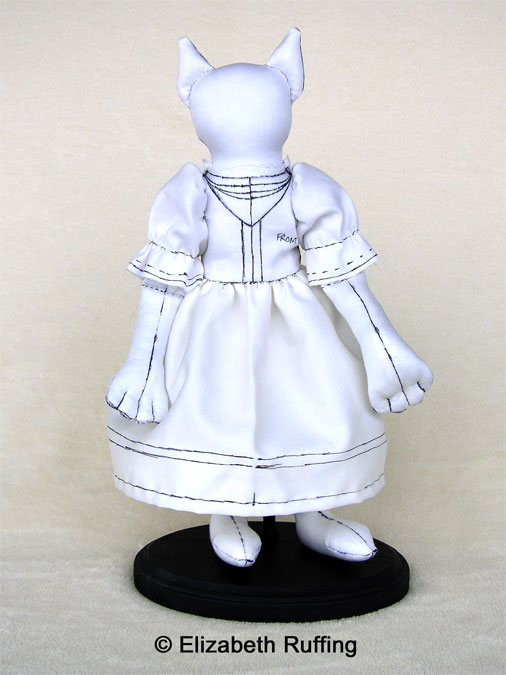
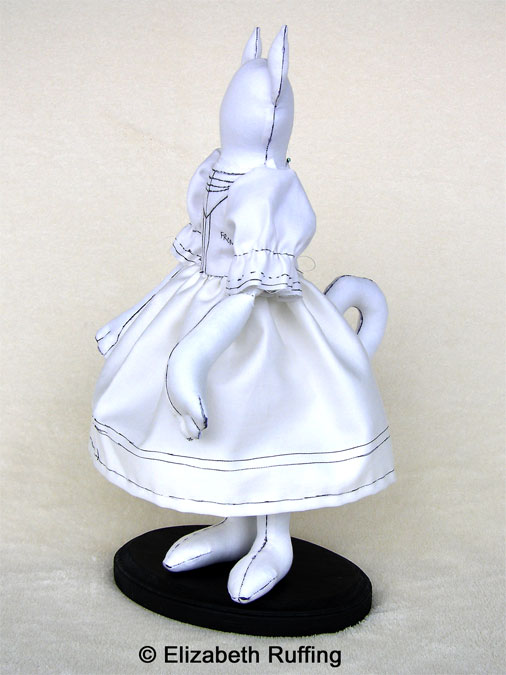
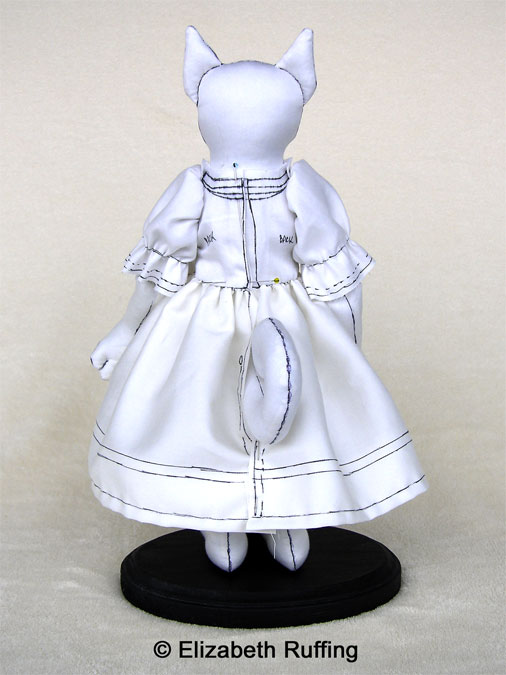
Original folk art cat doll in progress, the dress muslin

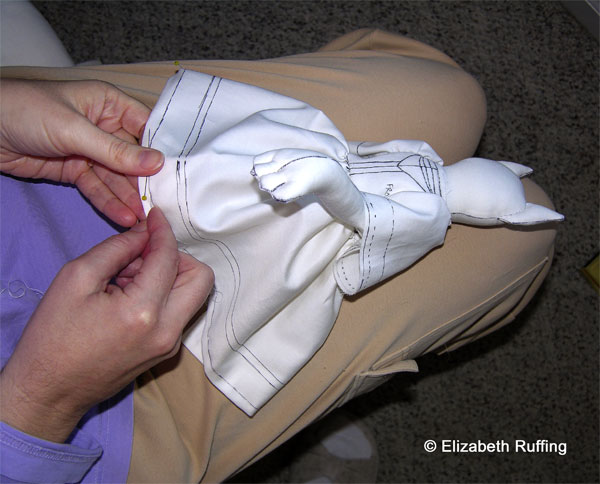
Here are some photos of the muslin of the doll dress I was working on, completed. It is entirely hand sewn using cotton quilting thread to make a basting stitch.

I draw any adjustments in fit and length that I want to make directly onto my dress muslin with a mechanical pencil. Before I assembled the dress muslin, I traced the original version of my pattern right onto my fabric using a permanent black marker. Generally, I use a pencil to mark my dress muslin while my doll is wearing it to make sure I don’t mark the doll.

There are some minor adjustments to make. There was a small pucker in the bodice at the underarm. I will deepen the bottom of the armhole to compensate for this. I also added a quarter inch to the length of the skirt, and widened the back of the bodice slightly.

I used a single strand of thread for my stitching because it is easier to pull out, which is the next step. The muslin is next carefully disassembled using a seam ripper. Then I trace each piece, refine each one on paper, and make a final draft of my pattern. I haven’t pressed the dress muslin at all, to minimize any distortion of the fabric pieces.

Incidentally, although the rough draft of a dress is called a muslin, I don’t use actual muslin fabric to make my dress muslin. I used cotton sheeting on this one. The important thing is to use a fabric similar in weight and drape to the fabric you will use for your real dress.

We’ll be adding these new collaborative dolls to our online doll gallery once they are completed and photographed. I’m brainstorming on my navigation ideas for that main doll gallery page. There are so many original art dolls now, they’re divided into four subcategories, jointed cloth and paperclay art dolls, art doll figurines, soft art dolls and art toys, and already adopted dolls. Be sure to come check them out.

Posted on

Original art cat dolls in progress, and making progress in general

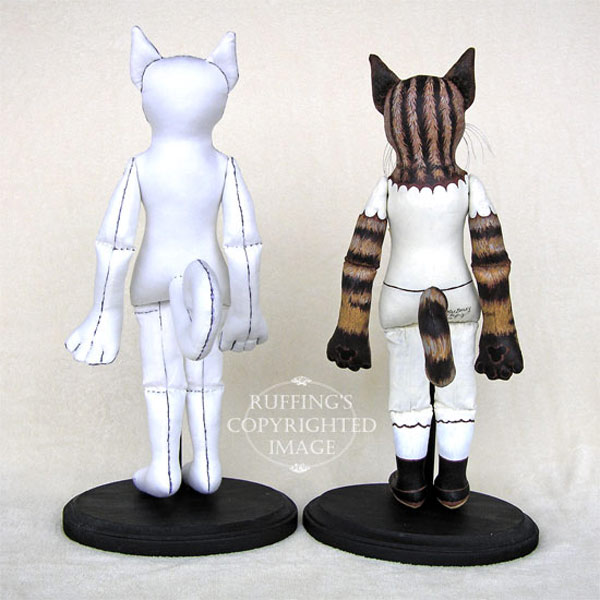
Original cat art dolls in progress, Elizabeth Ruffing, Max Bailey
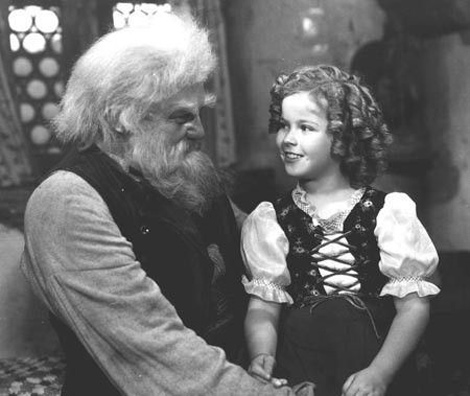
These are the original cat art dolls that Max Bailey and I have been working on. The one on the left will be a Siamese cat, and the one on the right is a tabby cat. The tabby is very cute, but I don’t want to give too much away before her entire ensemble is complete. I am sewing her a dress based on Shirley Temple’s dress in her 1937 film “Heidi”. She has a beautiful pet goose companion as well.


Shirley Temple as Heidi in the 1937 filmI have so many little loose ends that I’m trying to tie up, and that includes making my way through the pile of books I intended to read. I’m still working on E. M. Forster. I’m reading A Passage to India right now.

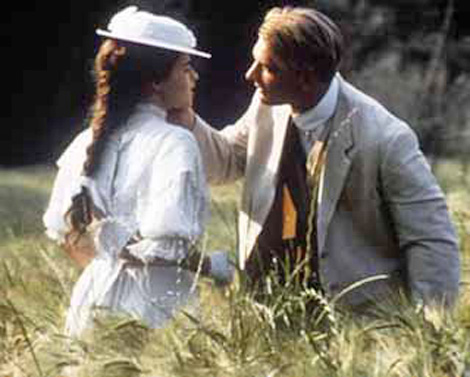
A Passage To India movie stillI think that might be the only one of his novels I’ve read that hasn’t been turned into a movie starring Helena Bonham-Carter.

A Room with a View movie stillOther E. M. Forster novels I’ve recently read are Where Angels Fear to Tread, A Room with a View (scene from the movie above), and Howard’s End.

I’m sure none of these will compare to CSS: The Missing Manual, which I ordered today. That’s by Brian McFarland. It promises to be “crystal clear”. If I still can’t efficiently absorb CSS after that, I think I’m just going to live without it, knock on wood.