Happy Halloween! I was going to make cat ears, but that seemed too time consuming, and I was feeling much too lazy at the end of the day yesterday. I wanted something fast. So, my mom suggested I just make a big eyeball. Okay. One big eyeball coming up. This doesn’t take long to make at all. You can download and print my pattern here. It prints on a standard 8 1/2 x 11, letter-sized piece of paper.
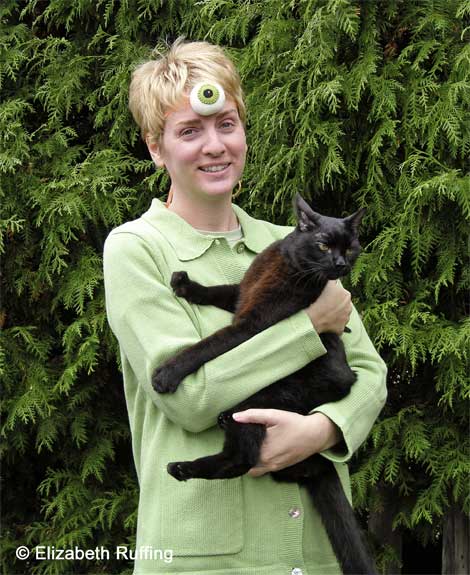 You can wear it in the middle of your forehead as a third eye,
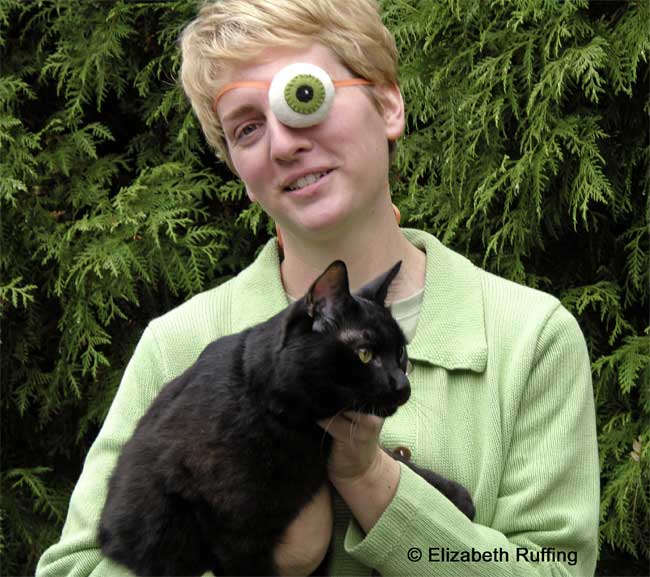 and it works pretty well as an eye patch. You could also attach it to a headband, a bandanna, a gauze bandage, or, who knows, it might look nice pinned to your sweater.
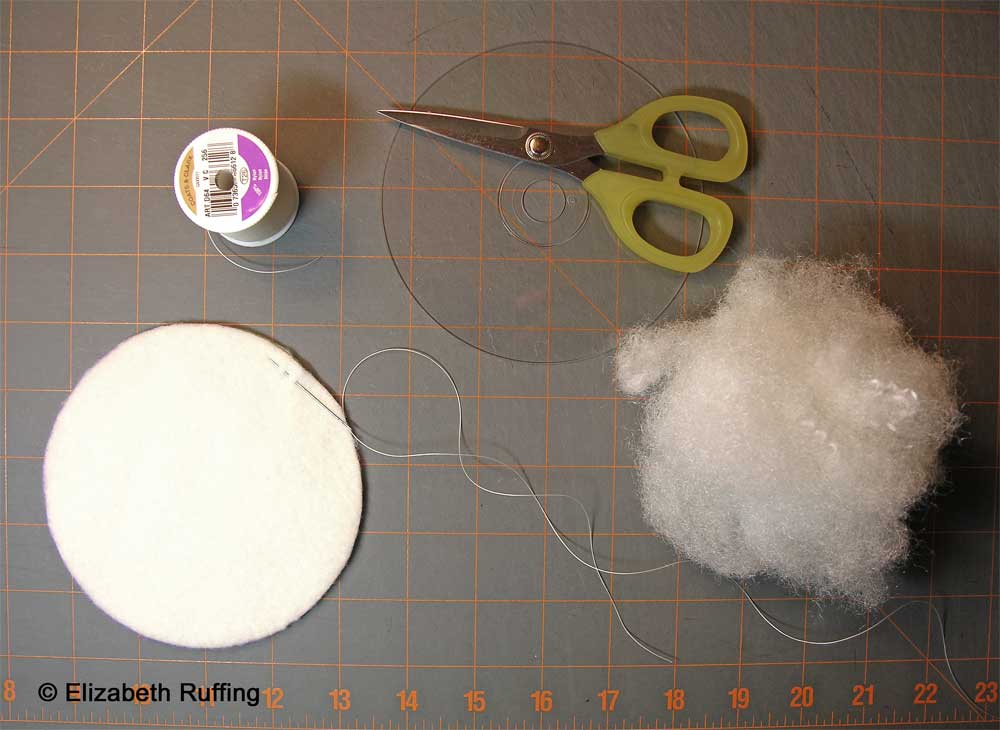 There are only three pieces. The largest is the size of a CD, and that’s the eyeball itself, or the white of the eye. The other two circles are the iris, in any color you like, and the pupil, in black. I used fleece, but you can use felt, or old T-shirts, or anything you have lying around, socks, washcloths…whatever you like, as long as it is soft enough to wear, if you plan to wear it against your face. You’ll need a small wad of stuffing, some strong thread (I used upholstery thread, but you can just double your thread up), a needle, and embroidery floss to match your eye color and your pupil (black), and some white floss for a highlight. You’ll also need about 5 feet of 1/4 inch ribbon, if you want to tie the eyeball to your head. A short length of ribbon works if you want to tie it to your finger as a ring.
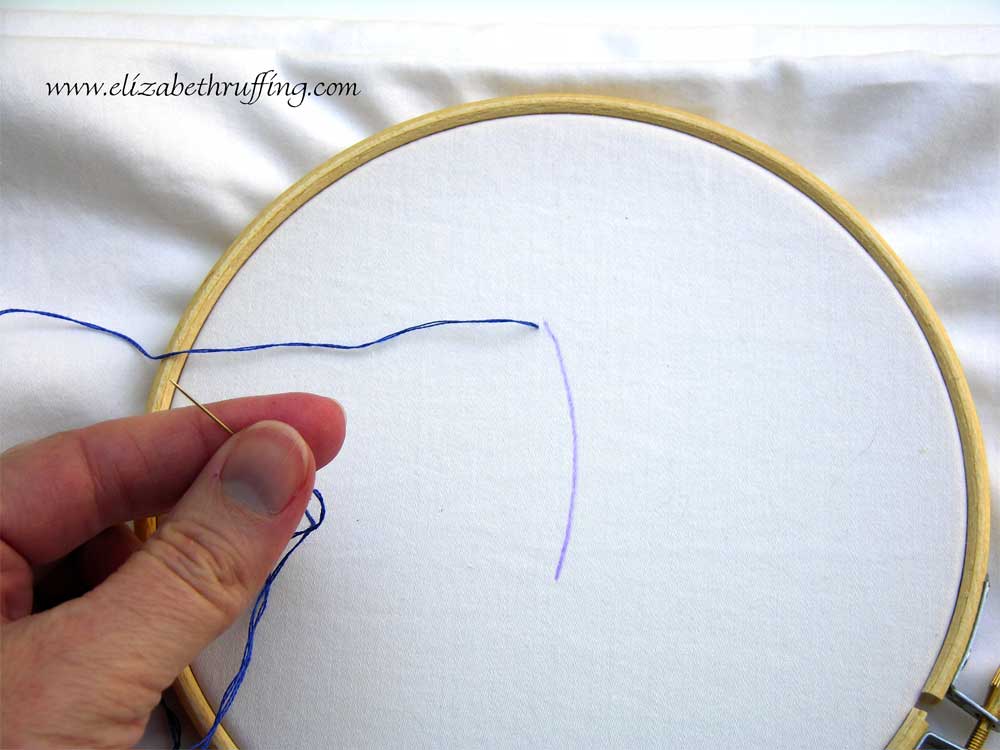
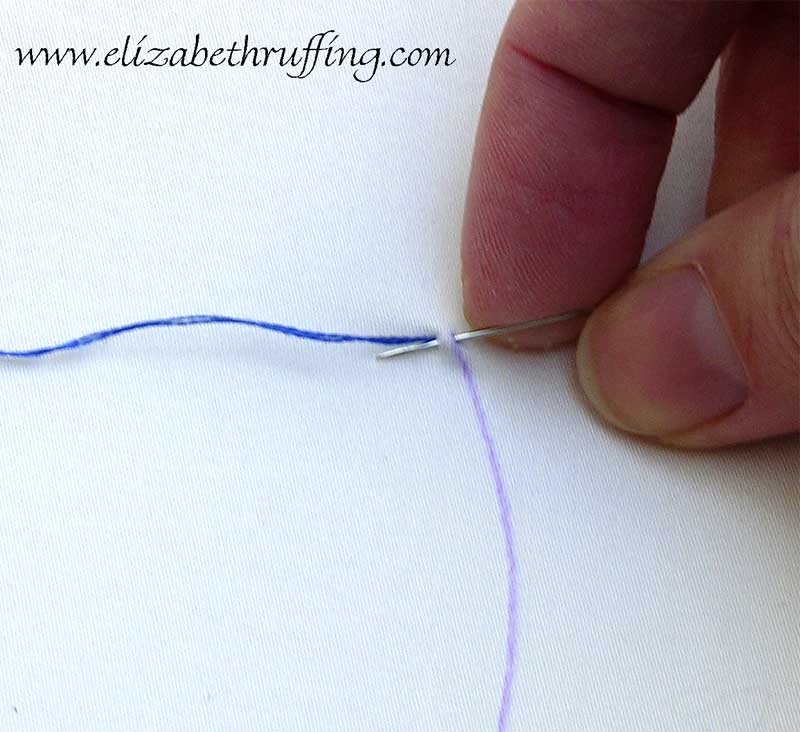
 Start by sewing a running stitch, just in and out, about 1/4 inch in from the edge of your white circle, pulling your thread a little a you go around.
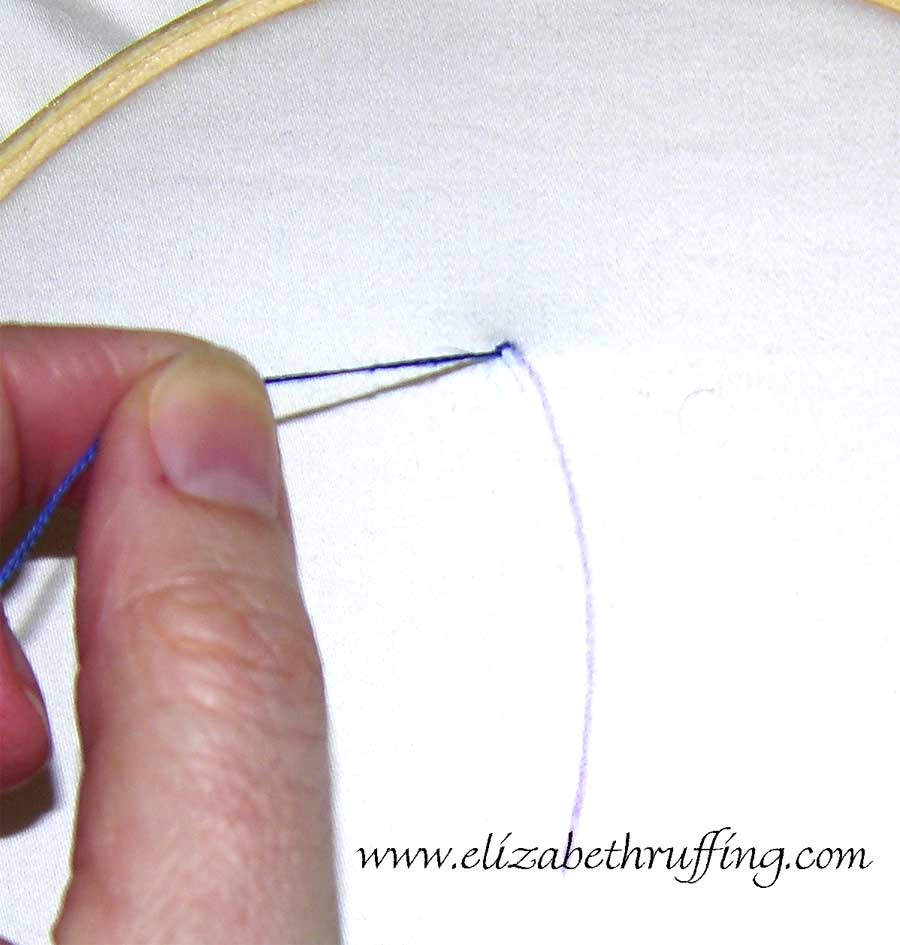
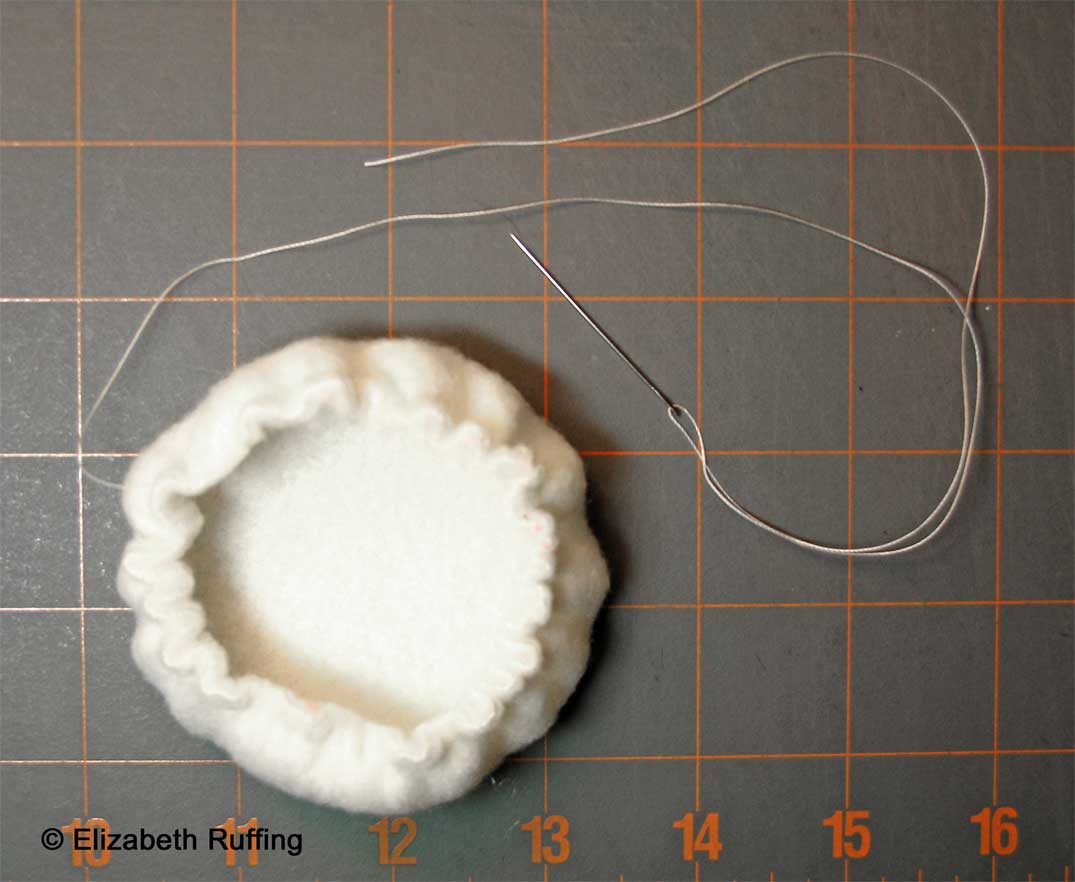 You’re gathering the edge as you sew around the circle.
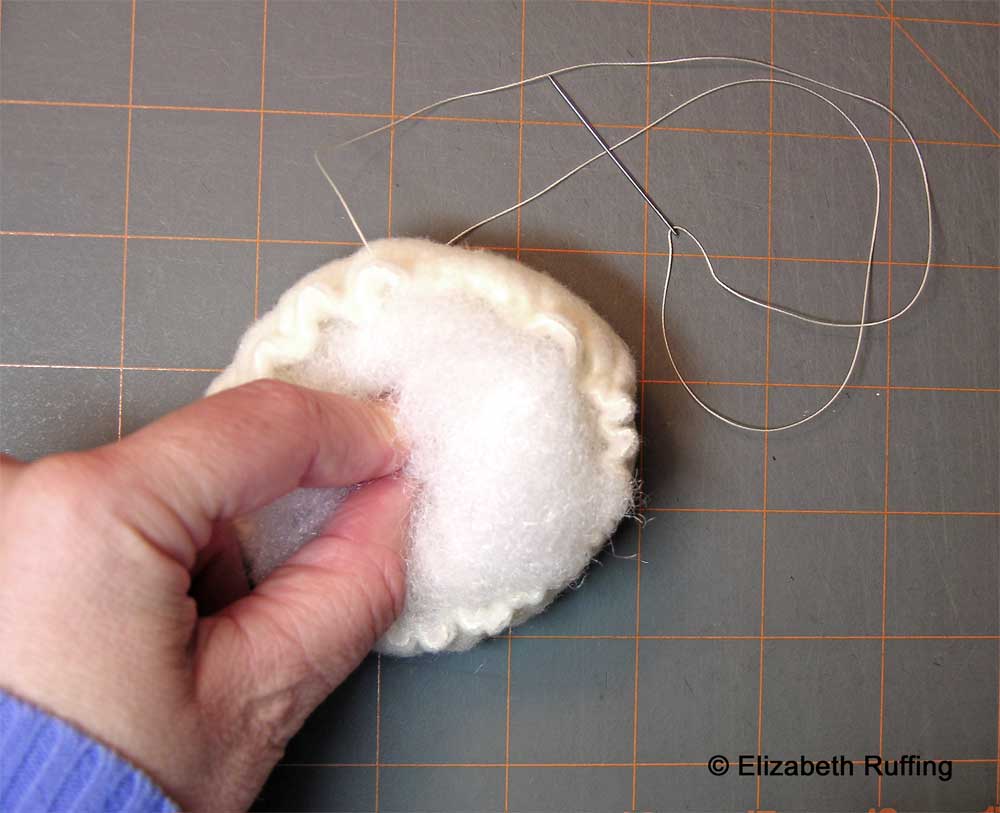 It will make a cup. Poke your wad of stuffing in the middle, and tug your thread some more.
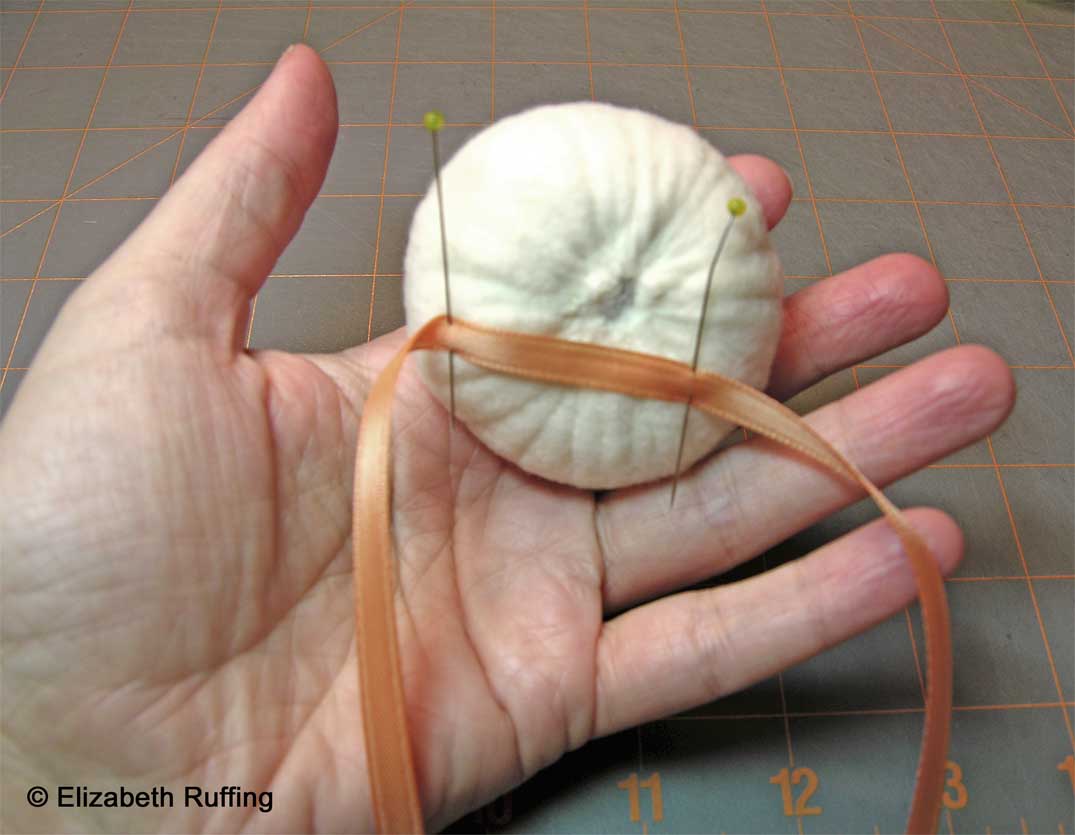
 Pull it as tight as you can without breaking it. It helps to keep sewing around the circle, picking up the edges of the circle as you go, and pulling the thread. Once you have it gathered as much as you can, knot your thread and cut the end.
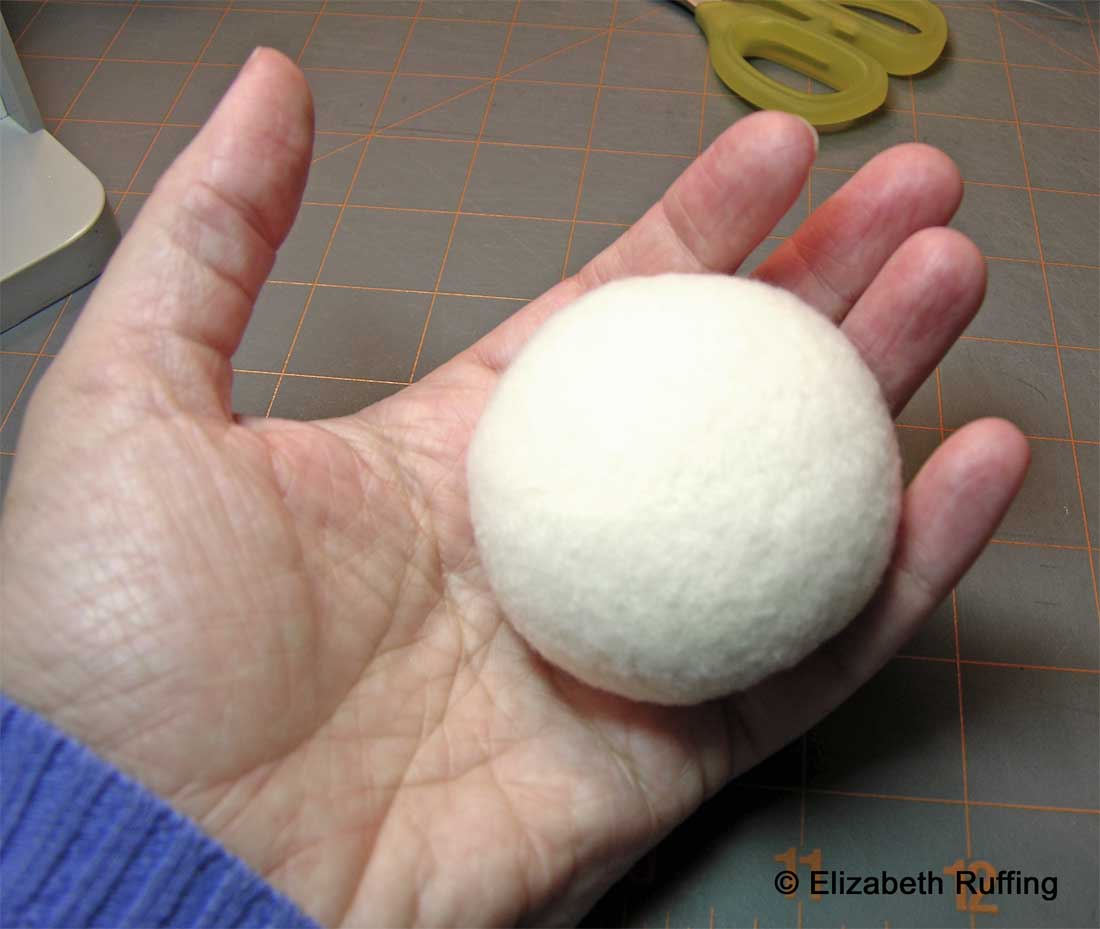 Now you have an eyeball. Time to attach the iris.
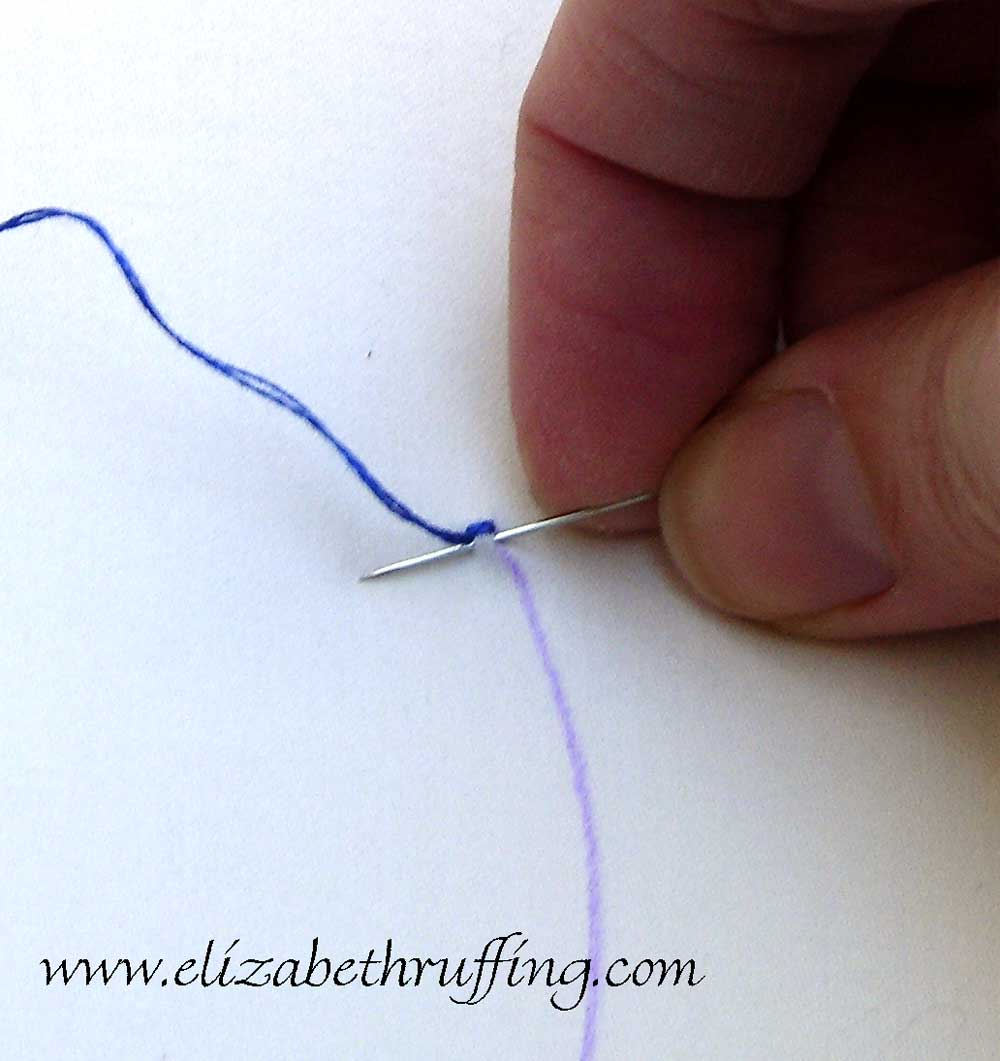
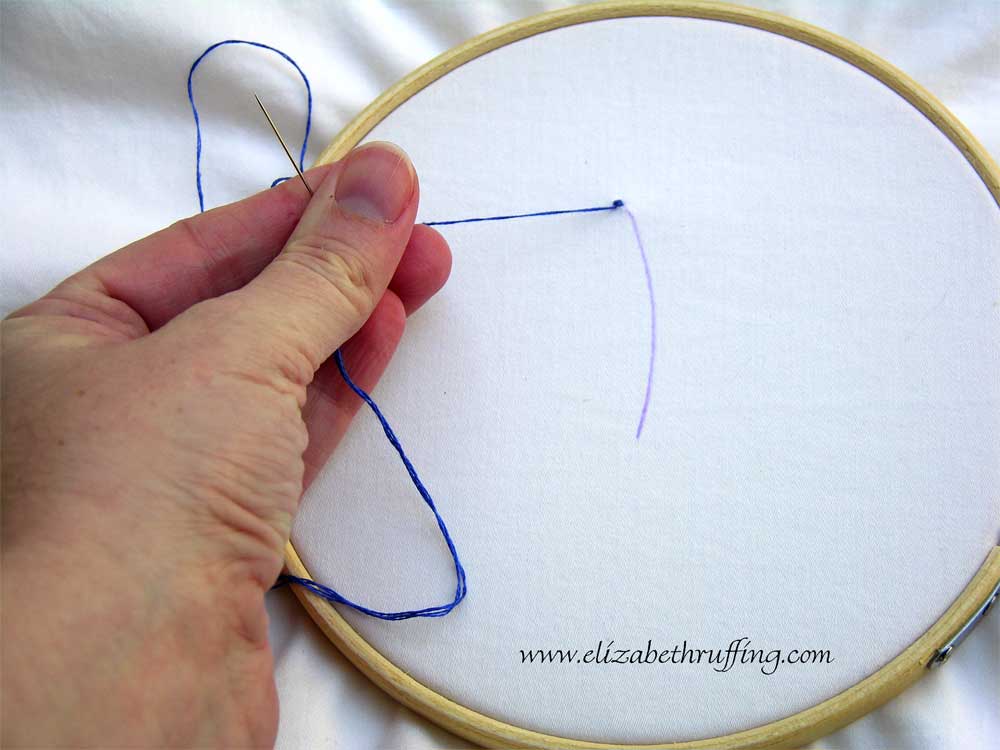
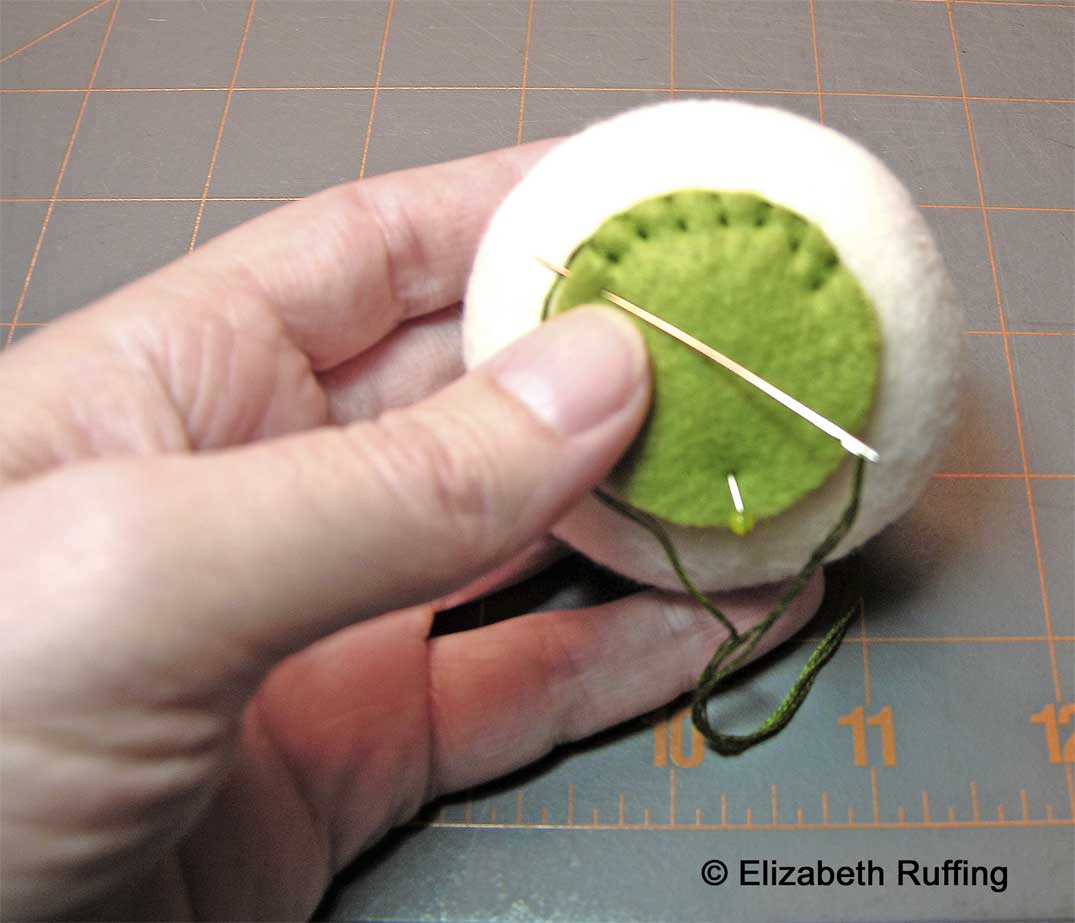 Pin the iris on wherever you like, right in the middle if you want your eye to stare straight out. Sew a blanket stitch around the edge, using your floss. I have a step-by-step tutorial for the blanket stitch here.
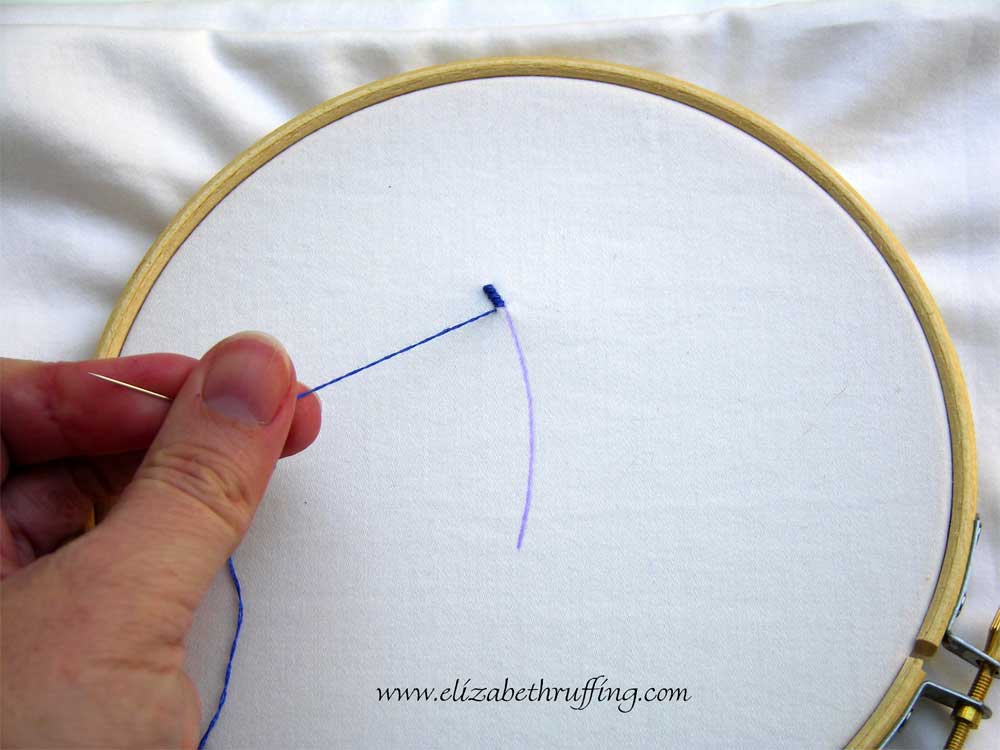
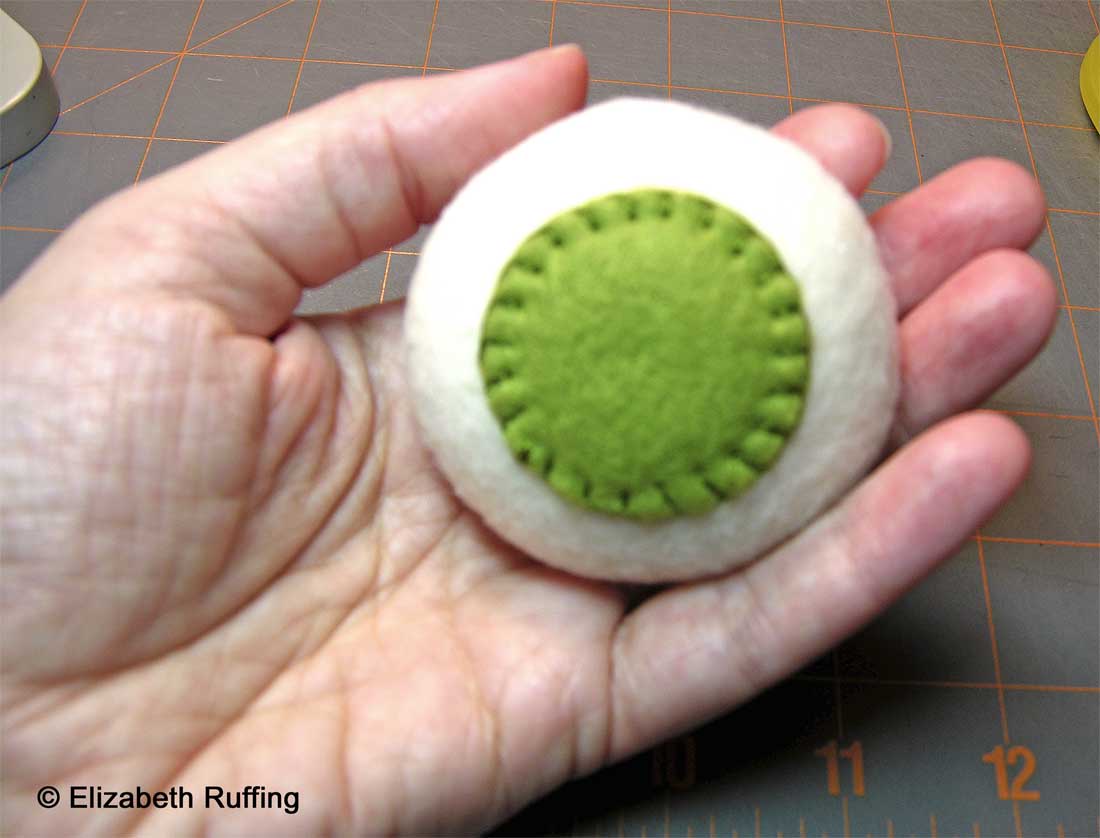 Knot the end once you’ve gone all the way around, and pull it under the edge of the iris, and out the top of the iris with your needle, to hide the knot. Cut the end of the floss.
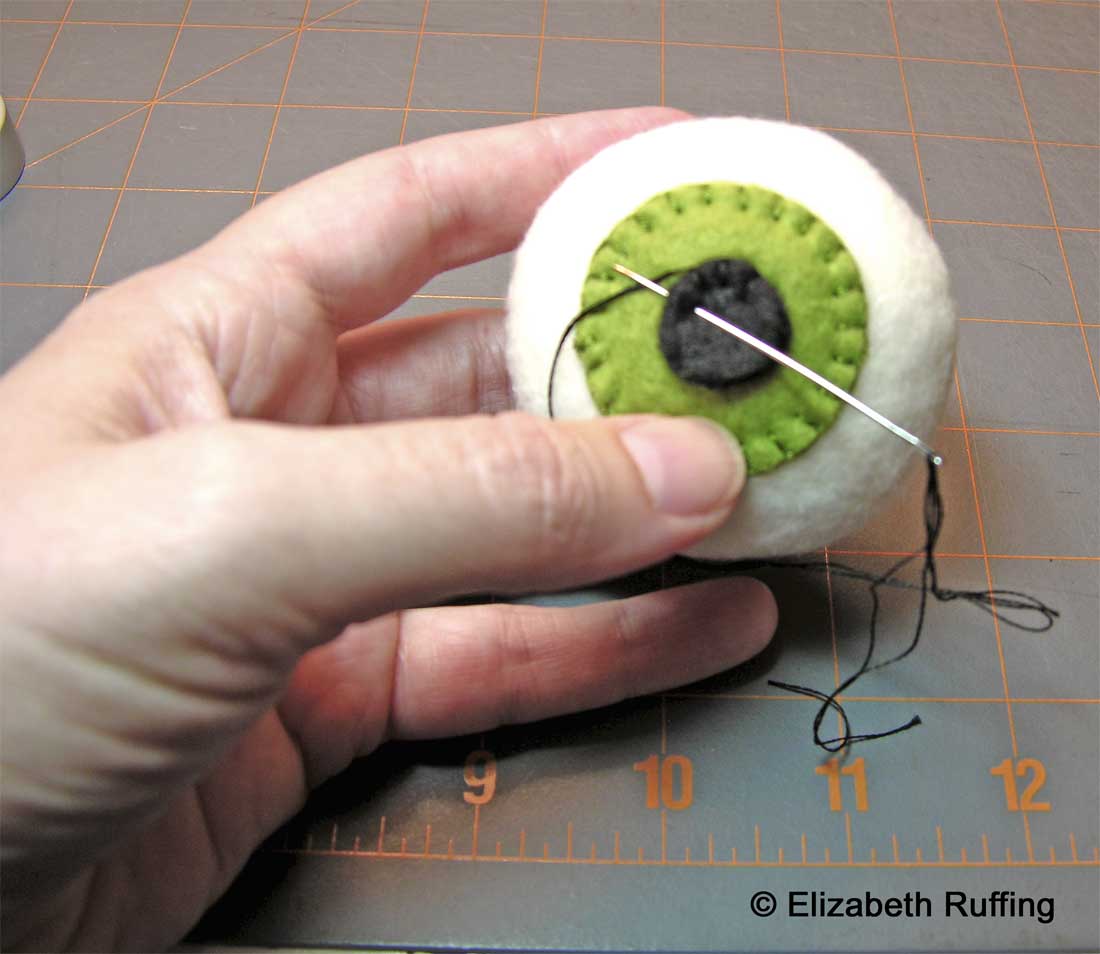 Lay your pupil on top of the iris, in the middle if you want it to stare straight out, and attach it with a blanket stitch using your black floss. Knot the end, pull the knot under the edge of the pupil, and out the top to hide the knot. Cut the end of the floss.
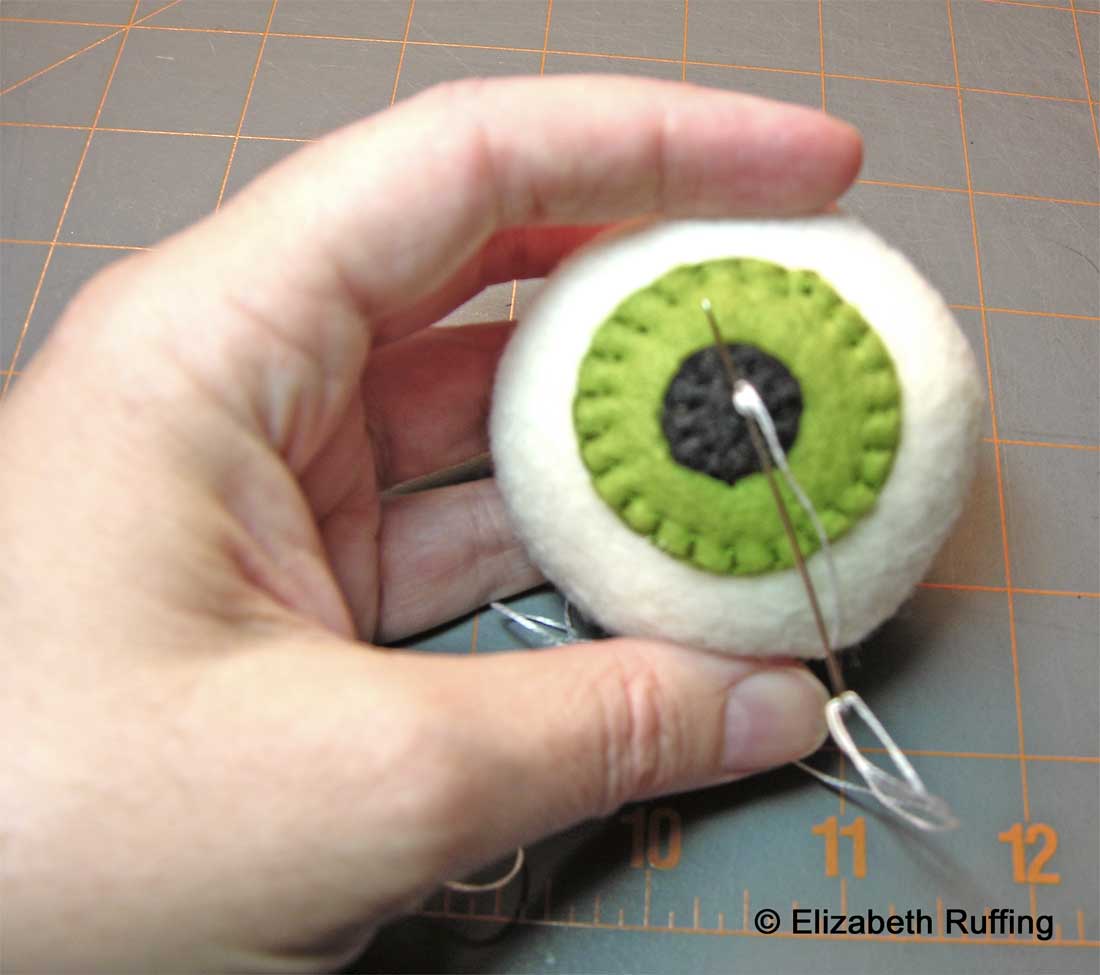 Take the white floss, enter from under the edge of the iris, and come out on top of the pupil. Take a few stitches to create a highlight for your eye. This is really the same as taking a few satin stitches. You can see my tutorial for a satin stitch here. Then poke your needle back in and under the iris, and out under the edge of it, to hide the end of your floss. Cut the end of your floss.
 There’s your eyeball.
 I attached a ribbon to the back of mine, trying it on first to see where I wanted the ribbon. Just hand sew it on to the back and your all set. I still like the idea of pinning it to a sweater like a brooch.