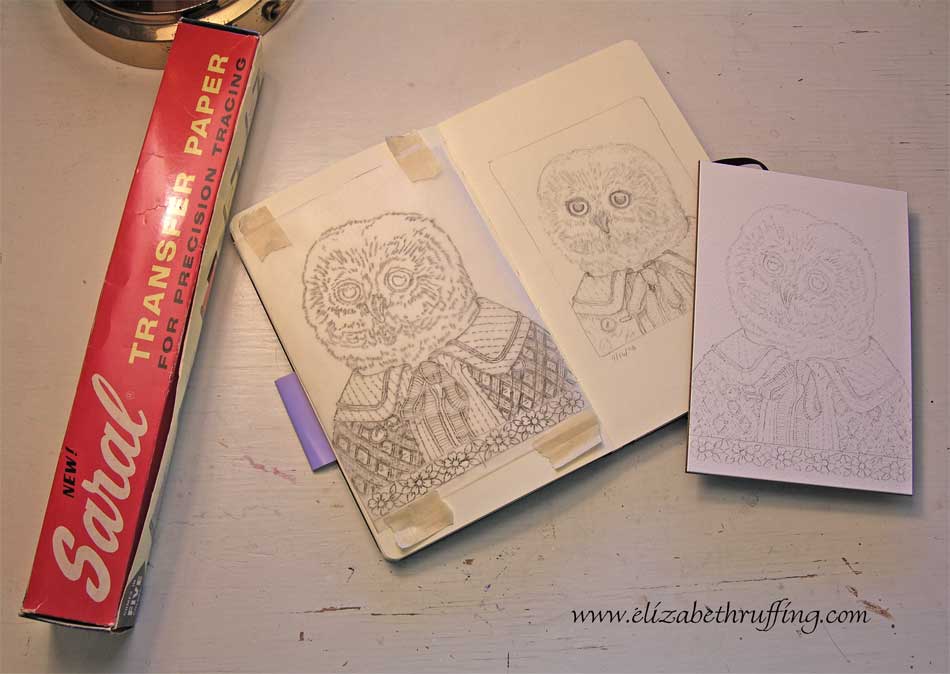
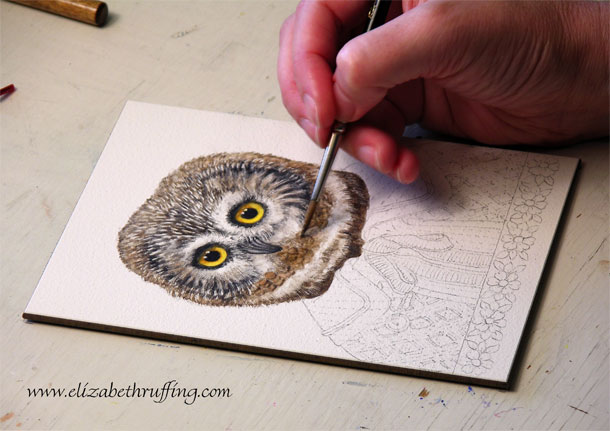
 My owl is actually finished, but this is me painting him. This is one of the several hundred time-lapse photos I took today of myself painting. I uploaded my photos in two batches only to discover that the Roxio program I used to make my first video had taken over the numbering of my photos. It started the first batch at 001, and then started the second batch at 001-1. Without noticing that, I put both batches in the same folder, and ended up with a terrible organizational mess, with one photo from each batch alternating with one photo from the other batch, 001, 001-1, 002, 002-2, etc. I thought I was going to have to drag and drop one photo at a time onto a storyboard to make a video. Luckily, I had the second batch still on my card. So, I managed to delete that set and re-upload it into a second folder.
I still need to know how to set my preferences to have Photoshop Elements be my default photo editor again so I can have my photos numbered consecutively starting where I left off, not at 001 every time. If anyone knows how to fix that, please drop me a note!
Update: After some suggestions, some fiddling, and turning the computer off and on again, my photos seem to be coming in numbered in their old Photoshop Elements fashion. I’m not sure how it happened, but I’m glad it’s working. Knock on wood. My photos are still labeled as Roxio jpgs, etc, though. So, not everything has reverted, but at least, so far today, the new photos aren’t staring at 001.