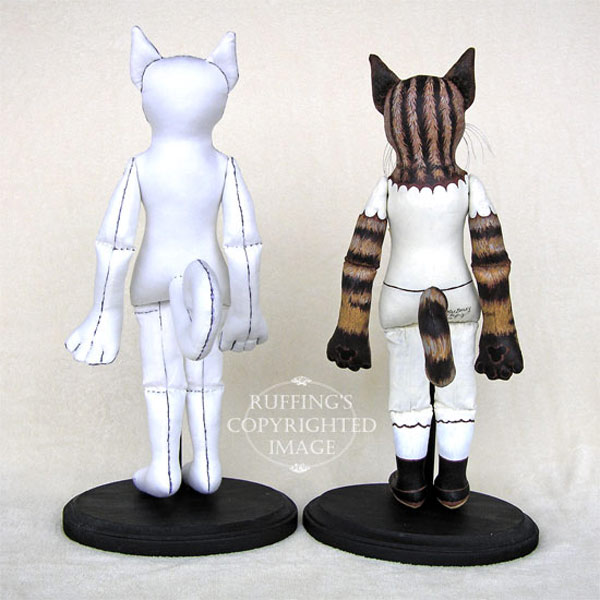
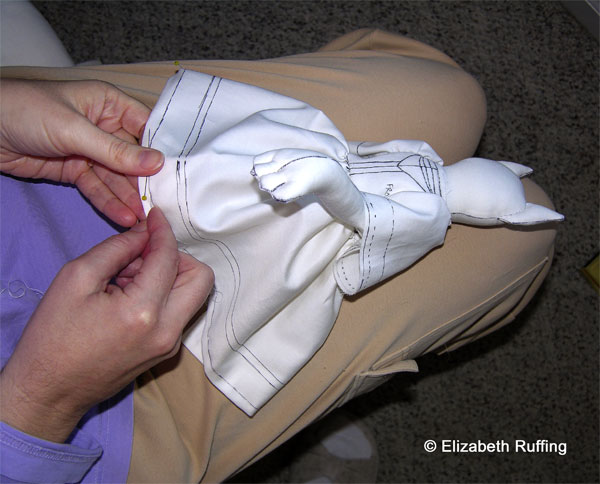
 Here are some photos of the muslin of the doll dress I was working on, completed. It is entirely hand sewn using cotton quilting thread to make a basting stitch.
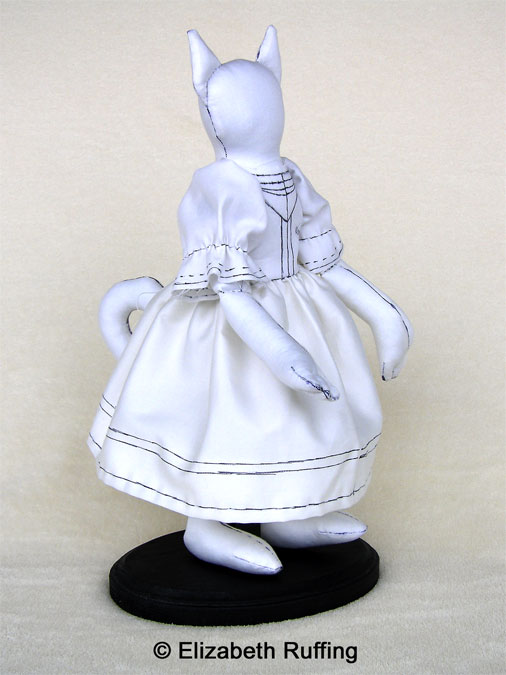 I draw any adjustments in fit and length that I want to make directly onto my dress muslin with a mechanical pencil. Before I assembled the dress muslin, I traced the original version of my pattern right onto my fabric using a permanent black marker. Generally, I use a pencil to mark my dress muslin while my doll is wearing it to make sure I don’t mark the doll.
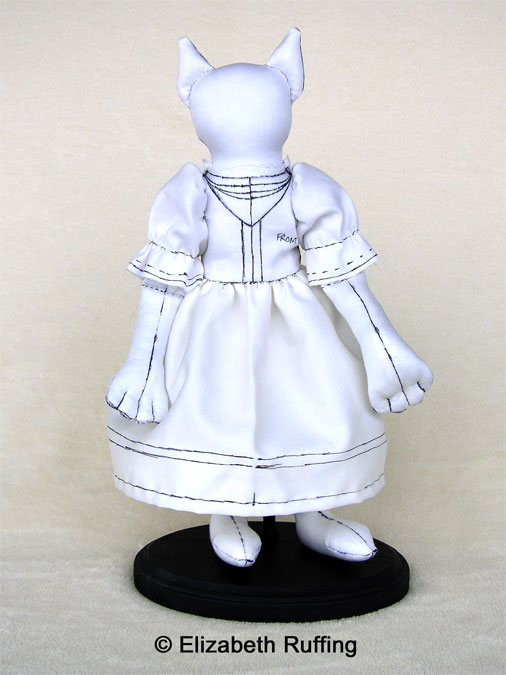 There are some minor adjustments to make. There was a small pucker in the bodice at the underarm. I will deepen the bottom of the armhole to compensate for this. I also added a quarter inch to the length of the skirt, and widened the back of the bodice slightly.
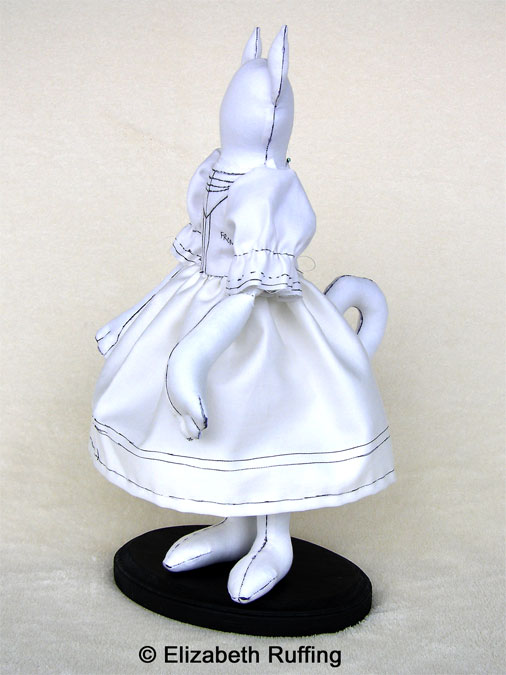 I used a single strand of thread for my stitching because it is easier to pull out, which is the next step. The muslin is next carefully disassembled using a seam ripper. Then I trace each piece, refine each one on paper, and make a final draft of my pattern. I haven’t pressed the dress muslin at all, to minimize any distortion of the fabric pieces.
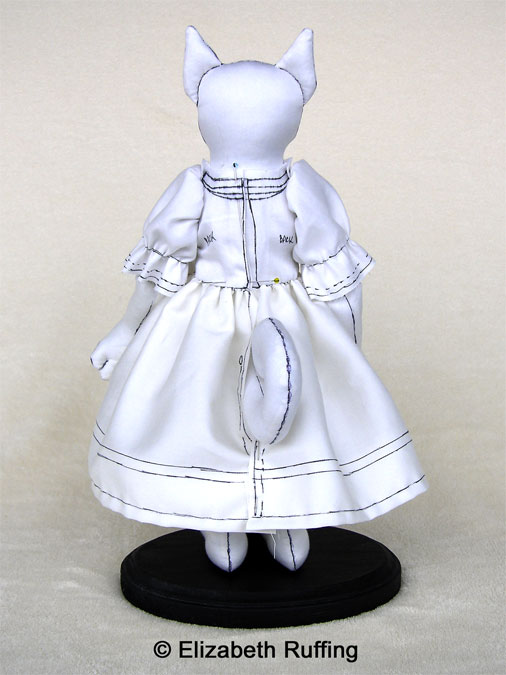 Incidentally, although the rough draft of a dress is called a muslin, I don’t use actual muslin fabric to make my dress muslin. I used cotton sheeting on this one. The important thing is to use a fabric similar in weight and drape to the fabric you will use for your real dress.
We’ll be adding these new collaborative dolls to our online doll gallery once they are completed and photographed. I’m brainstorming on my navigation ideas for that main doll gallery page. There are so many original art dolls now, they’re divided into four subcategories, jointed cloth and paperclay art dolls, art doll figurines, soft art dolls and art toys, and already adopted dolls. Be sure to come check them out.
