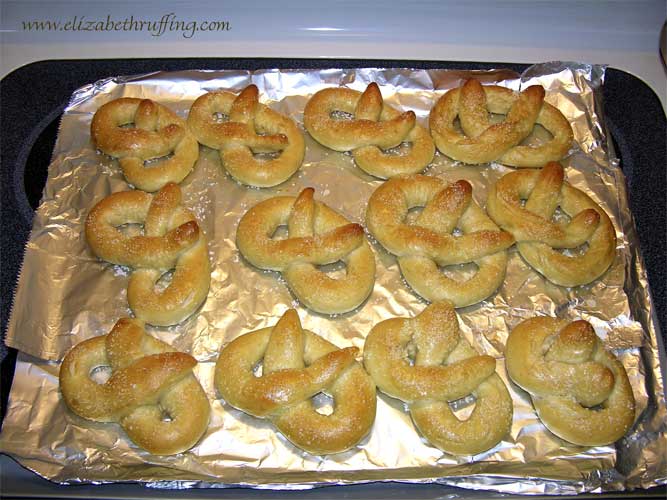
I’ve been hitting some snags with the new doll pattern I’ve been designing, but I’ve had plenty of time to sort them out. My car overheated for the second time in a month or so, and I’ve been stranded here for days. On a positive note, it overheated around the corner from the place that usually tows it for me. I drove at a crawl to the nearest parking lot, not even sure where I was on the back roads, and that lot just happened to be the towing place. Pretty lucky. It turns out I’ve had a hole in my radiator that went unnoticed the last time. So, I am even more fortunate that I didn’t get stranded while coming home at night along one of those new and very convenient, but very much unpopulated, stretches of highway here in the past of couple weeks when it’s been 106 degrees to boot.
I’ve been lucky so far with the car problems. The only flat tire I’ve ever had happened this summer too…right across from a car dealership, with an attached tire repair shop. And then there were The Pliers From Heaven a couple of months ago. I was driving under an overpass on my way to coffee, and heard something very loud hit the car. My first thought was that someone had thrown a rock off the overpass, but I didn’t see anyone in my rear view mirror. I didn’t see any dents when I got out of the car either. Later, after coming out of the coffee shop, I saw my windshield wiper looked rusty. On closer inspection, I saw that wasn’t my wiper at all, but a pair of heavy pliers.
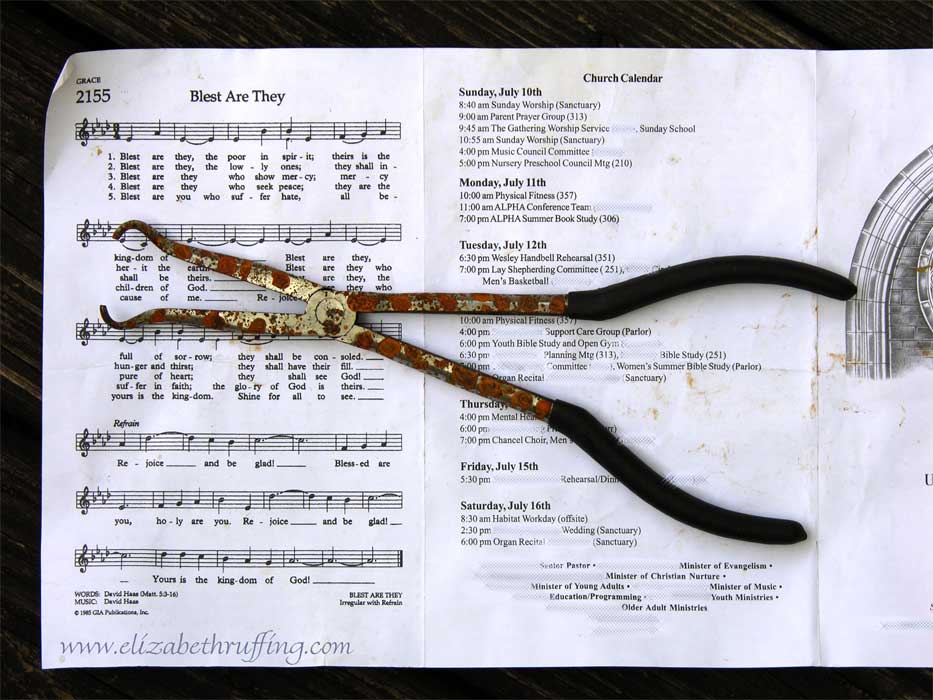
They are about a foot long, and they had landed maybe one inch below my windshield, on the driver’s side. I think they must have been stopped by the grate below the wipers because they didn’t even move. The ends curl downward, and they must have dipped into the grate. Not a scratch anywhere. And they didn’t kill me, which is the best part of all.
I reached for the nearest thing to place the pliers on so the rust wouldn’t get on anything. When I got home, I realized it was an old church program with the hymn “
Blest Are They” on it.
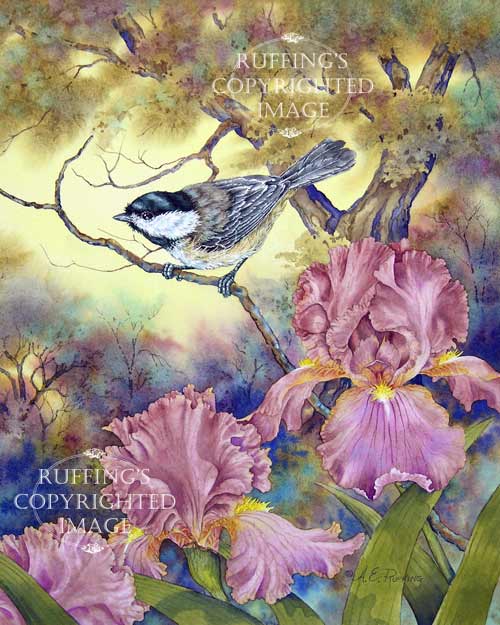
Say what you will about Princess Maertha Louise, but you’ve got to wonder.
 I also went back to blond.
 A little sad.

Not so sad.

No, not sad, not really. Unless we look at these in reverse.
But it’s better this way, I think.
 I’m sorry to even say that! I’m still plodding along with my new doll pattern(s). I finally convinced myself that no amount of tampering was going to make the head I’d made for this doll fit her body properly. Taking things apart is never fun. I’d gotten attached to her oddly disproportionate head in the same way that I grow to love what I’m afraid no one else will love, like the time in seventh grade when I got first pick of the litter of our classroom guinea pigs. I had to have the runt, a short-haired white fellow with pink eyes I named Napoleon. He wasn’t fancy, but he was a sweet little guy.