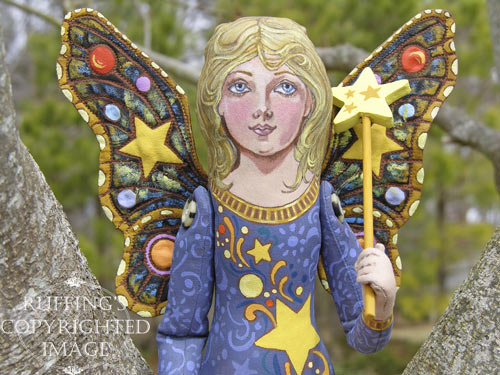
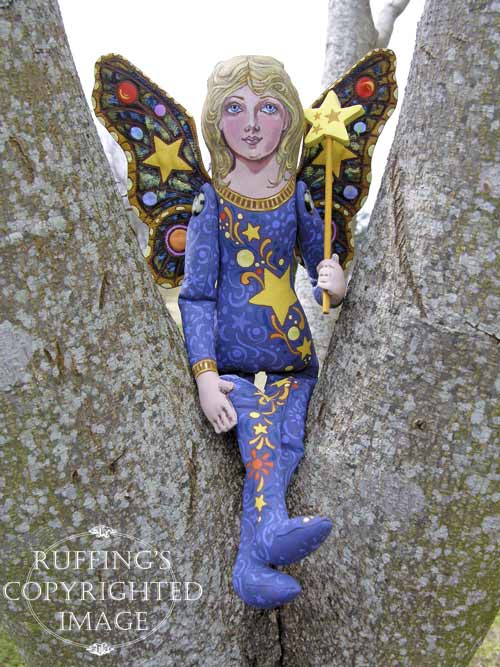
 Here is Lumina, a picture in my memory from my grandmother’s bedtime stories of fairies who flitted around the night sky doing their good deeds. Beautiful and serene, this sweet-faced fairy touches the stars with her magic wand, making them shine a little brighter. A magical and mystical being, she clears away the fog, sometimes leaving a shining trail. When the night is clear, and the heavens are sparkling, she knows her work is done.
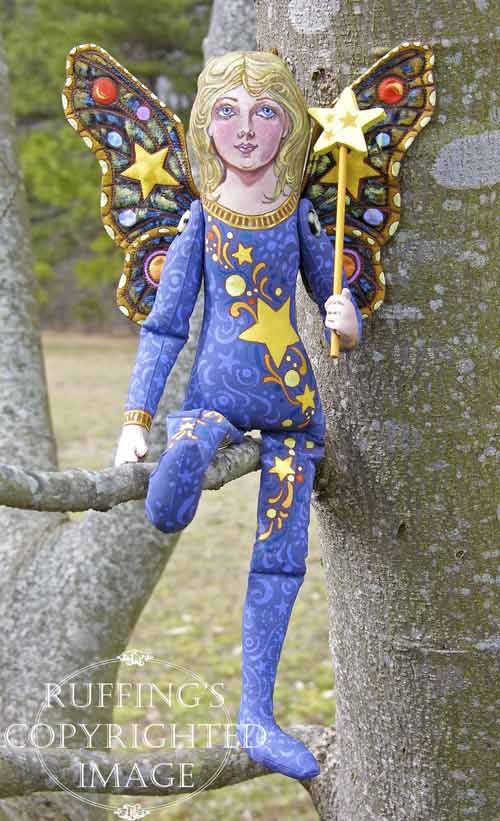
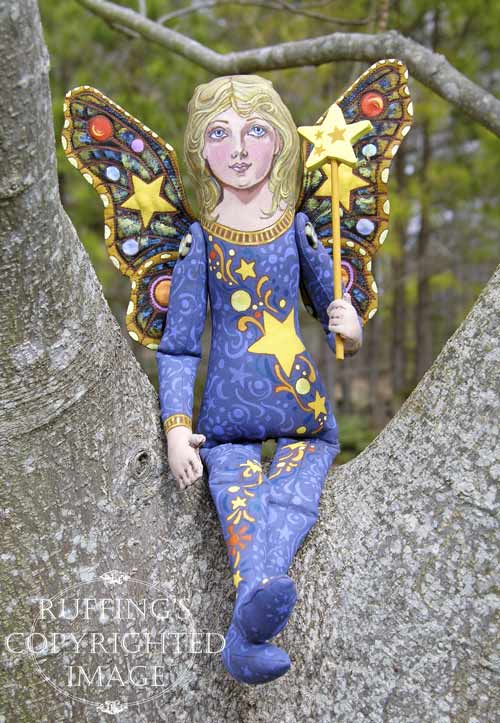 Lumina is 12 inches tall and her wings measure 6 and 1/2 inches across. She is made from 100% cotton fabric which is sewn, stuffed, and painted with acrylic paints. I painted her body with an elaborate pattern of stars, moons, and celestial swirls, first blue on blue, then diagonally across her body and down to her feet in gold, red, and orange hues.
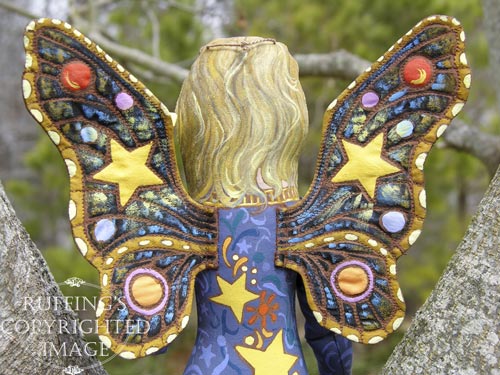
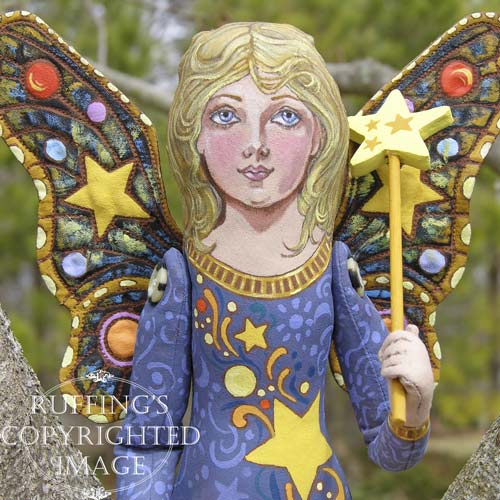
 Her wings are quilted and separately attached. I gave them golden edges and stars that seem to radiate light. She has blue eyes and golden hair that I like to think of as touched by starlight. She holds a wand made of wood and paperclay.
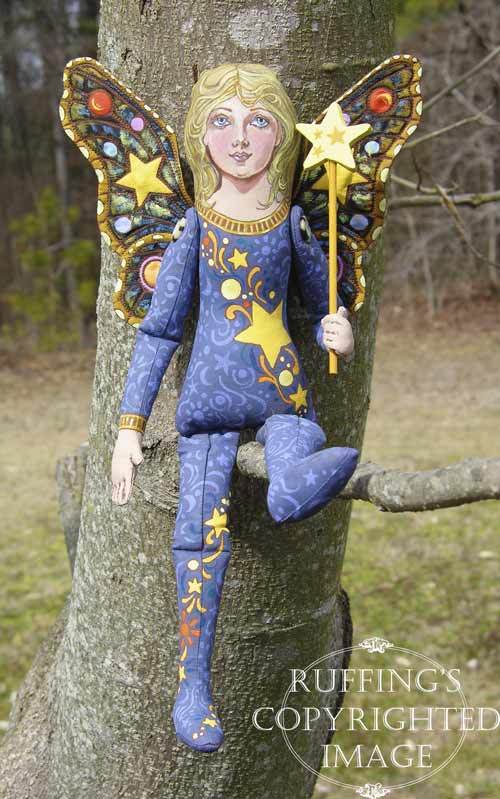
 There is a small loop in the back of her head, should you wish to hang her up. She can also sit on a chair or on a shelf, or stand with a doll stand. (Chair and doll stand not included.) She is signed and dated, and sealed with matte varnish for protection and preservation.
 Lumina is a true one-of-a-kind original work of art that began with a visual memory, then became a concept. I created her from my own design and pattern. She is meant for display only.
 Update: Lumina has already been adopted. Thank you!
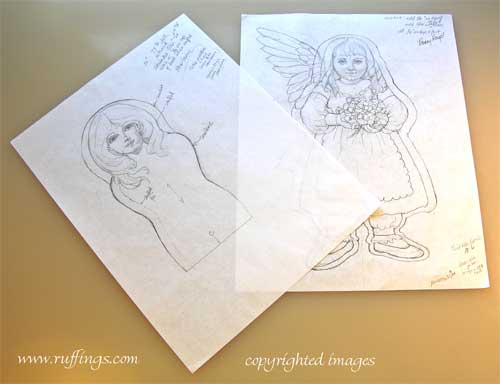 These are my drawings for two original folk art dolls I am working on. The one on the left will be a fairy. I am planning to give her a rose-tipped wand to help her tend her gardens.
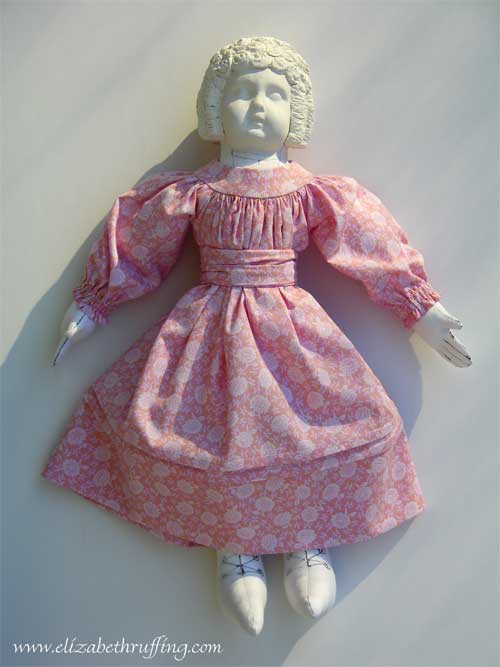
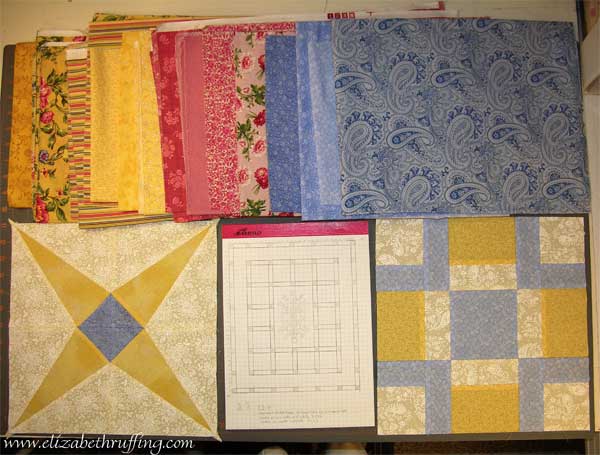 I finished my quilting homework today for another quilting class. In spite of the fact that I am usually behind on


