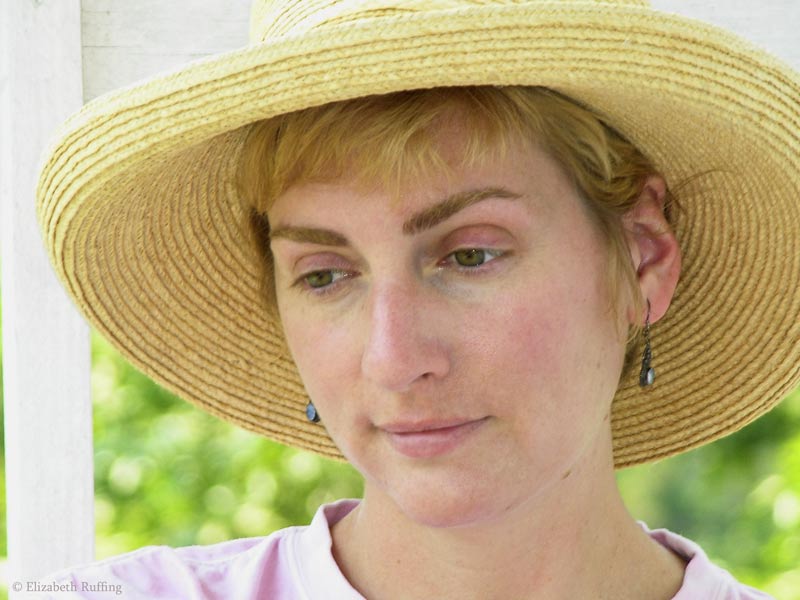
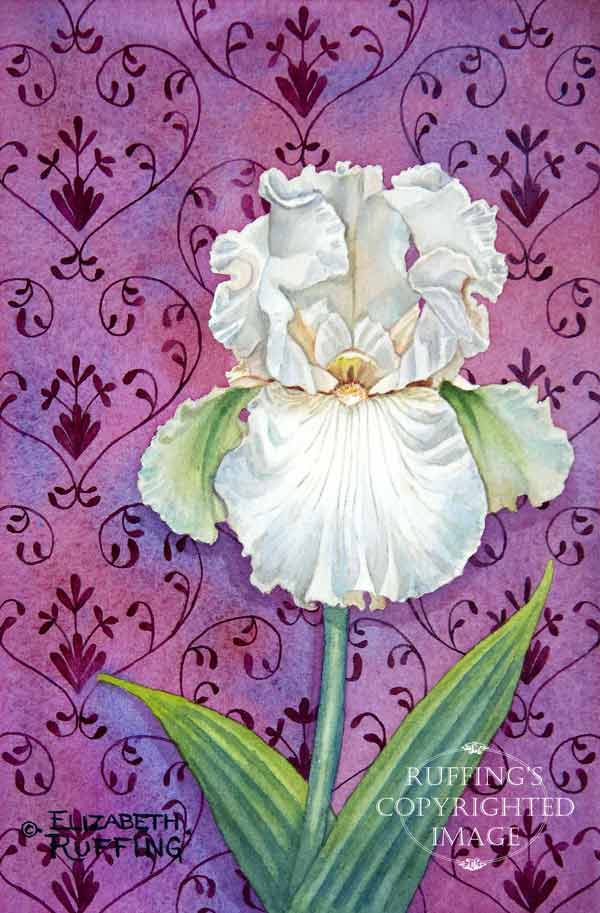
This me, Elizabeth, in my favorite straw sun hat. I wear it when we go out walking. I have other straw hats that I use for gardening or for working in the yard. I love flowers and I’m making two floral art quilts, incorporating my love of gardening, painting, and sewing. One is based on a watercolor painting I did of an iris flower.
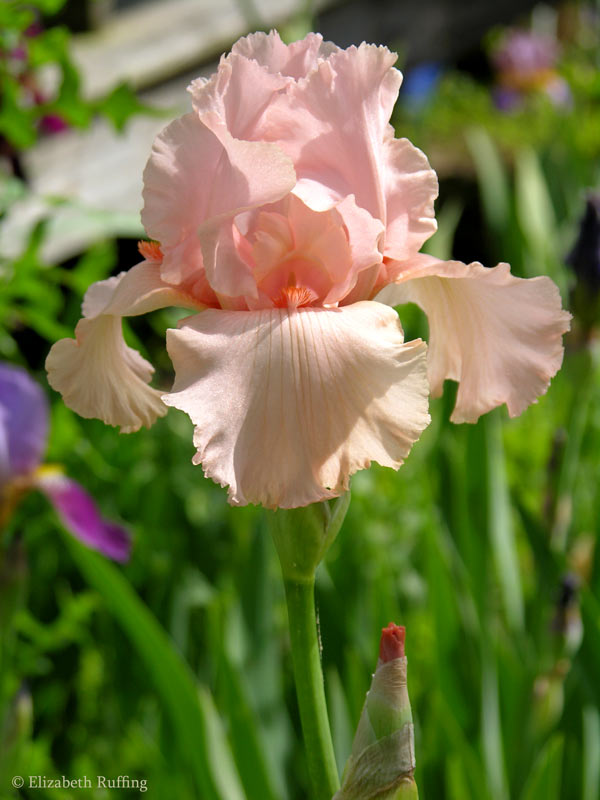
 I brought many of my iris plants with me, when we moved from New York state to North Carolina. I kept them in containers on the balcony of our apartment, and then planted them behind our new house. Many of them are my grandma’s irises.
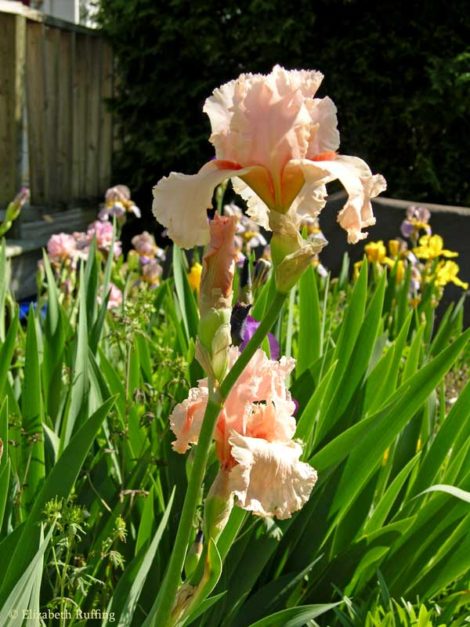 I painted one pink iris on an Art Nouveau inspired wallpaper background, which I designed.
 I printed this image on canvas that was made for use in our Epson printer. I sealed it with Liquitex matte varnish, because I am going to use this art quilt as a wall hanging.
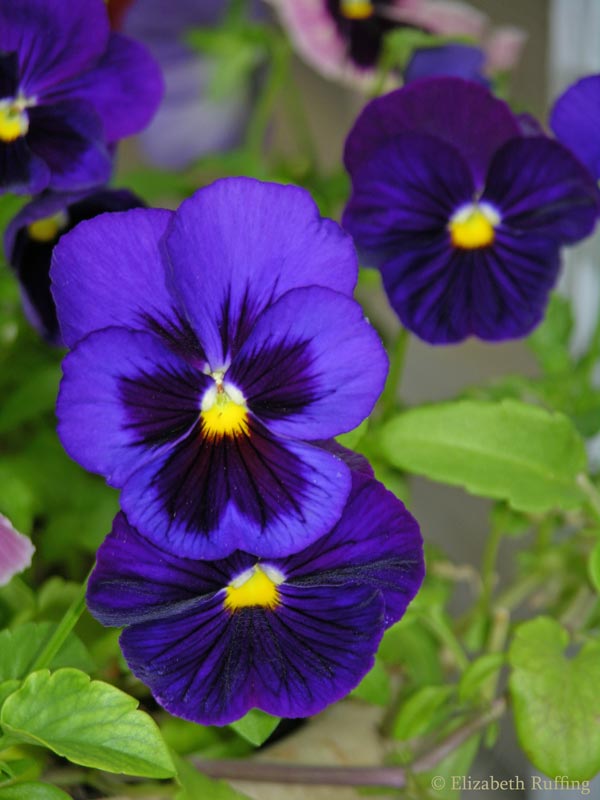
The second image I am using is printed from my watercolor painting of pansies. It has a light blue border, with decorative flowers.
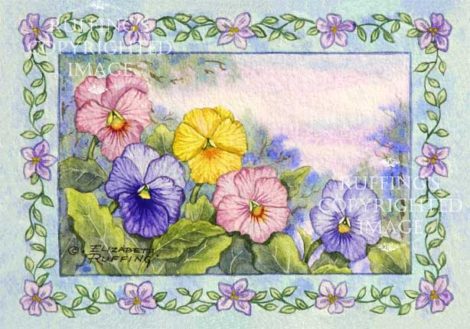 Pansies are so adorable and cheerful.
 The come in such pretty colors, just like batik fabrics, which I am using to frame my canvas prints. I’m using an assortment of cotton batiks, which blend together nicely for quilts.
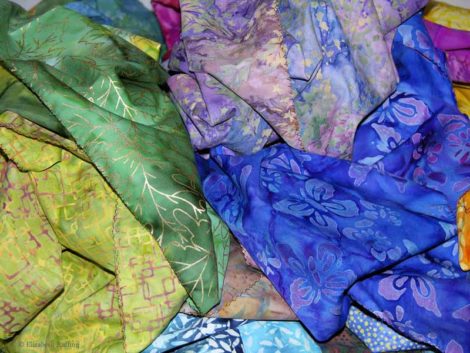 This is the pile of cotton batik fabrics, waiting to be pre-washed, before I sew them into a quilt. I sewed a zig-zag stitch along the raw edges, to keep them from fraying in the washing machine. I like to wash my fabrics before I use them, to compensate for shrinkage, and because I find the smell of fabric sizing irritating.
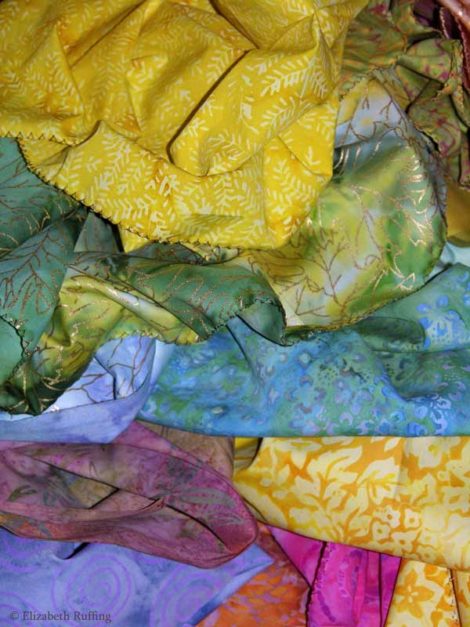 I love fabric. I get excited about anything that is displayed in those rainbow, full-spectrum arrangements in the store. I lose track of time on the paint aisle of an art store, or a in a quilt shop, with the fabric bolts, lined up by color. I’m captivated by colorful things.

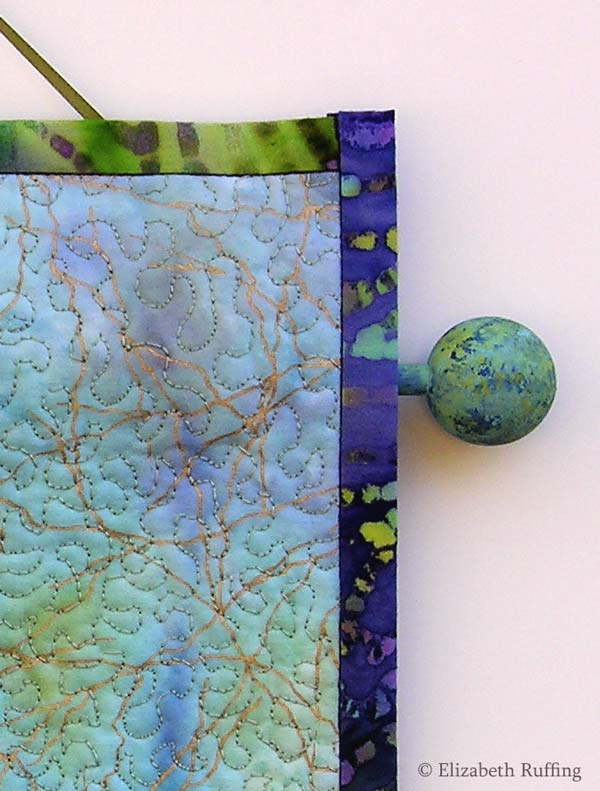
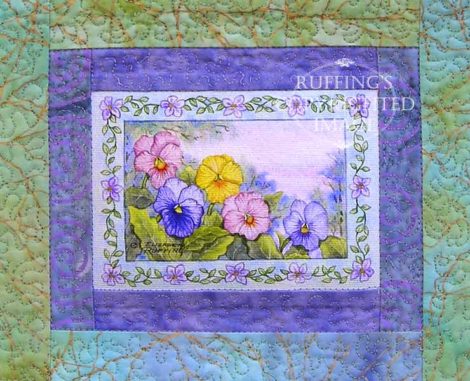
I’m using the batiks in strips around my canvas prints, like a mat and a frame, only made of fabric. Once sewn together, I am putting cotton batting behind them, and then a cotton fabric as a backing.
I drop the feed dogs on my sewing machine, so I can free-motion quilt the layers together, randomly winding around, to make a stippling effect.
Once the layers are sewn together, I am adding a sleeve to the back of each quilt. I finish the edges of the sleeves, fold them in half lengthwise, and the attach them to the top edge of each quilt, on the backs of the quilts. I hand stitch the lower edge of each sleeve to the back of the quilt. Then I add binding to the edges of the quilts, avoiding the openings of the sleeves.
I am taking a wooden dowel, cutting it to the lengths I want for each quilt, and gluing wooden balls to each end, to make a display rod for each quilt. The wooden balls come in a package at Michael’s or another craft store, and they have holes drilled in one side, big enough to insert the end of a dowel. Just be sure to get the right size dowel for the hole.

I am using coordinating acrylic paints, and a sponge to paint the rods to match my quilts. I varnish them, and when they were dry, I insert them in the sleeves. I tie a ribbon to each display rod, to hang them up.
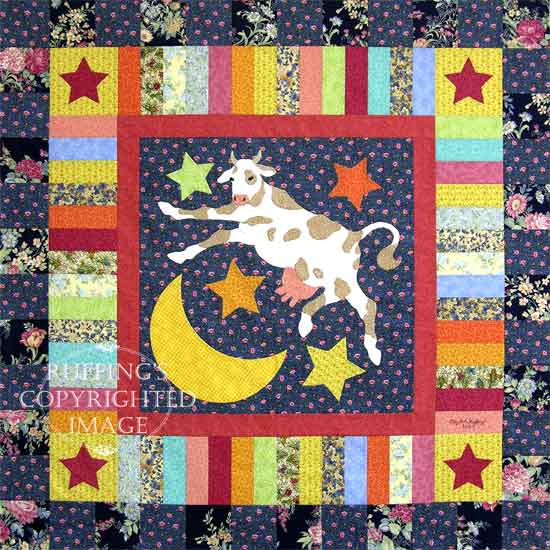
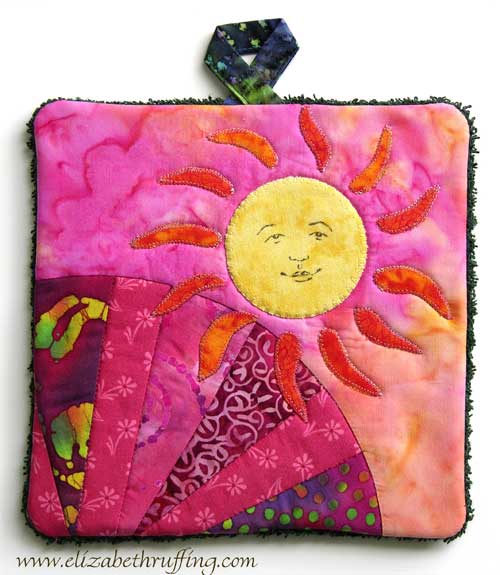
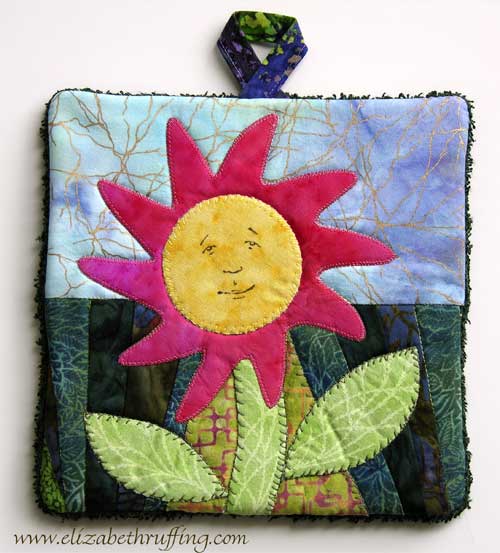
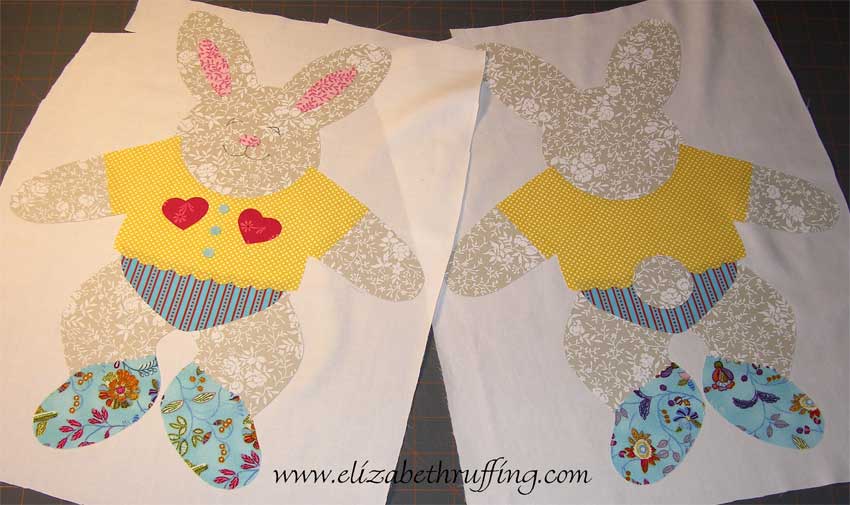 I’ve got my new doll patterns ready for a test run. This is my “Huggy Bunny” ready for some machine appliquéing. I am also going to try my hand at hand embroidery, a new craft for me, partly in honor of the Etsy for Animals January challenge, “New Year, New Craft” (although I’m not sure I can meet the January 1st deadline), and partly to tie in with a new idea I have for some embroidery designs. I was thinking a sort of “stitch-along” might be fun. I’m working on an original design to post on my website so that anyone who wants to join in, can learn along with me.
 My “Huggy Bunny” is part of a series of designs I’ve been working on since this past summer. This is the quilt variation. I had taken step-by-step photos of the whole machine appliqué process, and even the basic assembly of the quilt top, meaning to put together a tutorial, but, unfortunately, I got distracted by other things. This year I hope to get more organized and fill out this site a bit more. I’ve got plenty of ideas for new projects that I think will be lots of fun.