 I haven’t yet finished my quilt block-of-the-month homework from this past year, or the year before, or maybe any year, but…I have just started two more classes. One is an appliqué class, and the first block is a bluebird. I was fiddling and couldn’t stop myself. I redesigned the whole block. Then I thought it might be a nice thing to share since I could show some raw edge appliqué in action, and then I could embellish my design with hand embroidery, which I am determined to learn. So…if you would like to stitch along with me, please download and print the PDF for my design. You will need to download Adobe Reader, if you don’t already have it. It is a nine inch square design, which won’t fit on 8 1/2 by 11 inch paper. So, you will use the center marks on the design for placement.
Please note this is my original drawing and it is copyrighted. In this instance, I am allowing copies to be made for personal use only. Selling my design or making items to sell from my design is not allowed, but you may make the design up to keep for yourself or to give to friends or whomever you like. Please credit me with the design if you publish your version of my design anywhere.
 Okay…First of all, you will need some things:
- Tracing paper
- Ruler
- Pencil (I like the mechanical kind)
- Paper-backed fusible web (I like Wonder-Under)
- 10 inch square or larger of background fabric (I used a pale lavender-blue cotton quilting fabric, 11 1/2 square)
- Assorted fabric scraps in navy, royal blue, rust, tan, cream, gray, and two reds (I used cotton quilting fabrics)
- Optional embroidery tracing paper, or graphite paper and a hard pencil (I used a 2H pencil)
- Optional disappearing ink pen, or permanent marker (I used a Pigma pen)
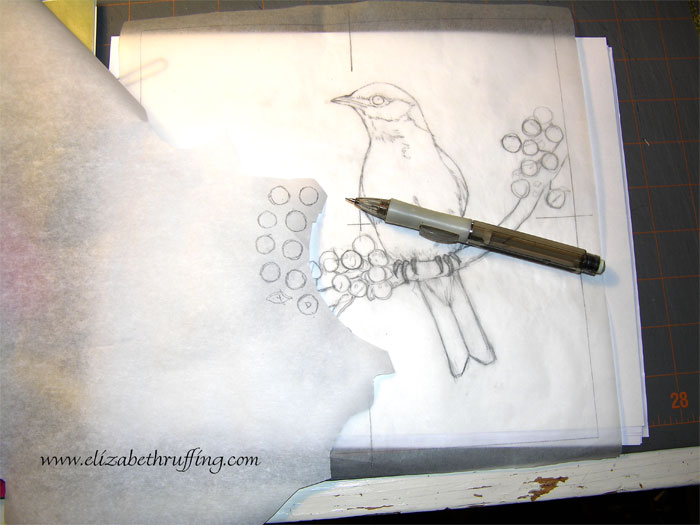
Cut a ten inch square of tracing paper and draw a nine inch square on it. Mark the center on all four sides and mark the middle of the square with a cross. Match the center marks up with the center marks on my design and trace the design onto the tracing paper. You may simplify the design all you like. You’ll be working from the tracing. Using the color picture at the top of this post as a guide, simplify the design into shapes by what color goes where.
Flip your tracing over to the reverse side. If you don’t do this, your design will be facing the opposite direction when you are done.
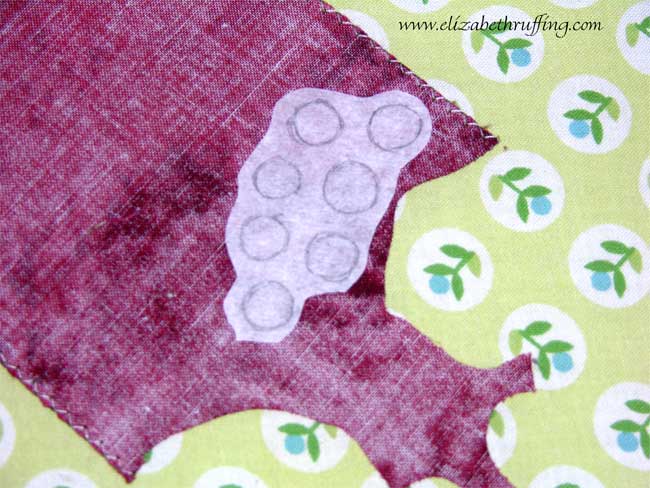
Lay your paper-backed fusible web over the tracing and draw the shapes for each color onto paper side of the fusible web. Give yourself about an extra eighth to a quarter of an inch of paper-backed fusible around each shape. (For anyone who might not already know this, you can click on the blog images to make them larger if you need to.)
 Fuse your paper-backed fusible shapes onto the wrong side of each of your fabric scraps, by color, following the directions on the package. Allow them to cool.
For the berries and the branch, you will simply cut along your drawn lines, except for either end of your branch where you will need to leave some extra fabric. You will trim your block down to size after it is stitched. Leaving a little extra on the sides of your block is a precaution against the small amount of fabric that gets taking up from stitching.
For the bluebird, you will leave an underlap where the edge of one color meets the next. This means you will leave an extra eighth to a quarter of an inch of fabric where one piece slips under another. It isn’t so important which piece goes under which. I started at the bottom of my bird, leaving a little extra at the top of each shape as I went up. So, the top of the tail, for instance, had a little extra fabric.
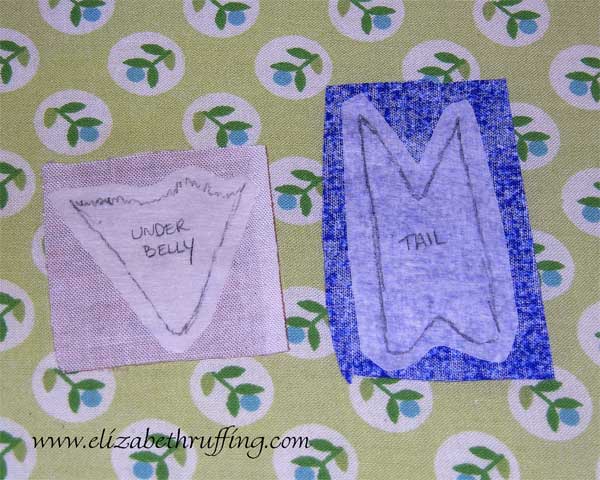 Where there is no underlap, you will cut along your pencil lines.
 Peel the paper off the back of your shapes, and use the tracing as an overlay to help you arrange the pieces on your background fabric. Mark the centers of the sides of your background fabric so you can line up your tracing. I used pins to do this. Start with the bird, working from top to bottom, laying the tail down first. As you go, lay your tracing over the fabric to see that everything is arranged the right way.
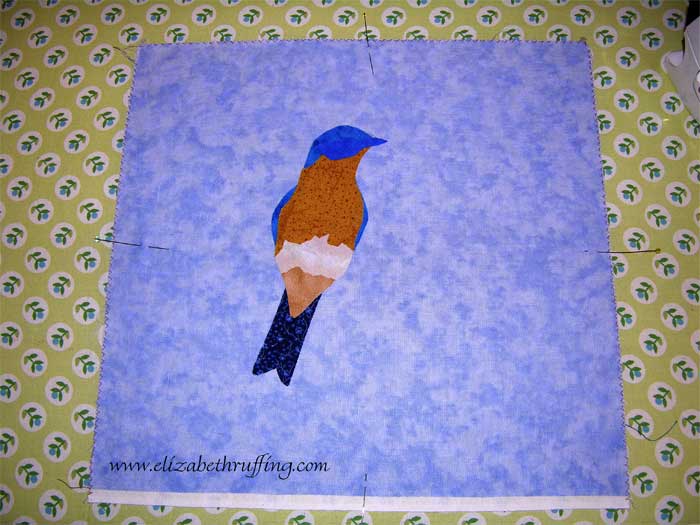 Once your bird is in place, fuse according to your package directions.
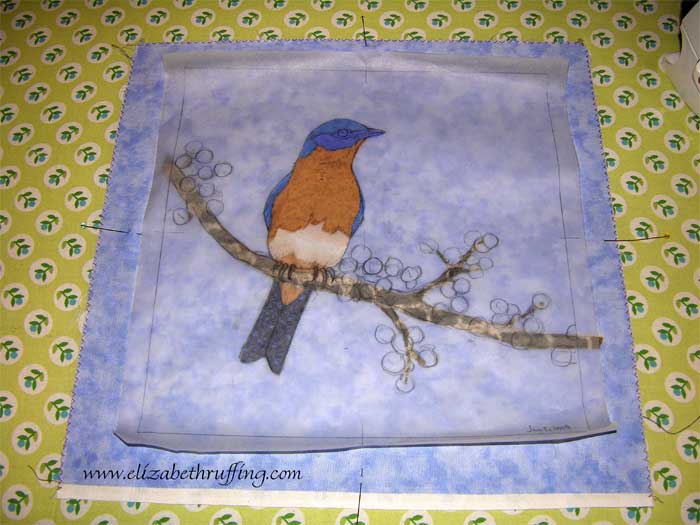 Next, lay the branch down and check its placement by putting your tracing over the fabric. Instead of following the center marks for placement now, you can just line up the drawing with your bird. It’s easier.
 Fuse your branch in place.
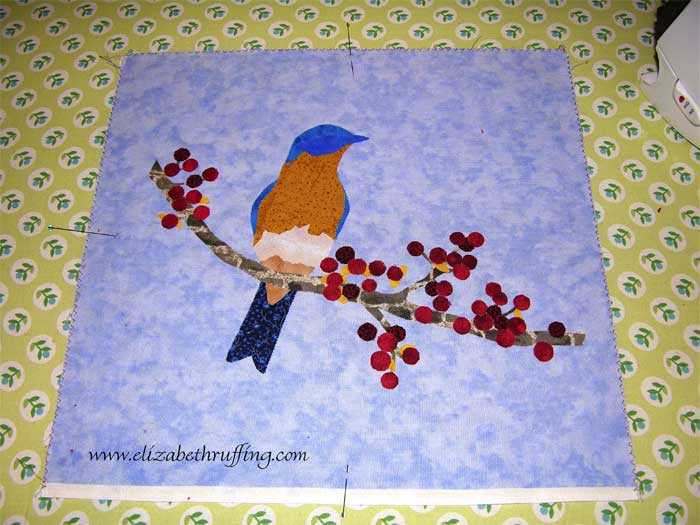 Lay down your red berries using the tracing as a guide as before and fuse them in place.
 Using a hard pencil and a small piece of graphite paper, transfer the eyes and the claws of the bird onto your fabric. Instead of graphite paper, you can also draw on the back of your design and then flip your tracing to draw over the lines on the front. Or you can just “wing it” 🙂 That’s pretty much what I ended up doing.
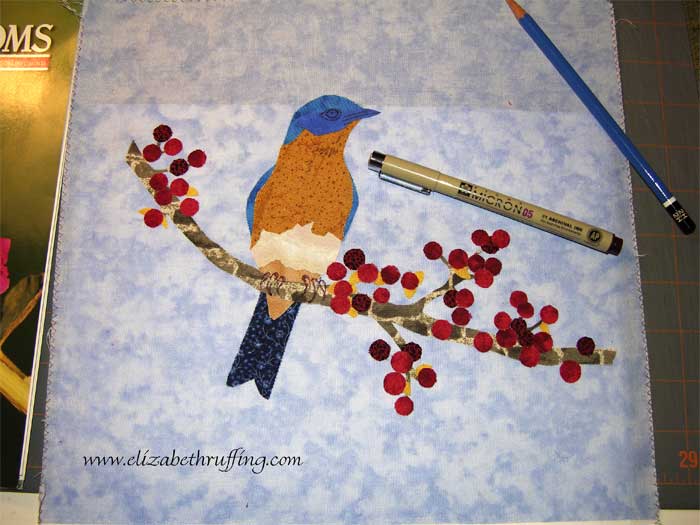 I went over my pencil lines with a permanent marker so I could see them better. You don’t have to do this. If you use a Pigma pen, be sure to let it dry for 24 hours before applying stream or getting it wet so it won’t run.
Now you are ready to embellish the design with machine stitching or hand embroidery. Whew. We’ll save that for another day.
I went over my pencil lines with a permanent marker so I could see them better. You don’t have to do this. If you use a Pigma pen, be sure to let it dry for 24 hours before applying stream or getting it wet so it won’t run.
Now you are ready to embellish the design with machine stitching or hand embroidery. Whew. We’ll save that for another day.


