 I’ve been drafting patterns for a couple of new art doll designs and I’ve got two kittens and a bunny on the way. I thought a little behind-the-scenes look might be of interest for anyone interested in making painted cloth dolls. After I draft my patterns, I trace them onto cotton sheeting by taping my drawn patterns to a light box, and then laying my fabric over the patterns. You can achieve the same thing by taping a pattern to a window during the daylight hours, and then taping a piece of fabric over the pattern.
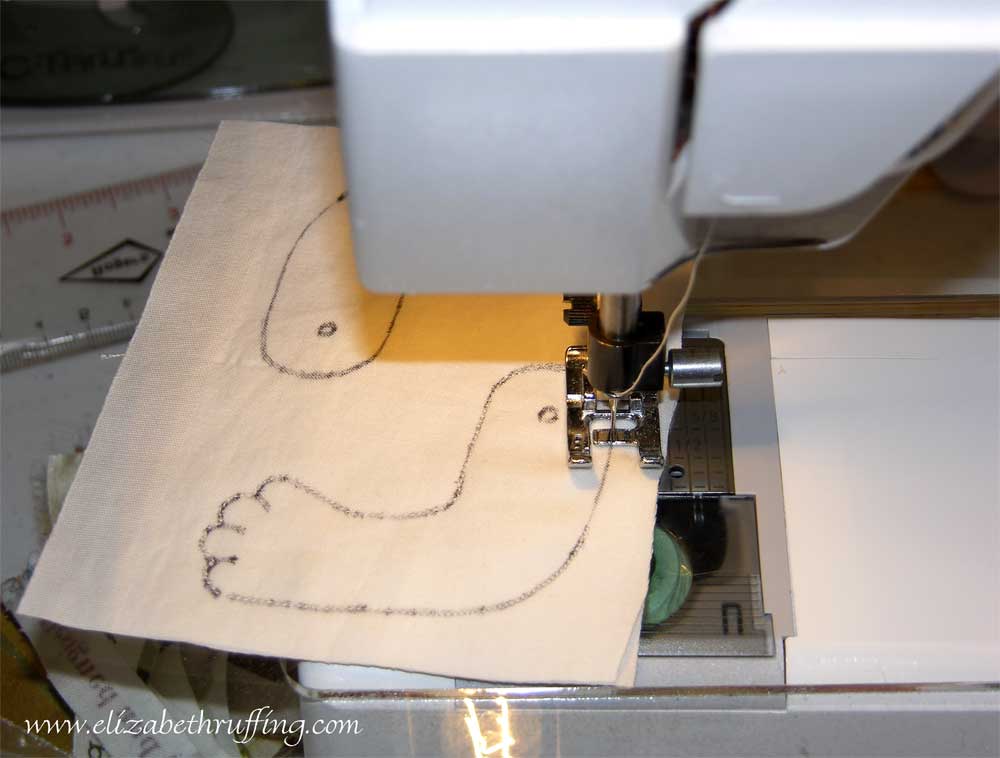
I’m using kind of fancy sheets, 300 thread count, Egyptian cotton sateen. I like them because they are soft and easy to hand stitch through, and the texture is very smooth. I’ve been getting mine at Linens and Things, but they may have discontinued the exact ones I’ve been using. Hopefully they have something similar. They usually have swatches you can feel. Look for soft and smooth. I wait for sales, but you can get so many dolls out of one full flat sheet, that it is well worth the price anyway. I prewash them, put them in the dryer, and then iron them. I use a permanent black Sharpie pen to draw my stitching lines, minus the seam allowances, on my fabric.
For each doll part, like for one arm, I trace the shape only once. Then I flip my fabric, wrong sides together, and pin. There is no need to line up any sewing lines this way. You do have to watch your grain lines however. It is important that the doll parts are aligned with the straight of grain as much as possible or distortion occurs while stuffing. I sew right on top of my sewing line, which is still visible even from the wrong side, through both layers of fabric. I use a small stitch length, about 1.5 to 2mm. I sew slowly to make sure I stay on my lines.
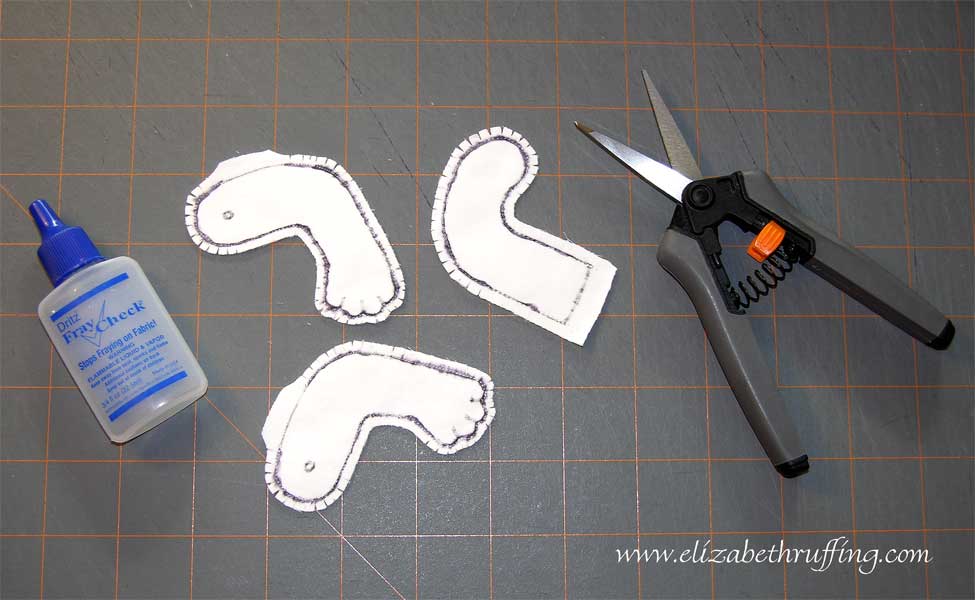
I trim my doll parts, leaving between 1/8 and 1/4 inches of fabric around the outside edge of each shape. I leave a little extra where the openings I left for turning the parts right side out are. I cut closer where there are little ins and outs, like where there are fingers. (You can click my pictures to get a larger view.) I clip my curves, taking little wedge shapes out of the convex curves and just straight clips out of the concave curves, up to about two threads width of my stitching line. Wherever there is a sharp angle in my stitching line, I cut to the point, as closely as possible without cutting my sewing line. A good sharp small pair of scissors is necessary, along with caution. I then use
Fray Check within my seam allowance (along the outside edge of my sewing lines) to seal the clips I have made.
Next, you turn and stuff your doll as firmly as possible. I use
Poly-fil. Then you can use acrylic paint to paint your doll. Stuffing your doll firmly will keep your painted surface from denting if pressure is applied. Where there are joints that are stitched across, like at knees or elbows, it is sometimes necessary to stuff lightly so these areas can bend. I will usually make the upper half of an arm or leg lightly stuffed, and the lower half firmly stuffed in this case. When you are ready to paint,
gesso can be applied first, if desired. The fabric will absorb some of the first layer of paint without the gesso. It just depends on whether you mind putting an extra layer of paint on first, instead of using gesso. Heat setting the paint with an iron is a good idea if the doll is ever intended to be washed. I seal my art dolls with
matte varnish, and they aren’t intended to be washed. A play doll would be a different matter.
Incidentally,
Poly-fil often comes with a pattern for a toy on the bag. The past two times I’ve bought some there was a cute dinosaur and then an elephant pattern on the bag. These kinds of simple patterns would be fun to make in painted versions. The Fairfield company, who makes Poly-fil, also has
free patterns on their site, including toys, dolls, and some nice
block-of-the-month quilt projects. They are adding more all the time. In fact… here is a
cat doll pattern with
instructions.
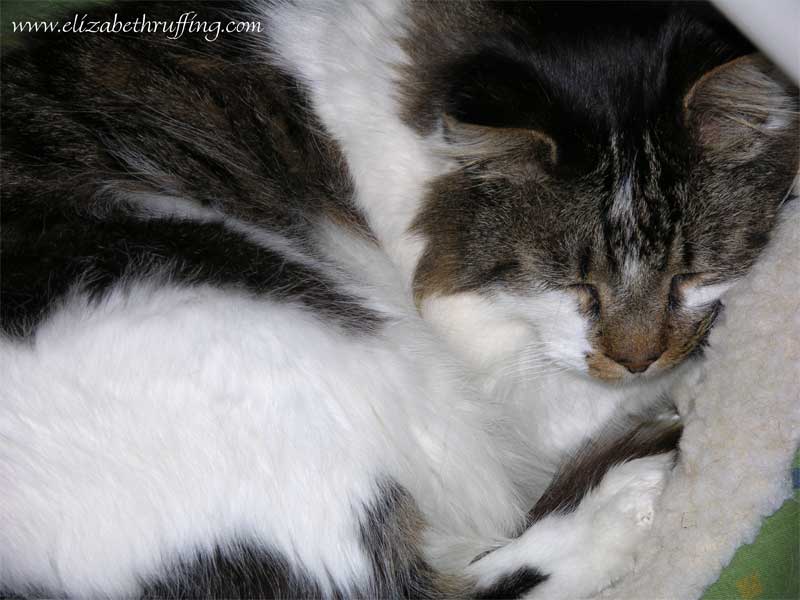
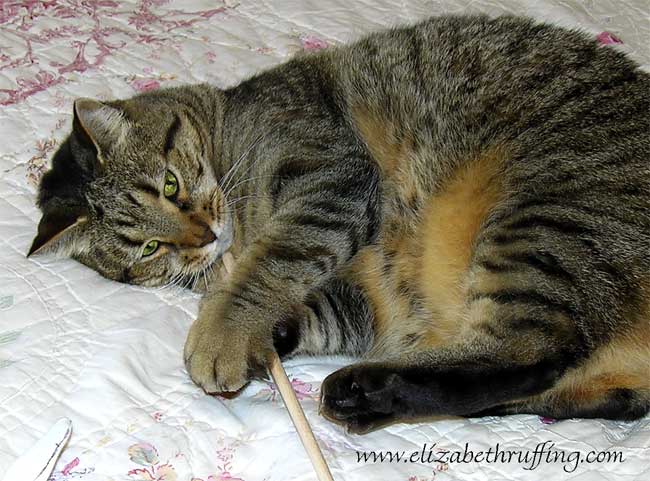
This is what my helper was doing while I was doing all of the above. Clearly, none of this is of interest to him, or he already knows how to do everything. I’ll never know.
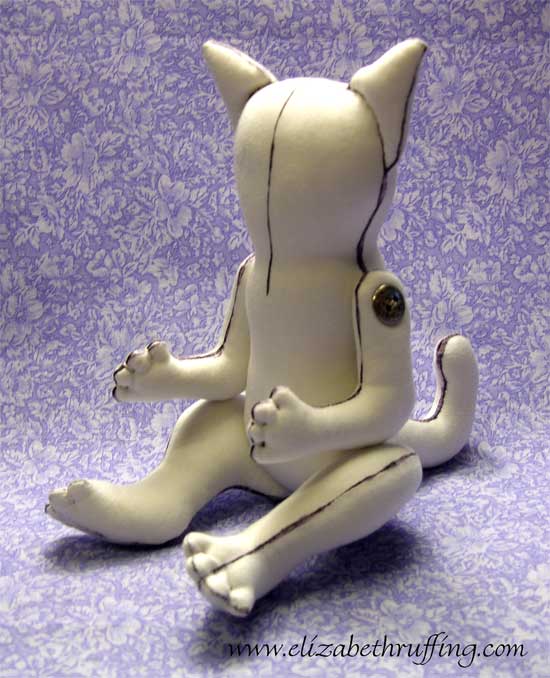
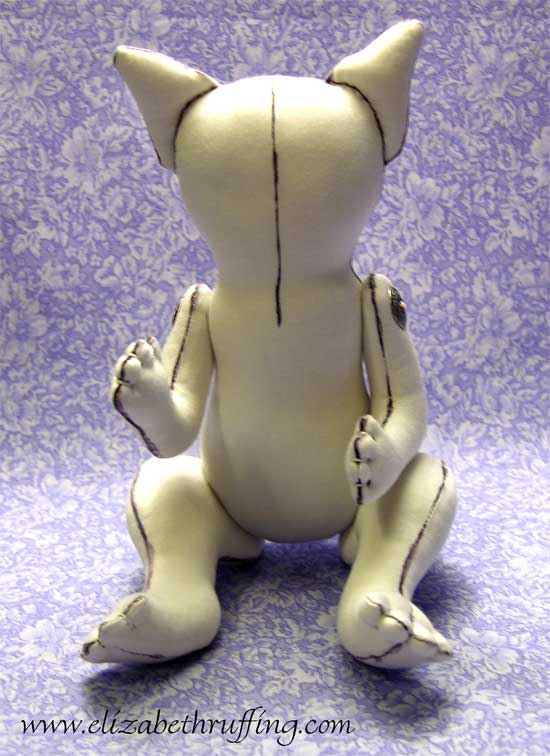
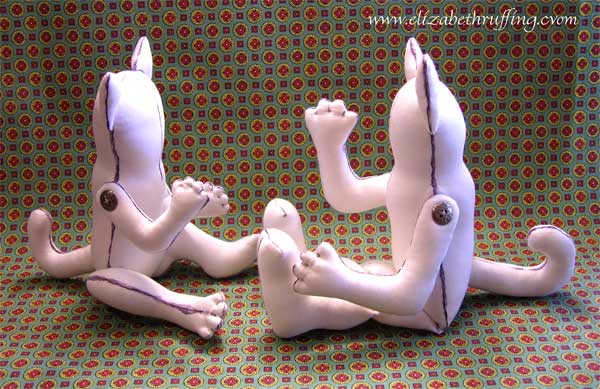 Now there are two kittens assembled. The first one has more of a baby body and this second one has more of a toddler body.
 I’m going to give the toddler one some Mary Janes, and so she doesn’t have the toes sewn in. She also has bigger ears.
 They both have metal button joints, and are of my own design. Since everyone’s own pattern designs are copyrighted, it’s important to learn about designing your own dolls, if you want to sell them. I thought I’d share some of the books that I’ve found helpful.
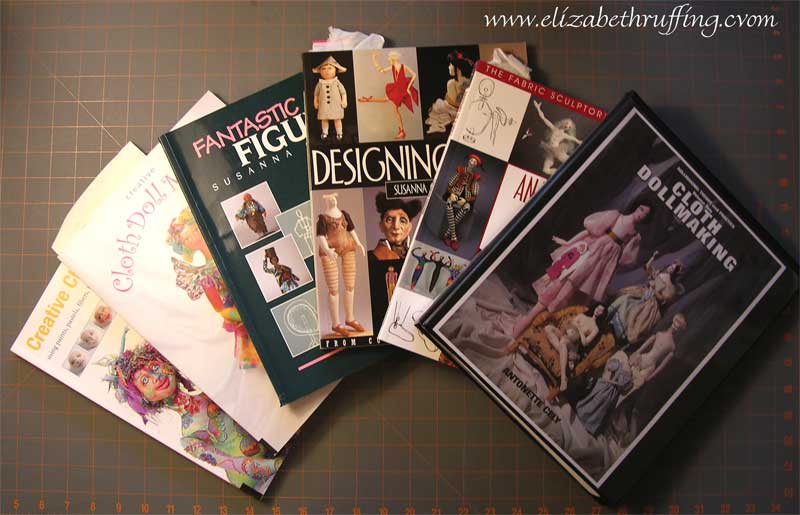 On the far right is Antonette (Noni) Cely’s Cloth Dollmaking. Not only is Antonette Cely an amazing doll artist, she is a wonderful instructor. I’ve learned so much from this book, and it includes patterns for a few of Noni’s dolls. She also has videos. There are a couple of clips from her dollmaking videos on YouTube too: Customizing Doll Patterns and Making Faces. Just see if you don’t learn something just from watching the excerpts!