Posted on

Bits and pieces

Sewing fairy wings on my sewing machine
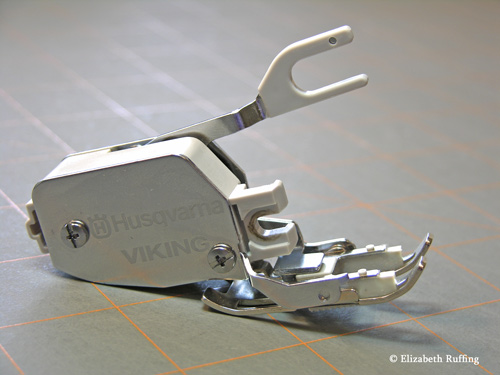
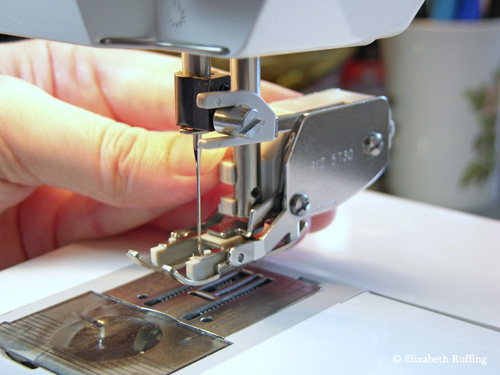
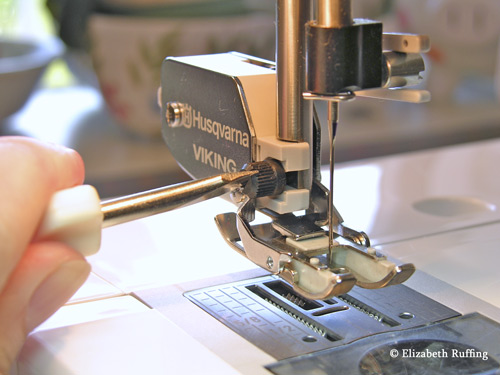
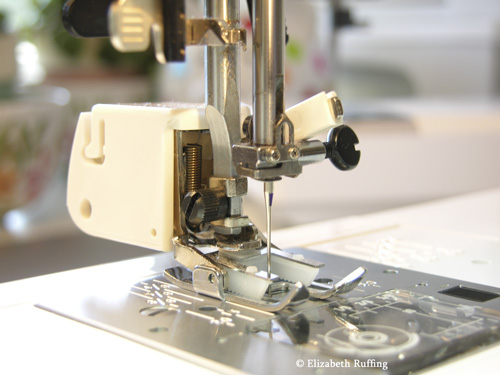
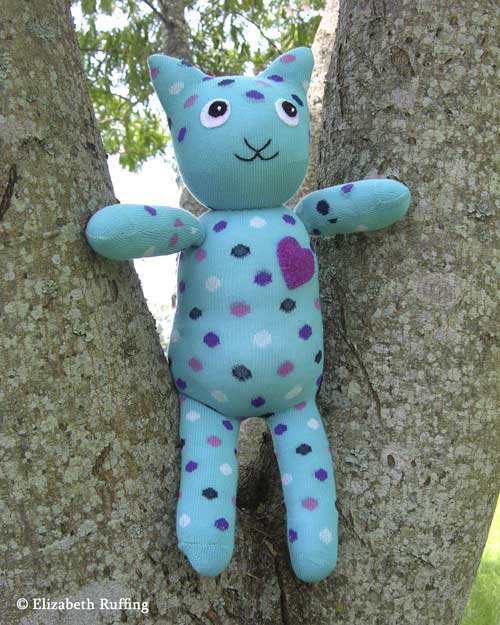
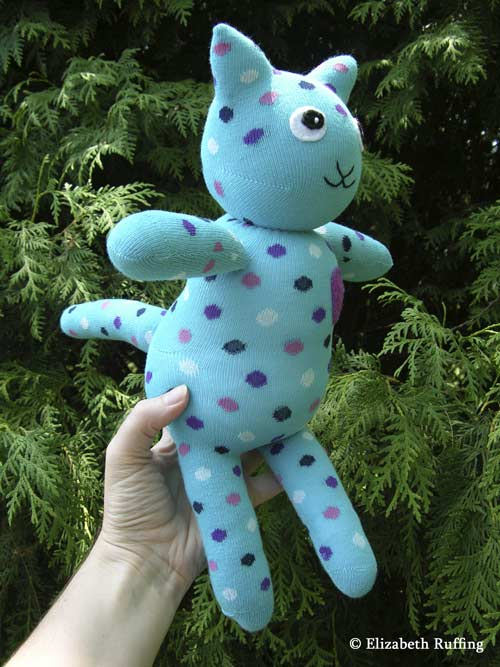
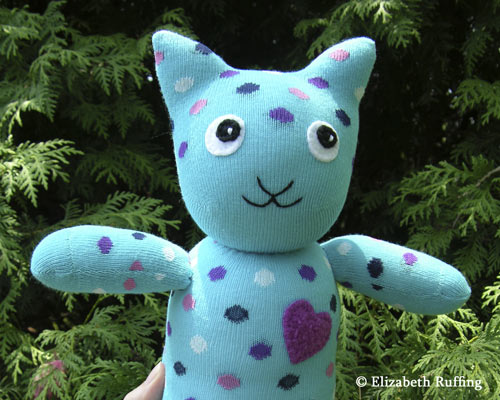
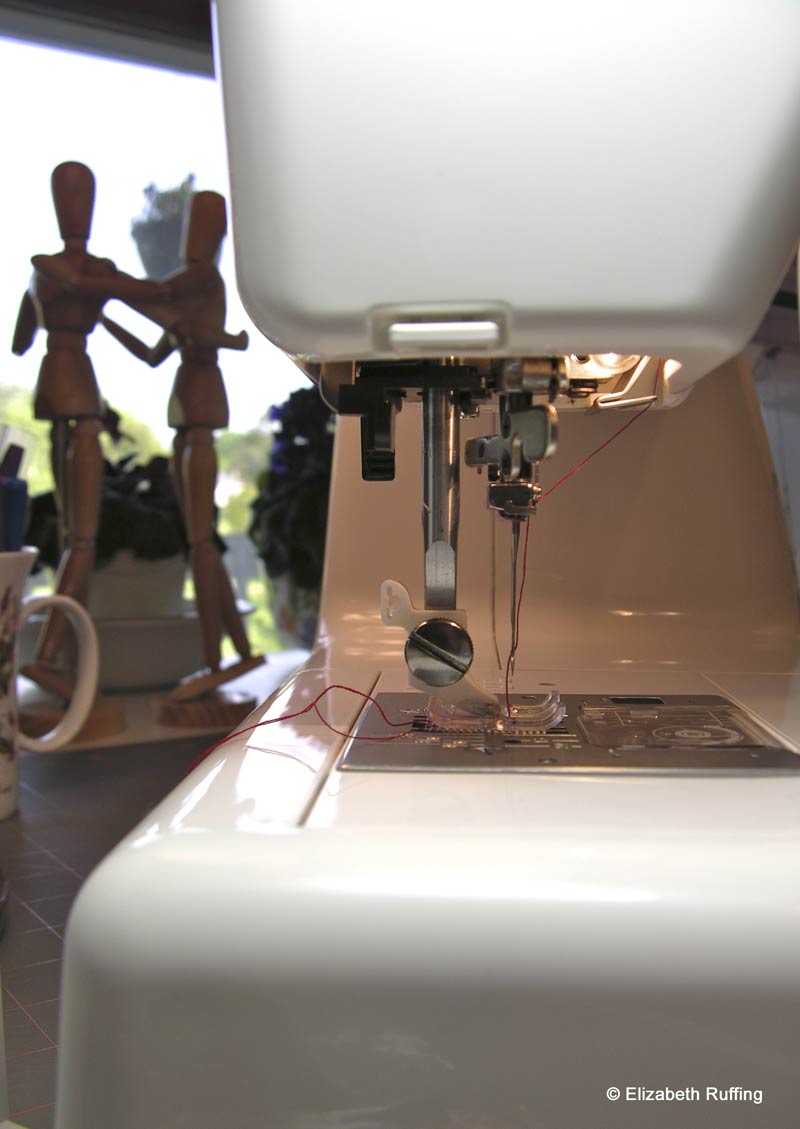
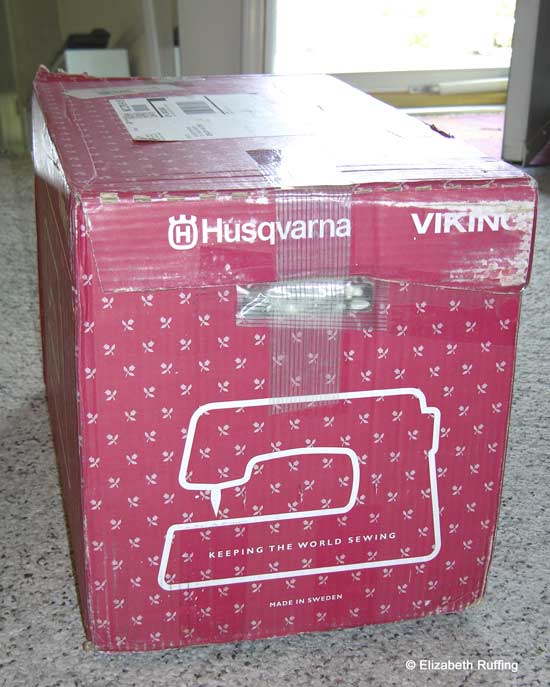
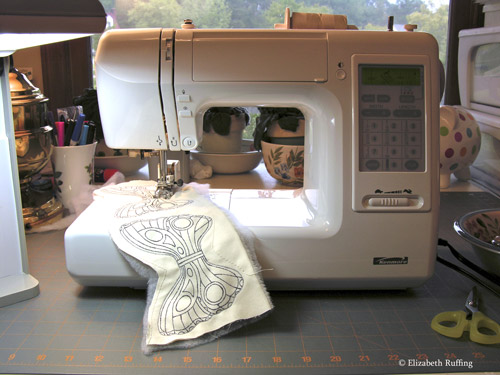
I’ve been sewing Pixie Kitten bodies, and have a few of them in progress. I received most of what I spent on my ill-fated Viking Platinum from the Post Office, after the shipping disaster that cracked it to bits, and instead of buying a new sewing machine, I’ve been adding parts to my Kenmore 19233, to make it more versatile. I showed you the walking feet I’ve been using to sew, but I also found a straight stitch needle plate that fit.

Straight stitch, single hole throat plate for Kenmore 19233
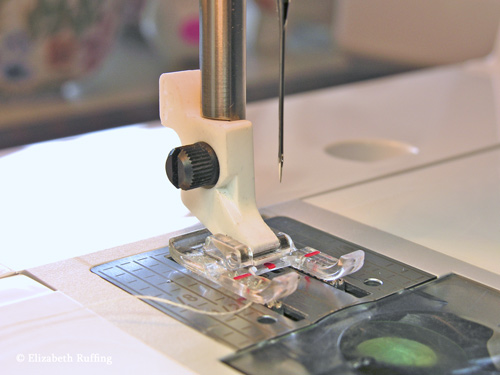
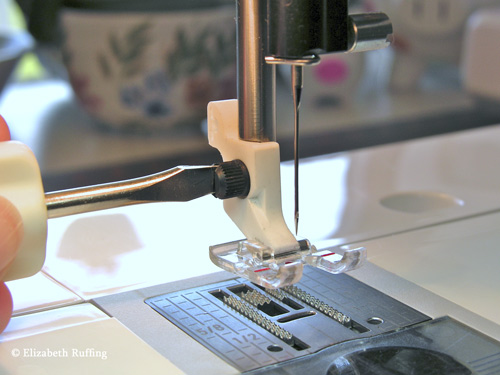
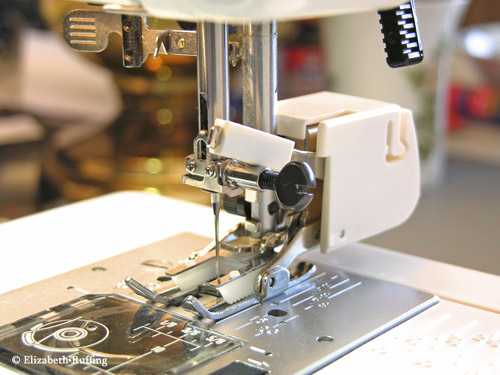
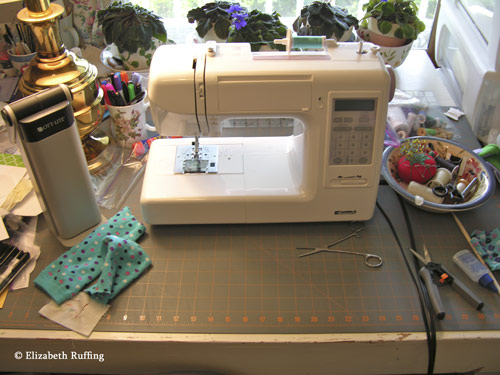
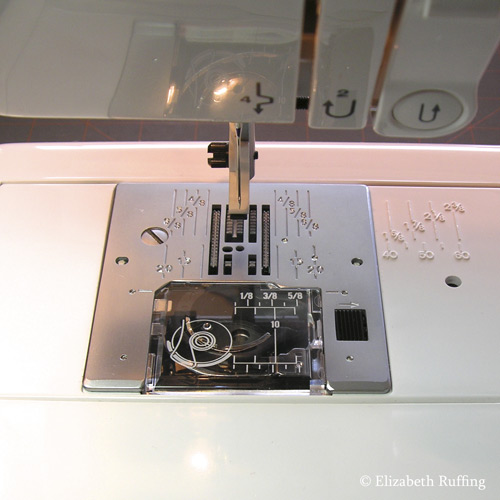
It’s a Janome part number 200093305, which I bought online from Sewing Machines Plus. Janome made the Kenmore, and so I did some research until I found one that matched mine. This one fits the Kenmore 385 series. It’s easy enough to put on and take off. The larger screw in the upper left corner is what holds it in place. It’s good to remove the needle plate to clean out lint anyway. So, when you change plates, you can get in there to clean too.

Organizing my presser feet and sewing machine parts
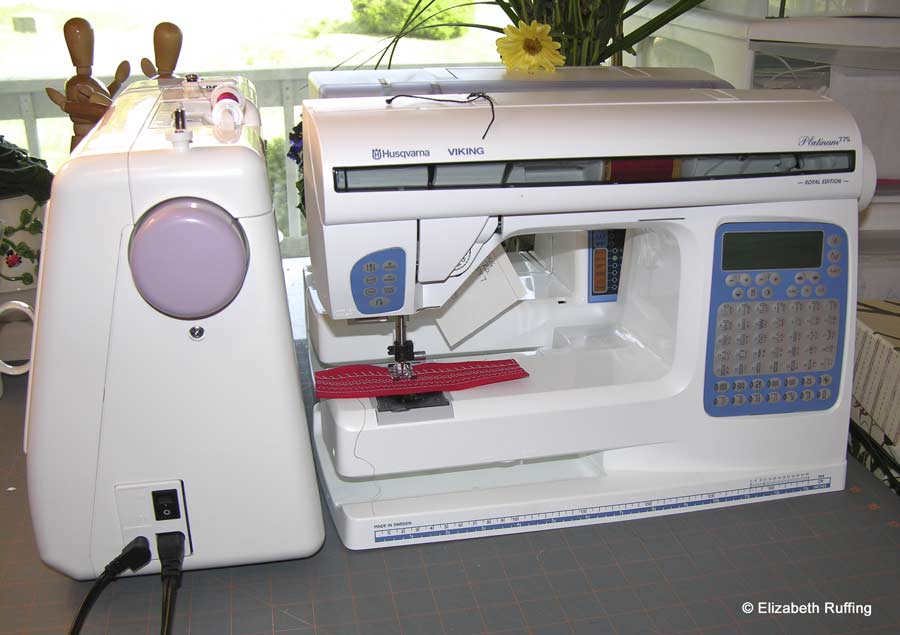
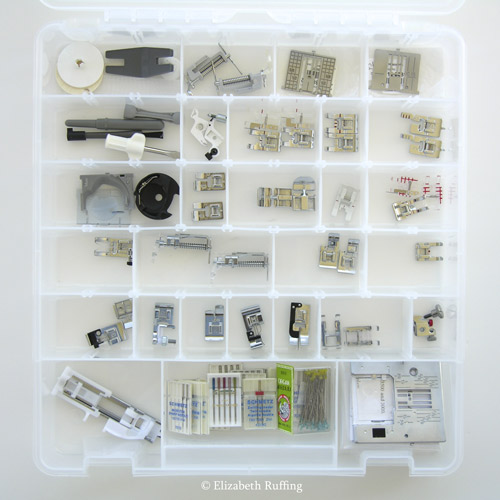
With two machines, I’m accumulating a lot of presser feet and miscellaneous parts, and so I got a plastic organizer at Michaels to keep them in order. Some of the feet are left over from the Platinum, but these seem to work on my Viking Sarah, with the exception of the buttonhole sensor foot, which I will have to sell sometime.

Organizing my sewing machine bobbins
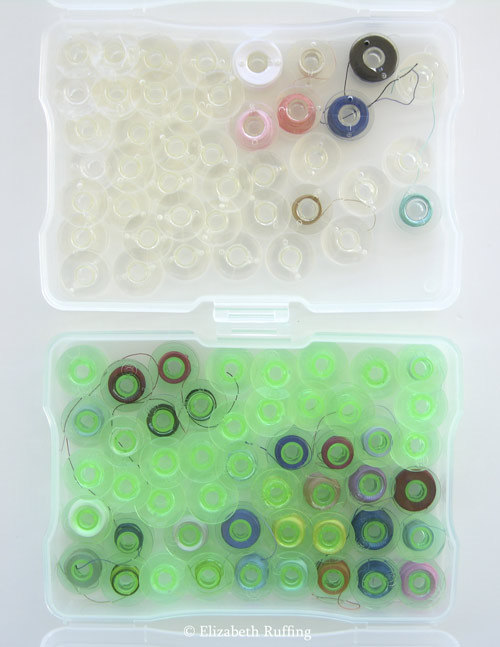
I divided up my bobbins by machine too, each group in their own case. I had been finding them here and there, tangled together. I finally got my other shelf up in my workroom, and a couple more boxes to house fabrics. Sometimes I feel like I live in a storage facility, but it is better to have everything somewhat organized. I’m amazed how nice having just one open patch on a table can feel.

Adopt a pet from your local animal shelter or rescue group
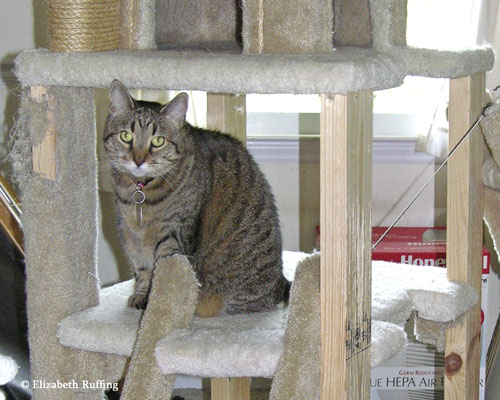
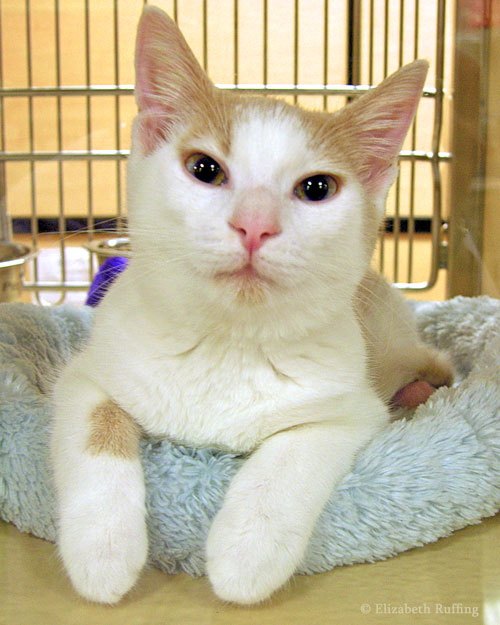
I’m still trying to expand my very limited knowledge of photography as well, while hoping to upgrade to a DSLR at some point. I’ve been practicing using my camera when I can. This is Spunky. He and other adorable kitties are at adoption events this weekend. The kitties have been patient with me while I’ve tried to figure out how to photograph them. My camera doesn’t handle the low light or motion very well. Since I now don’t necessarily need to put my postal insurance funds toward a sewing machine, I hope to be able to put it toward a camera instead. This just feels like something I’d like to be able to do better. I’m not sure where that will lead right now, but learning something new, especially something that can be used creatively, is appealing to me.

Posted on 20 Comments

How to attach a walking foot to your sewing machine

How to attach a walking foot to your sewing machineI now have a walking foot for each of my sewing machines, my Viking Sarah, and my Kenmore 19233. Sears has a set of feet for the Kenmore that includes a walking foot, which I bought for about five dollars more than the walking foot alone cost. I thought that was a good deal. I bought my Viking walking foot on eBay, but I see it is tricky to get an authentic Viking foot online. Some people post some confusing information. Be sure to check out the part number to see that it matches the one recommended for your machine on the Husqvarna Viking site. You can find your correct one here by looking for a “dual feed foot”, under the “Quilting” accessory category. Genuine Viking walking feet say “Husqvarna Viking” on one side of the feet themselves, and the part number on the other. They are available from dealers, and online. I’ve ordered miscellaneous parts from Sewing Machines Plus before, as well as from Discount Sewing Machine Service, with good success.

How to attach a walking foot to your sewing machineTo attach a walking foot, the first thing you generally need to do is remove the presser foot ankle from your sewing machine. I’m showing this on my Viking Sarah. It’s the part that holds your presser feet. On some machines, the ankle and the foot are all one piece.

How to attach a walking foot to your sewing machineUnscrew it using the miniature screwdriver that came with your machine, and take it off. I have this larger thumb screw (shown above) on my machine, and it’s the one I used to attach my walking foot. I got a spare here, Viking Presser Foot Screw #412 40 97-01.

How to attach a walking foot to your sewing machineThere are two things you need to line up, when attaching the walking foot itself. You may need to use your hand wheel to raise and lower your needle so you can get that forked bar over the screw that holds your needle in place. This is important because this is what makes the foot go up and down when your needle goes up and down.

How to attach a walking foot to your sewing machineOn the Kenmore, which is made by Janome (so many Janome machines will be similar), that bar on the walking foot rests on top of the bar that holds the screw for the needle (shown above). Either way, the bar goes over the part that holds the needle in place, the one that sticks out.

How to attach a walking foot to your sewing machineOn the other side of the foot, is the part that accepts the same thumb screw that held your presser foot ankle in place. Attach it the same way the ankle was attached. There is a hole right in the metal bar. All you need to do is line it up where the indentation for it is, and make sure it fits snuggly in place. Tighten up the screw and you are ready to sew.

How to attach a walking foot to your sewing machineAgain, it looks a little different on the Kenmore (shown above), but the idea is the same. One side attaches like a presser foot ankle, and the other part rests over the needle screw. You might need to wiggle it a little to get it to pop into place, but once it is secure in its proper place, it doesn’t jiggle around. With some walking feet, there is also a hole, in the back of the walking foot, that accepts a metal guide bar. You can just slip the guide bar in the hole, if and when you want to use it, and slide it out to the correct distance from the needle that you want to use. You line the edge of guide bar up with your last row of stitching, as you sew, to keep an even distance.

Now you can sew through layers without so much shifting of one fabric over another. It helps too when you don’t have a presser foot pressure adjustment option, which some machines don’t have. I’ve noticed some newer machines come with built-in walking feet. I decided to try mine out for regular sewing too, and I’ve been having good results.

Posted on 1 Comment

Hug Me, Sock Kitten!

Turquoise Polka Dot Hug Me! Sock Kitten by Elizabeth RuffingI was trying to get my act together this morning, intending to head out for a while, but nothing came together properly. So, I stayed home and sewed up this sock kitten! I took some tips from the two sock doll books I have by Daniel, which are great books for anyone wanting to experiment with free-form toy creation. It’s fun, like making balloon animals. I say that not remembering if I’ve ever made balloon animals, but what they have in common is the idea of taking a tube shape and seeing where you can go with it.

Turquoise Polka Dot Hug Me! Sock Kitten by Elizabeth RuffingI was debating over adding the fleece heart, but once I’d thought of it, I felt I needed to give him one. You can’t go back on giving someone a heart.

I took him outside to photograph him, and of course, he ran right up a tree.

Turquoise Polka Dot Hug Me! Sock Kitten by Elizabeth RuffingOnce I got him back inside, he stretched out for a nap, taunting all the slugs a little first, by waving his paws around. They haven’t got any appendages, and so, he was doing some showing off.

Turquoise Polka Dot Hug Me! Sock Kitten by Elizabeth RuffingI think I will make some more kittens, and call them “Hug Me! Kittens”. This sock kitten is in my Etsy shop.

My own, much larger kitten helped me with another project, removing the overly-scratched carpet from the legs of our cat gym. The plan is to cover the legs with new carpeting and sisal rope. The legs were looking very disreputable. This is only a human opinion.

Kitty investigates cat gym reupholstering projectThe feline consensus of opinion was that they looked perfect, as they were. Here is one of the mournful looks I was given after removing the beloved carpeting. She got over it quickly and found something else to do. She’ll be happy when she sees the new carpeting and the sisal rope. I was joking with my mom, saying the cats would be just as happy if I threw the rope and a piece of carpet on the floor. But that wouldn’t look nice. Again, just a human opinion.

Kitty investigates cat gym reupholstering projectOne sorry note for the week…my Viking sewing machine made a return trip from California, where it went for repair, having never been claimed at the Post Office. I have no idea why the seller had his repair technician call me to go over the repairs, and then sent me the address to which he wanted me to ship my machine, and then never picked it up. I’ve received no reply, so far, if indeed I ever will. I’ve had issues before, as you may have already read on my blog, and I’ve had him not answer for a long time, because he’s been in and out of the country. But you would think someone would be there to claim packages at least. Not looking good. Not that it has been looking good, at all, ever, but that is the current status on my Viking sewing machine nightmare. I’ve heard from people who have had similar problems. I don’t know what to say other than I’ll never be getting a Viking sewing machine again.

Using my Kenmore sewing machineI’m still using my Kenmore, pictured above, that I got as a spare. It’s been behaving very well. Once I have some extra money, I’ll ask around some more, to see if I can find someone honest who might be able to replace the faulty and broken parts on my Viking. A friend has suggested a Viking Funeral for the machine, but I’ll wait to see what develops.

Posted on

Return of the Platinum 775

Kenmore 19233 with a Viking presser foot ankleI made a great discovery yesterday. I unscrewed my presser foot ankle from my Viking Sarah sewing machine, and screwed it onto my new Kenmore 19233…and it fit! That means I can use all those Viking presser feet I’ve collected, on the Kenmore, which is a relief, since I’ve invested a lot in presser feet so far. And who wants to have two sets of everything anyway? Update: I also found out you can buy a spare Viking Accessory Ankle , if you want to leave your Viking ankle on your original machine.

Husqvarna Viking Platinum 775 boxWell, guess who came home today? My Viking Platinum 775, which has been MIA for almost six months now, showed up with the UPS man. I couldn’t help making a mental note of the “Keeping the World Sewing” logo on the side of the box. That hasn’t quite been my experience with it.

Husqvarna Viking Platinum 775 sewing machine, with my other sewing machinesI was afraid to open the box, feeling sure there was going to still be something on it that didn’t work, after coming back from the second repairman, who is also the original seller, all the way from California. I turned it on, and it did a few basic stitches, sewing forwards instead of backwards, like it is supposed to. It had been sewing everything backwards before. Then I selected some more intricate, decorative stitches, and it still sewed the same few basic stitches! No decorative anything. No alphabet. The needle up/down button was still broken too. I wanted to cry.

I came back later, after typing a draft of a letter I thought I’d send but didn’t, and miraculously, it was willing to sew all the stitches on its menu. Perhaps it needed to warm up first. I stitched a sampler and it did fine. The needle up/down button was still broken, and the grit behind the panel was still there, things that I noticed after it came back from the first repairman.

Husqvarna Viking Platinum 775 stitching sampleThe buttons and the panel had not been replaced, as the first repairman had told me they needed to be. Yet, here is the machine, sewing with those original parts. I did have to wait another 2 1/2 months for a different part to come from Viking though.

I’m not sure what to do about the remaining repairs that need to be done. I think the second repairman may have just missed my note about the additional repairs, since I had to write a second time in regard to them, after I got the machine back from the first repairman. But, I would have to ship the machine back to California for him to fix those things. I have no one I trust to go to here in North Carolina. I have to say, I’ve had a problem with everyone I contacted so far who is officially connected with the Viking company. Each of those people made insinuations about the seller of the machine, saying he must be doing something underhanded, but really, he’s been honorable so far, as far as I can tell. And he didn’t charge me anything. He honored his own warranty, even though the Viking company would not honor the warranty on their machine. I just had to pay to ship the machine to him.

12 inch fleece Hug Me! SlugsOn a brighter note, I made this red fleece “Hug Me! Slug” with my new Kenmore sewing machine. He’s on his way to the west coast to cheer up someone who has lost a dear friend. It’s nice to have a project to do that means something to someone else. That makes me feel good. I hope the new sewing machine and I will be great friends.