 Hello again. Almost an entire month has passed since I’ve updated my blog. The temperatures have been high, and the air hard to breathe. I’ve been inside sewing much of the time, or studying, trying to learn my digital painting program. I’ve taken a few trips to the vet’s, and one trip to Hillsborough, for a barn cat relocation, with Tia and Marie. It’s been a busy month, even if I have been struggling a bit with the weather.
This month, Jack and Miranda Panda both got adopted, during their first adoption event weekend. My mom and I went to visit them just before Jack’s new family took him home. The dad of the family said he has a new recliner for Jack to sleep on, and Miranda Panda’s family said she is settling in well and is a brave girl. Lucky Charm and Trix, from our Mother’s Day rescue trip, are up for adoption now, and both have transformed into healthy, loving kittens.
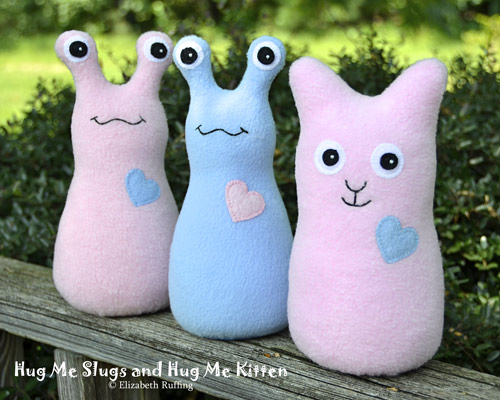
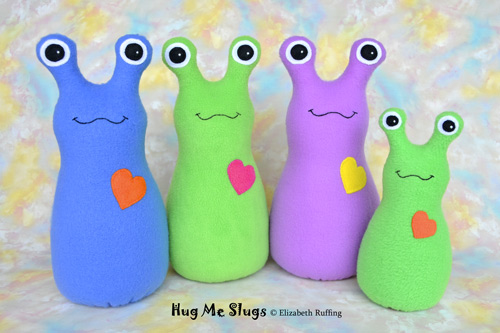 These are some of the toys that have gone on their own trips to their new homes, this past month. I am making more Hug Me Slugs and Hug Me Kittens too.
I had a sew-less week recently, after sticking my hand into a yellow jacket nest. Seven bites at least. Ouch. I healed amazingly well though. When I was a kid, I would get bad swelling from bites. I must have gained some immunity. I felt lucky to do as well as I did this time. I think yellow jackets are after me every time I feel a pinch, since that happened. I don’t think I will weed the garden until December at least!
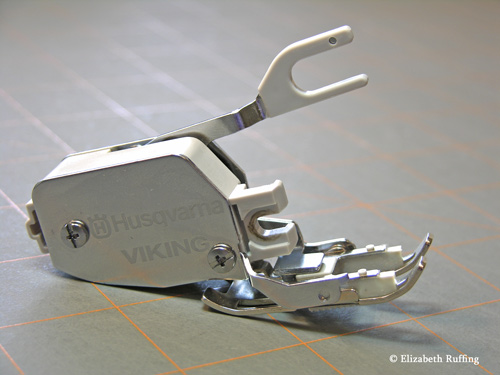
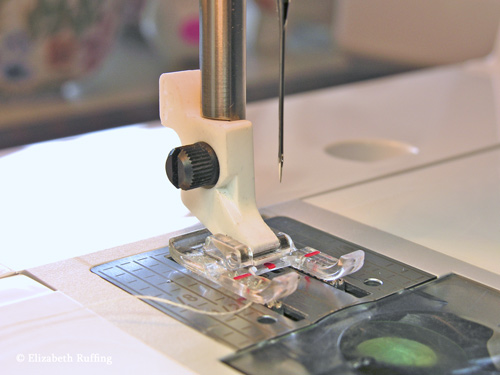
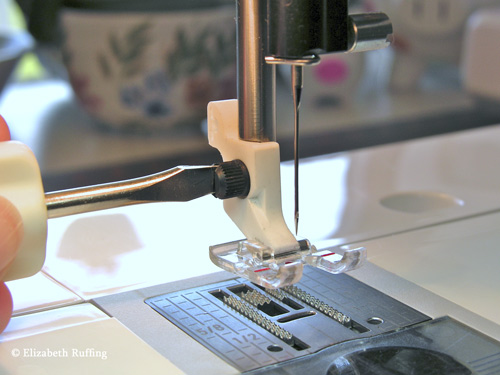
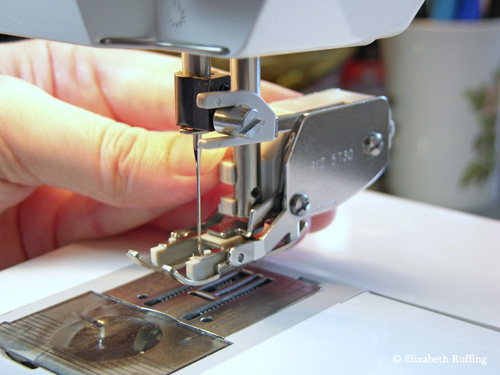
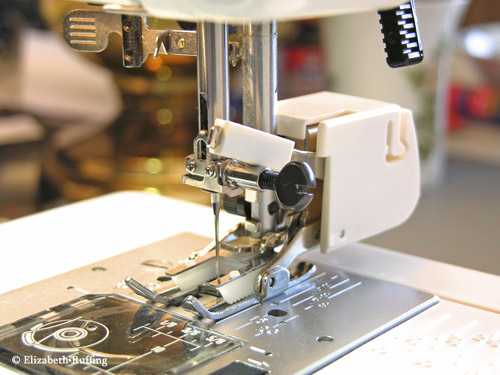
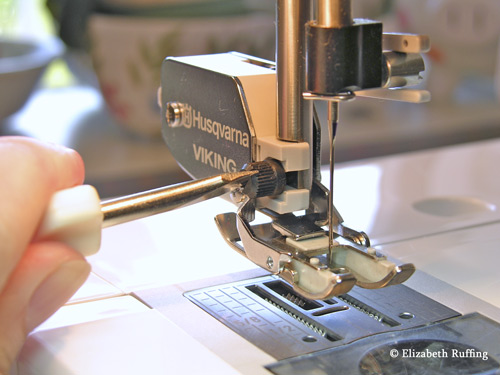
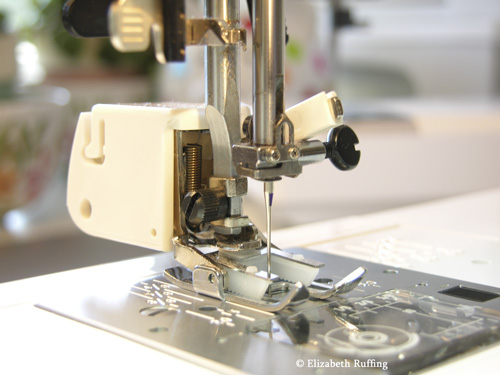
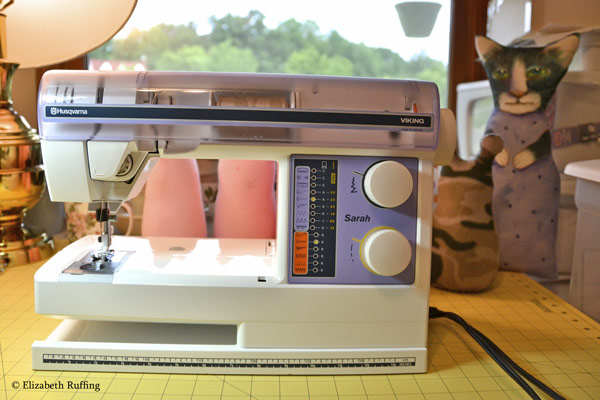 I had to take my Viking sewing machine, Sarah, in for cleaning and servicing. I was so nervous about this, given all the trouble I’ve had with the company and the dealers over that period of at least a year, where my Viking Platinum ended up being destroyed. I took a chance and went to a dealer in Raleigh I’d been to before. Sarah seems to be in fine order now. Whew. They even replaced the front panel with a new one, because the old one was bubbling slightly, and they replaced the screw that was missing. The other dealer that couldn’t fix my Platinum, and broke my up/down button, left out a screw on Sarah that had kept the back from closing.
It took a lot of courage for me to leave my machine with anyone. I am still upset when I think of how my Platinum could have been easily fixed, had I just taken it to someone who knew how to fix it in the first place. That sure was an awful experience. I loved that machine, and wish I still had it.
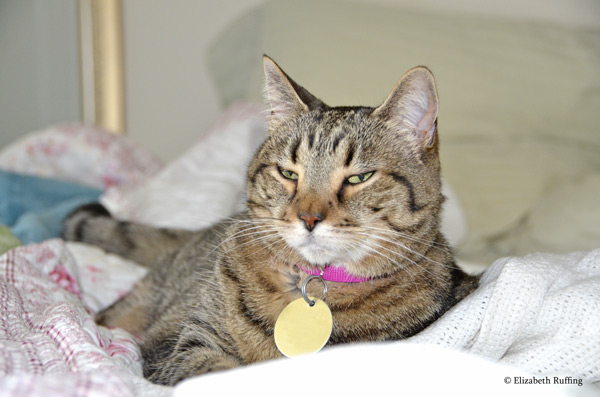 We’ve also been to the vet a lot this month. My one poor kitty had a very bad infection, which needed to be treated surgically. She had to wear a cone around her neck for ten days. She was so good about it, but by the end of ten days, she’d had enough. She seems to be healing well, but now one of our other cats has a bad tooth, just six months after another bad tooth. He is an old fellow, and we hope he will be okay, having more dental work done.
 The day after my last post, July 17th, I went along with Tia and Marie to Hillsborough, NC, for a barn cat relocation. I did a photo essay on the process, which you can see and read here on Facebook. It was a big job. I was taking photos the whole time, but Marie was lugging all sorts of heavy things, and Tia and Marie spent at least an hour setting up the relocation cages in a barn stall, on a hot summer day. We wanted to show what an involved process it is, and that it is no easy project.
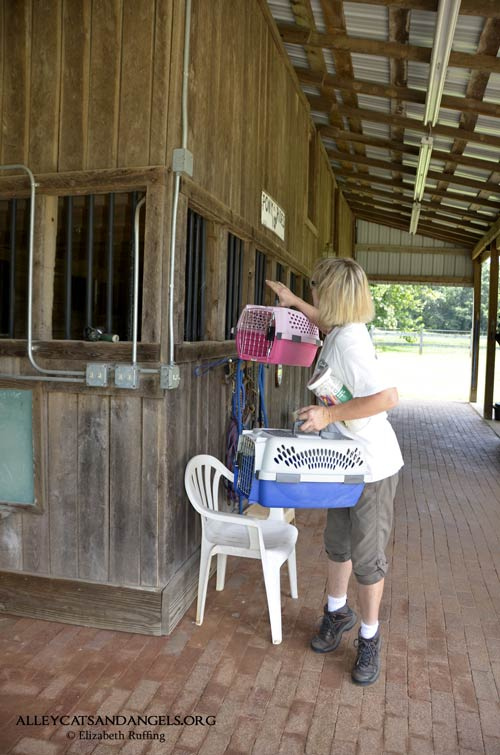 The farm itself was absolutely beautiful. The two feral cats that are going to be living there are lucky. This is Marie waving goodbye to them, when we left.
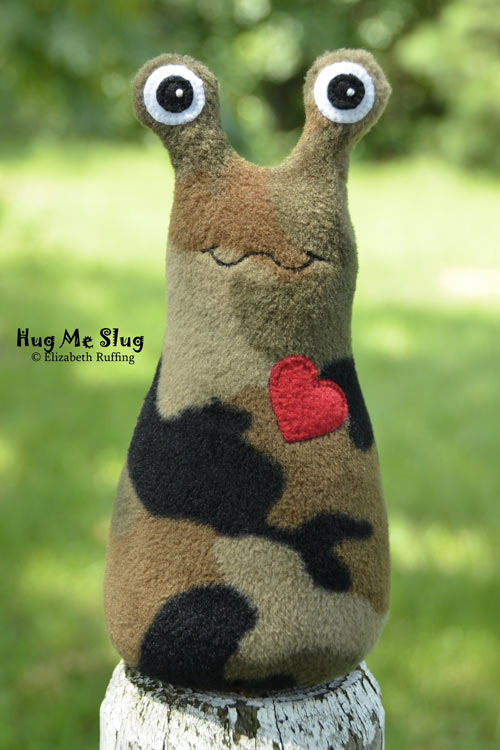 Marie hasn’t been feeling well, but has been working so hard. I made the camouflage Hug Me Slug for her. He’s “The Slug of Fortitude”, or “Camo Slug”, or any name she might like to give him later.
 This olive slug was a present for Jill, for her birthday. I was glad I picked a color she liked. It turned out that he even matched her place mats.
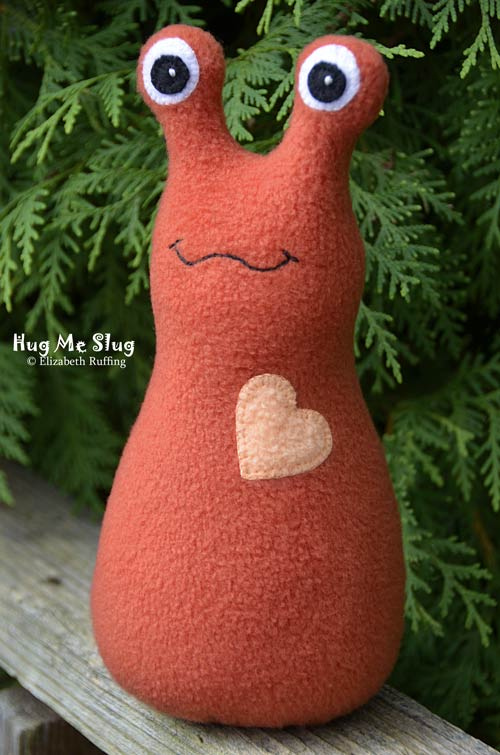
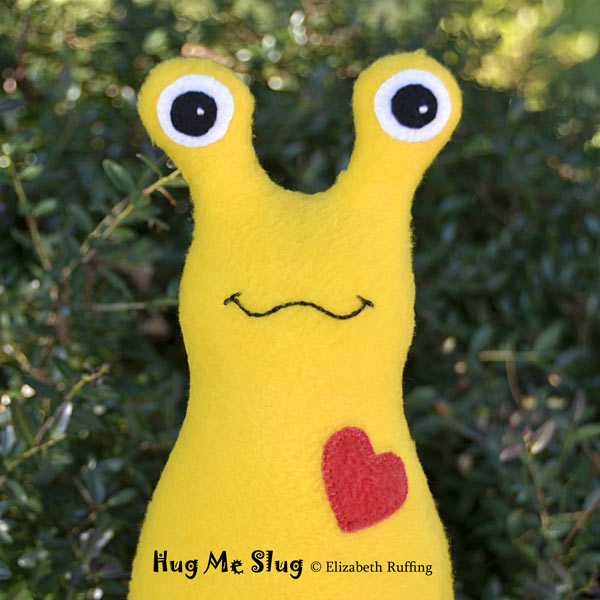 I will be adding new creatures to our Ruffing’s shop. These three Hug Me Slugs are new, in yellow, copper, and denim blue.
 My workroom is overflowing with partially finished toys. I will keep adding more to the shop, and I will try to update my blog again soon, with more.
 Please “like” Ruffing’s on Facebook, if you happen to be there.
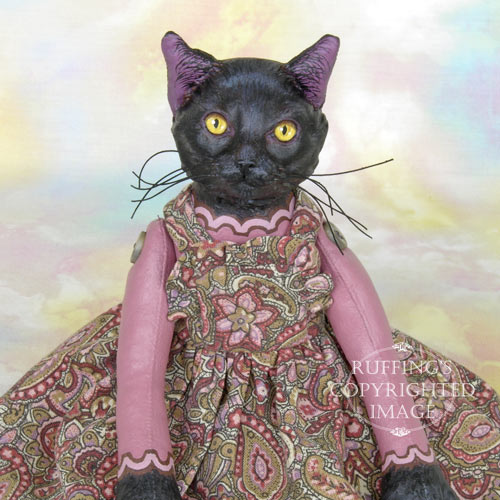 We will be posting more of our new original one-of-a-kind original cat art dolls in our Ruffing’s shop too.