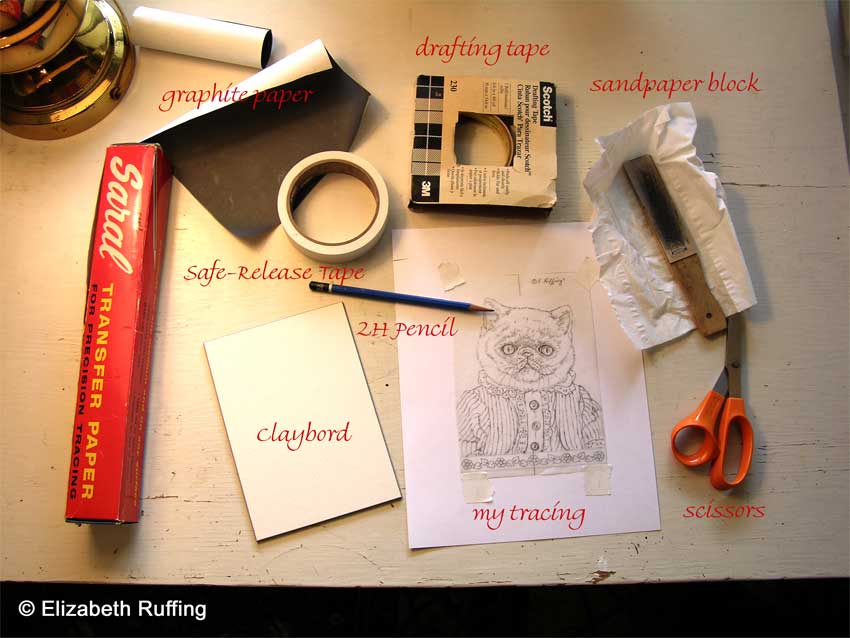
 I transferred my kitten drawing to my Claybord today. I’m using Aquabord, also known as Claybord Textured. Doing the transfer is a little tricky. I took some drafting tape, made loops with it, attached them to the back of my Claybord, and then attached the Claybord to my work table. I put the loops on going in different directions to try to stop the board from shifting at all.
I aligned my tracing over the Claybord, and secured it to my work table as well, using Safe-Release tape so as not to tear my tracing later when I removed it. Drafting tape is fine too, as long as you remove it carefully.
I cut a piece of graphite paper somewhat shorter but wider than my tracing, so I could slip it in between my tracing and my Claybord easily enough, but also so I’d have enough left over so I could pull it in and out.
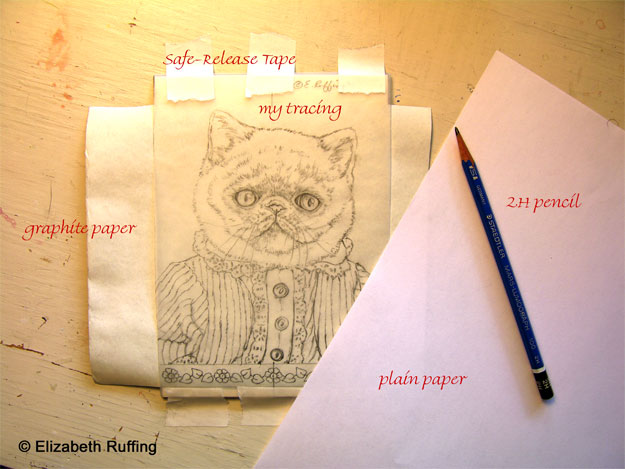 I used a 2H pencil, which I kept sharp throughout my transferring with a sandpaper block. A hard, sharp pencil is necessary to get a good transfer, but you need to experiment with how hard and sharp you want it. If it is too hard and sharp, it can cut right through the tracing paper. If you are transferring to stretched canvas, you will need to put something underneath your canvas, like a book, to keep it from caving in and stretching (or you can give my idea for digitally transferring a drawing to canvas a try).
I use a plain sheet of paper to shield my tracing from my hand as I transfer, so I don’t smear it. I will need my tracing as reference later. After transferring, you usually need to redraw at least some of the lines that don’t show up well , using a regular 2B pencil.
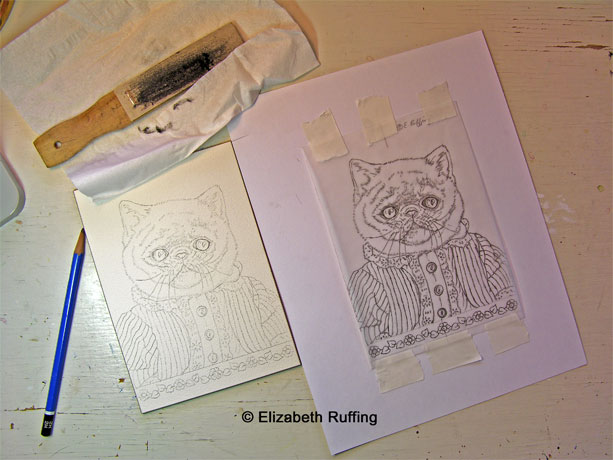 This time, I started at the bottom of my tracing, drawing over each line to transfer it to my board. You can usually tell which lines you have already transferred, but it helps to go in a logical order just in case you can’t distinguish which lines you’ve already gone over.
Once I’ve drawn all my lines, I lift up one side of my tracing to make sure I haven’t skipped any lines. If I have, I very carefully line up my drawing again, tape it down, and go over those lines. Once I’m finished transferring, I remove my tape and lift up my graphite paper. I then redraw with my 2B pencil any lines that don’t show well enough. It takes some experimenting to find out how hard you have to press on any surface to get a clean line. The harder the surface, the harder you usually need to press as you transfer your lines. You don’t want to press too hard on watercolor paper, because you will make indentations where your lines are.
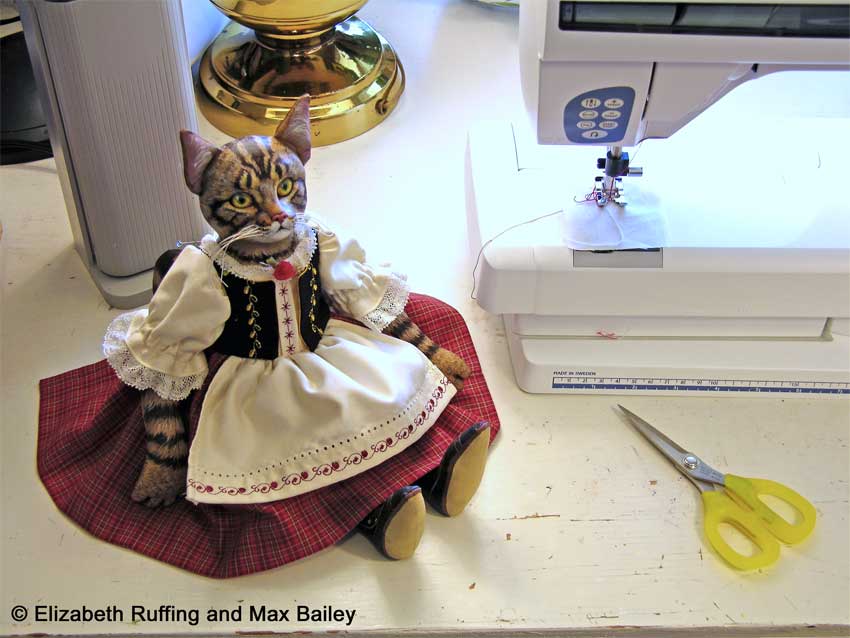
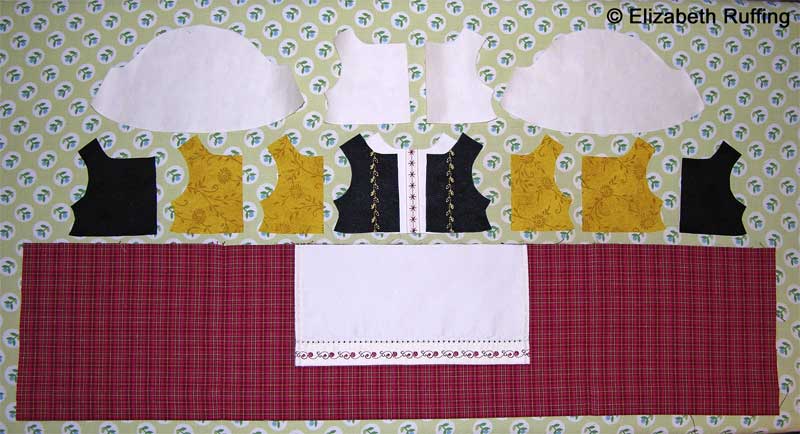
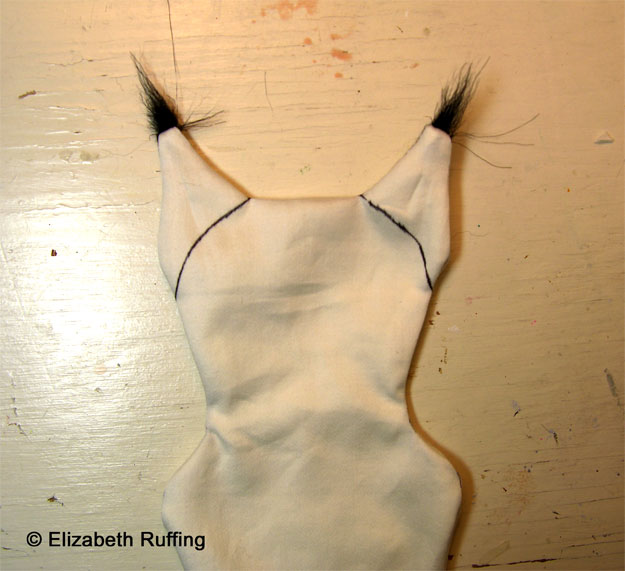 I also did some sewing today on our next folk art cat doll collaboration. Can anyone guess this is a Maine Coon? I had been trying to think up a clever way to get those tufted ears, and came up with the idea to take a tiny piece of fake fur and sew it into each ear seam. I think that is going to work out nicely.
We seem to be accumulating dolls waiting for clothes and dolls waiting to have their pictures taken around here. The weather hasn’t been quite right for those outdoor photo shoots, and now they are predicting snow tonight. I never believe it until I see it. Of course, we had already put off food shopping until tomorrow before we heard that, and there is probably a run on bread and milk at the store right now. That’s a North Carolina tradition, to clear the shelves of bread and milk at any hint of precipitation. Hopefully, if we get to the store tomorrow, we won’t happen to be in need of either of those things.
