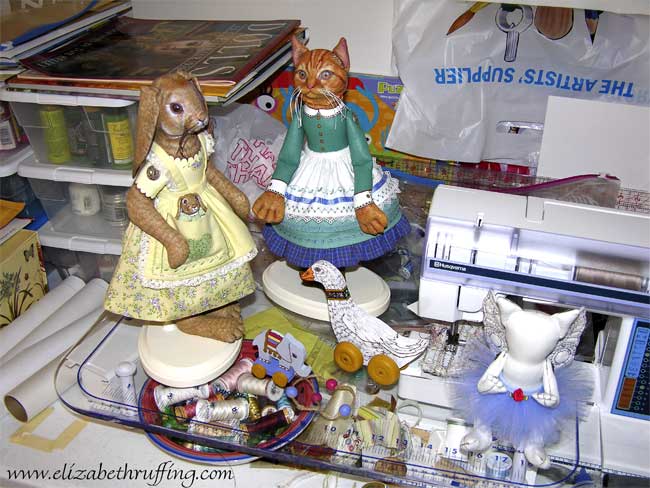
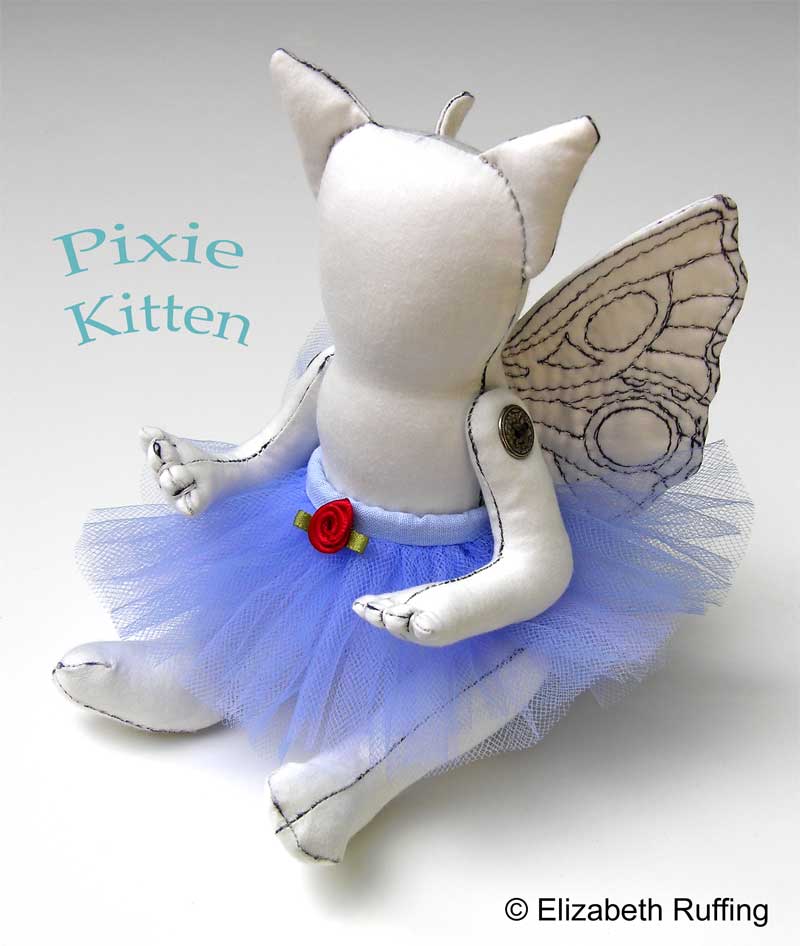
 A kitten in a tutu. My latest project. She has hand-quilted wings that I borrowed from another project that I hadn’t finished. Max is going to work some magic on her next. She’ll be taking on some Siamese (or Himilayan, or Ragdoll…not sure yet) kitten features soon. We were thinking “fairy kittens” but then I liked “Pixie Kittens” better. It sounds more mischievous. There may just be a “Pixie Cat” to follow…
 Dealing with the tulle has been hysterical. Purchasing it was interesting. We piled the bolts up in our arms, and when we got to the cutting counter, the guy there seemed really angry to see us! He looked up and said, “Oh, you’re killing me!!” After the twelfth bolt or so, cutting half yards at a time, he seemed to recover a bit. Maybe that was because the end was in sight, or maybe he was due for a break. I prewashed the tulle, and then had to fold and iron it. It does take some patience. It’s true.
I cut strips with my rotary cutter, each half an inch greater in skirt length than the next, and basted them together, two at a time. Then I basted the two sets of two together, and pulled up the basting stitch to gather the edge. The longest skirt length goes on top/outside, and the shortest goes on the bottom/inside, so the tutu fans out from the body. The whole thing is sewn to a band, which is then folded under and hand stitched closed. I closed it with a snap in the back, and added a ribbon rosette in the front.
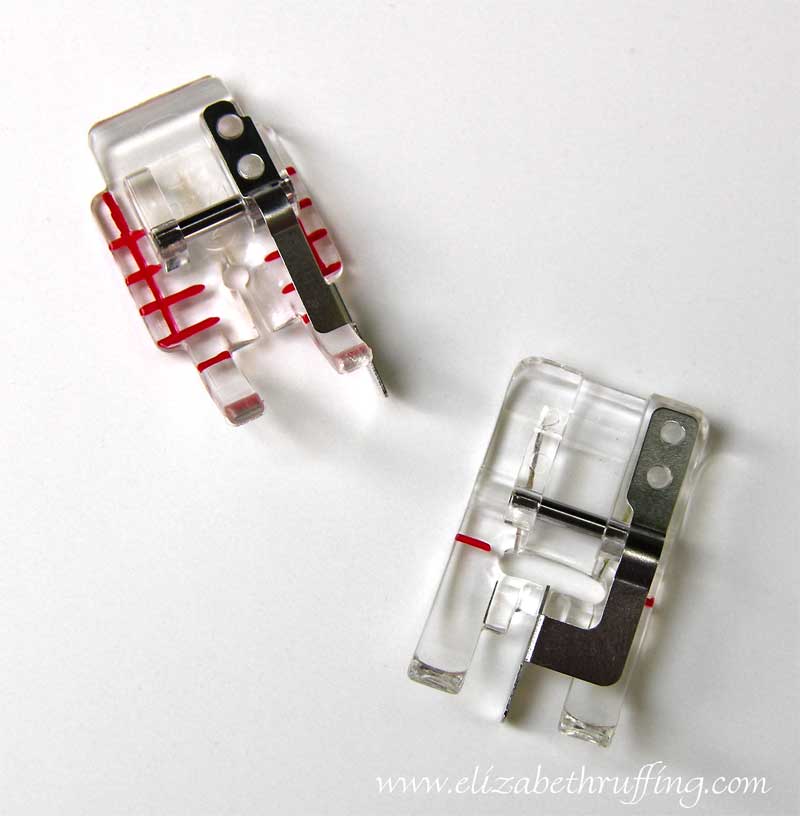 I got a couple of new presser feet too. On the left is my new clear 1/4 inch piecing foot with guide, and on the right is my new clear edge joining foot. The first one allows you to butt your 1/4 inch seam up against the guide, to keep your seam even. I used that when I sewed my doll body. Being able to see through the foot helped me make those tiny, sharp turns. I did mess up the bottom surface of my new foot a little when I sewed over some Fray Check that hadn’t dried yet. So, I will avoid doing that again. I tried removing it with some alcohol, but the surface seems a little damaged. It may have reacted chemically with the coating of the foot somehow.
The clear edge joining foot will help attach lace to dresses, and it also acts as a guide for sewing a decorative stitch down a center line.
I used the clear edge stitching foot I bought before to sew my gathered tulle onto my waistband, as I wanted to sew past my gathering stitches, which had built up from so many layers of basting.
To those of you who sent your well wishes for my family, and your kind sentiments, thank you very much. My mom is doing much better, and hopefully she will be all better soon.
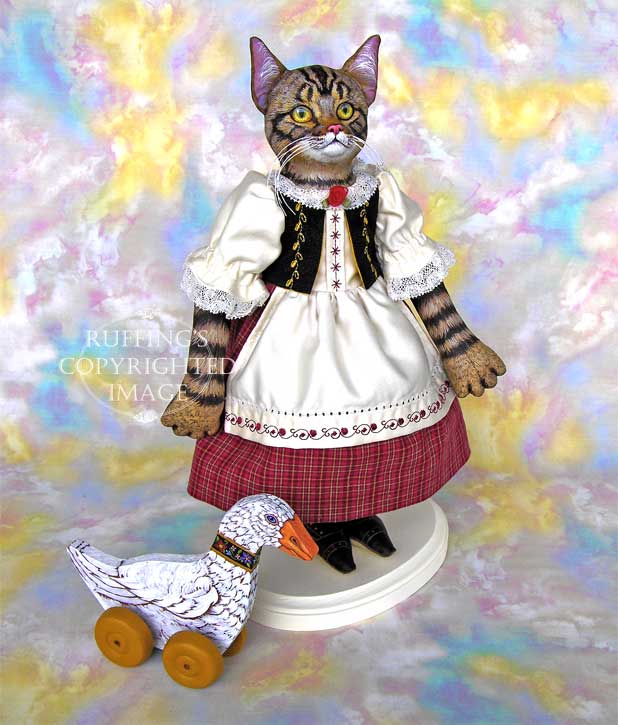 Heidi and Helga’s web page can be seen by clicking here. I finally got their photos taken and edited and uploaded. Whew. In the spirit of “avian week” last week, I thought it would be fitting to get them up online.
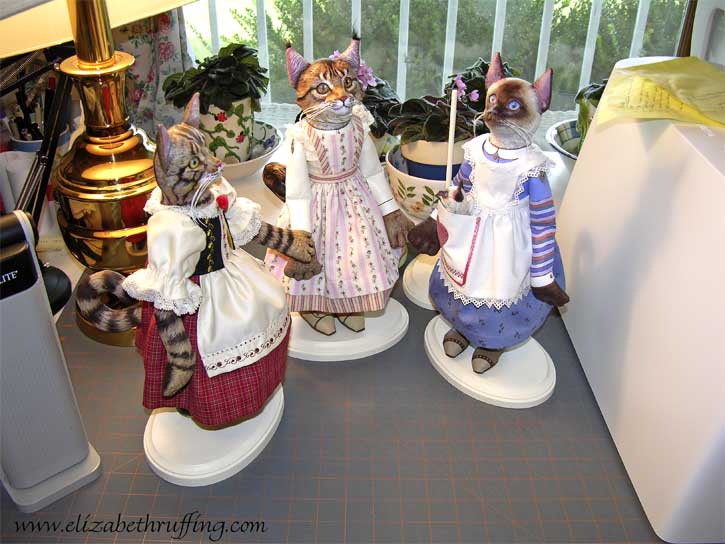
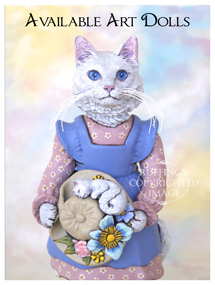
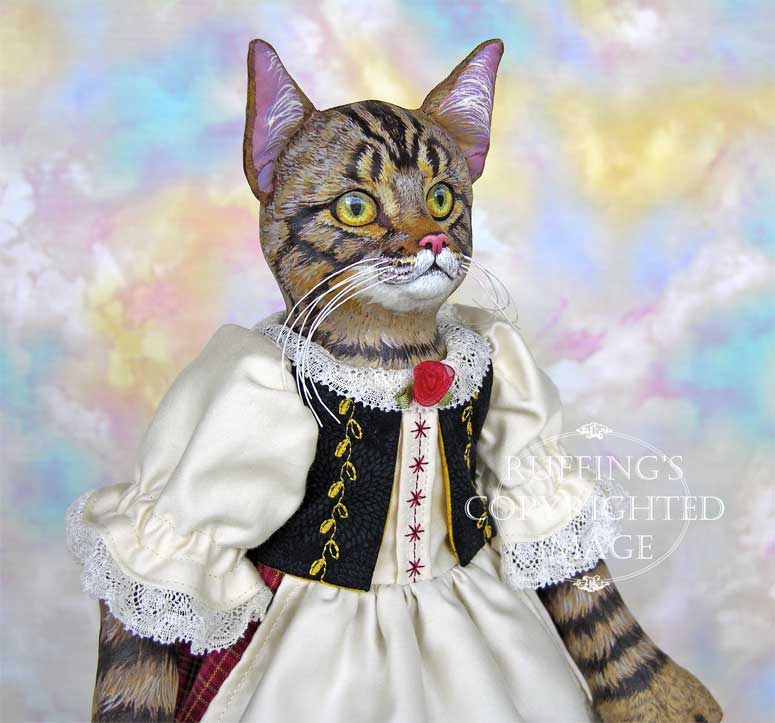 I’ve got two more original, one-of-a-kind folk art cat dolls to get up online, and one waiting for some overalls.
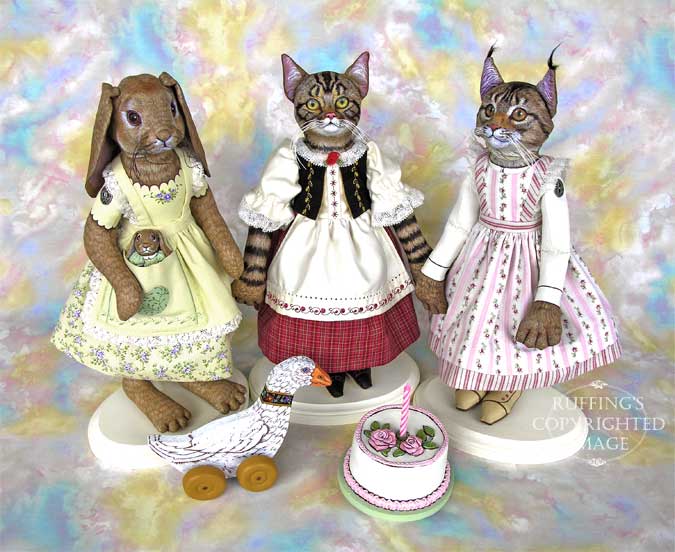 We’re working on writing articles to submit to magazines, something we’ve been talking about doing for a long time, but not getting around to doing. Now is as good a time as any. My mom has now sprained her ankle, and is being a good sport by taking notes and jotting down ideas while she keeps her foot elevated. She is tired of being called “Poor Mom” and so I will refrain from saying that.