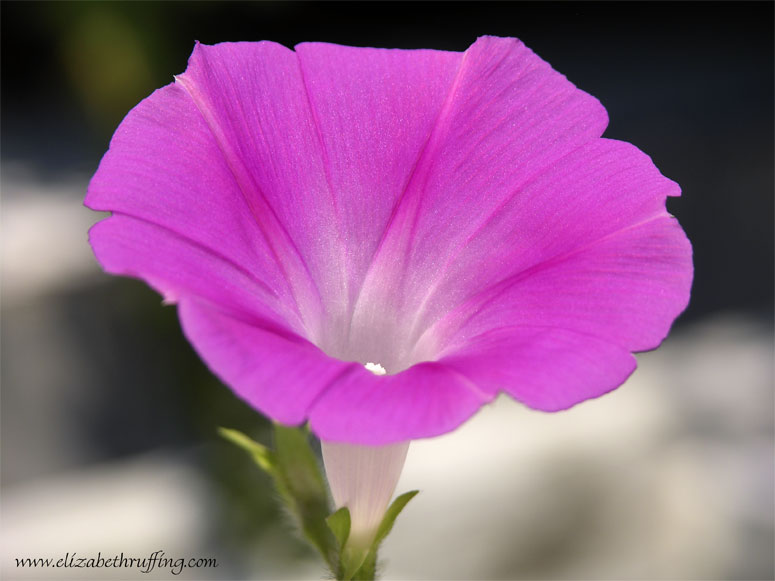
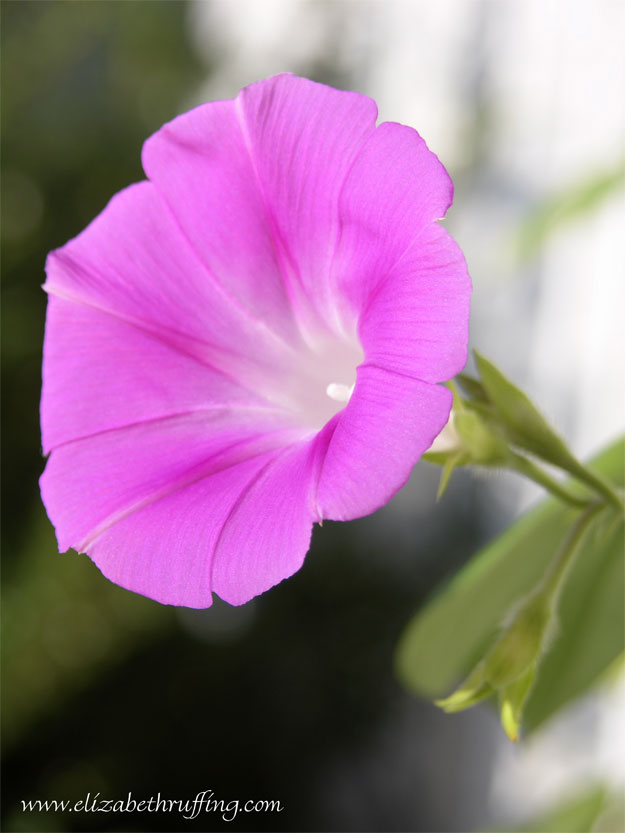
 I came out on the porch this morning, and realized I’ve been taking these pretty morning glories for granted. I went back in an grabbed my camera.
 The morning glories have been blooming here since we moved in, and we’ve never planted any new ones.
 I love to see what flowers look like from behind. You never see those views in the garden books. The sun is shining through this one.
 I had another custom “Name your own slug” order, and I noticed I didn’t have all that many pinks or purples in my fabric stash. Well, now I do! Hehe. I just ironed all of these.
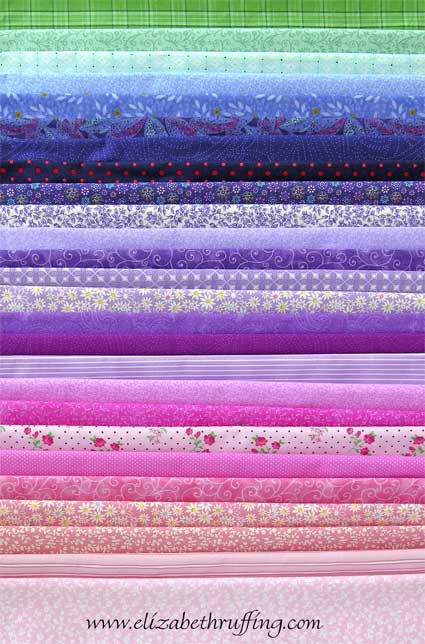 I had some trouble finding pinks I liked. The last place we stopped was at my favorite Raleigh quilt shop, Carolina Sew-n-Vac, and they had plenty of pinks. Yay! When we got to the counter, the couple who owns the shop started joking about how he tells her she buys too much pink. She was happy to hear she’d filled a need. She told us to tell everyone she has pink!
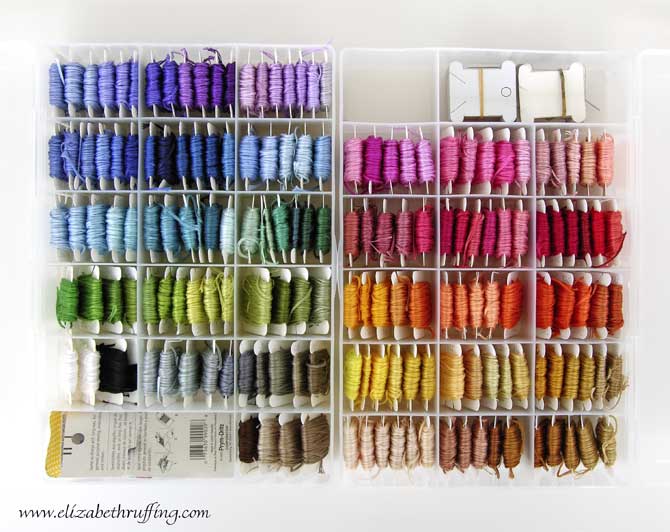 I added some pink, purple, and blue to my embroidery floss collection too. I’ve been trying to sort my fabric and my floss by color so I can keep better track of what I have. Before I did that, I kept thinking I was short on yellow fabric, and then I’d buy more yellow fabric. After a while, I wasn’t short on yellow fabric, but I had no idea. Having everything organized by color makes coordinating fabrics for projects much easier too.
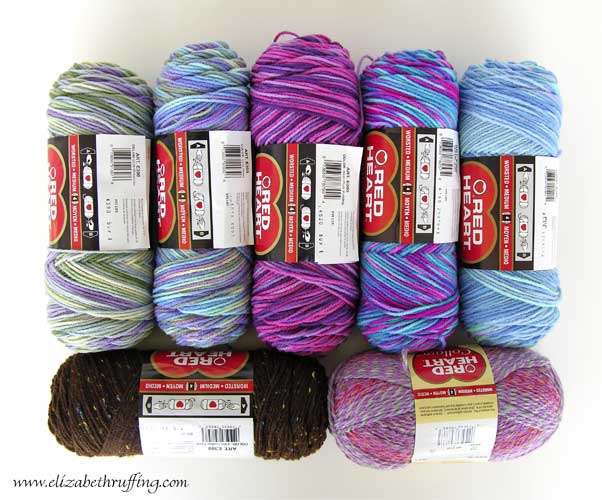 I picked up some more yarn and socks as well. I must be ready for anything now. I get excited just looking at all these supplies.
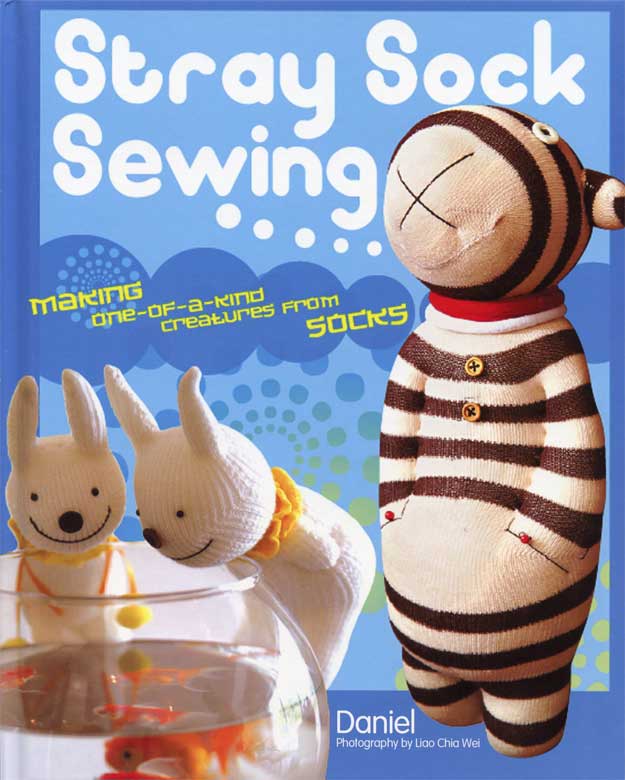
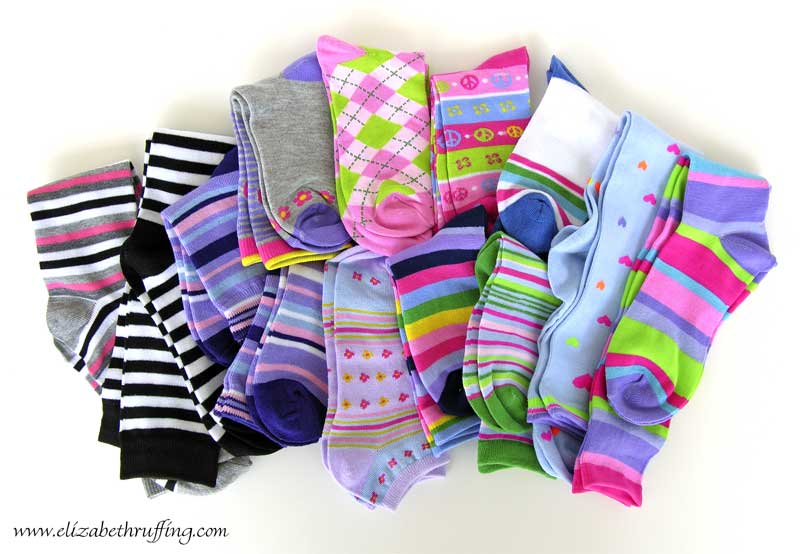 And with perfect timing, just after I amassed my new pile of socks, Stray Sock Sewing Too: More Super-cute Softies to Make and Love by Daniel, arrived in the mail. I pre-ordered this book as soon as I heard it was coming out, because I love his first Stray Sock Sewing: Making One-of-a-kind Creatures from Socks book. I got mine on sale from Crafter’s Choice book club.
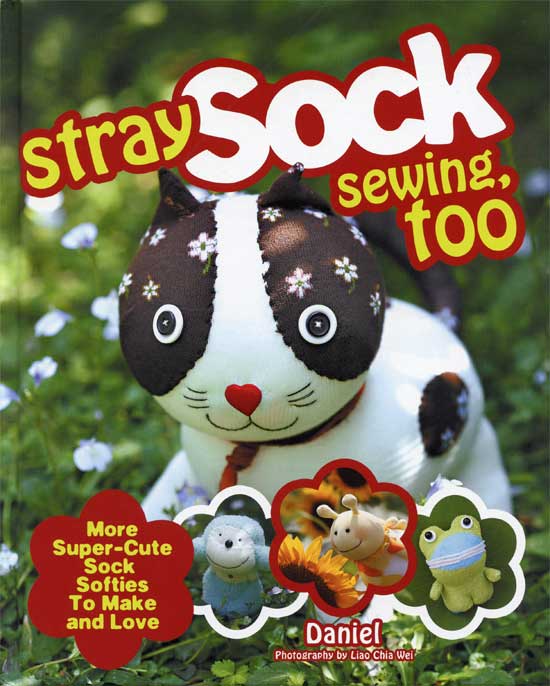 Both books are adorable. The dolls, the photography by Liao Chia Wei, and the narratives in each are clever, sweet, and charming. Even if you don’t sew, it’s just so much fun to look at them. I can imagine children would enjoy them also. But if you do sew…there are great tips in each one. This new book has instructions for fourteen new sock creatures, and I can see any one of them as such a nice handmade gift. The instructions don’t require the use of a sewing machine either.
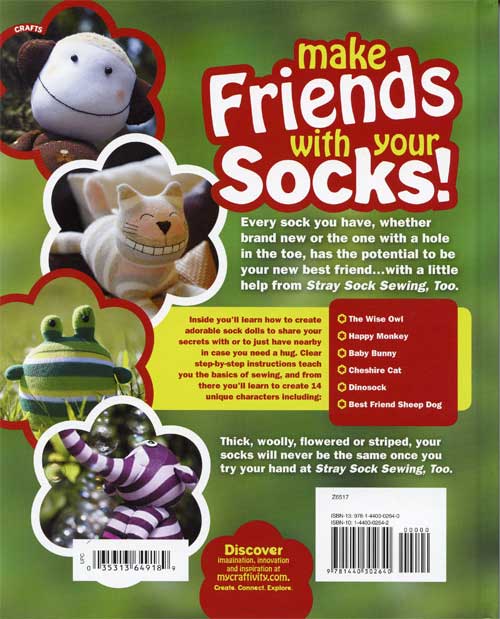 Most of all, for me, they are full of wonderful stepping off points to create my own creatures. I find once I try one technique, before I am even finished with a doll, I have tried something else that came to mind. There is so much room for being creative with these.
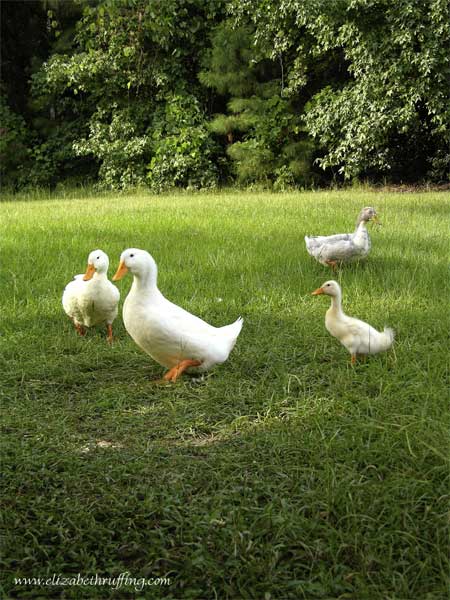 In other creature news, this is a meeting of Ducks Against Pills. Some time around Labor Day weekend, Mr Duck decided he’d about had enough of antibiotics. What a challenge! I had a terrible time trying to catch him, falling gracelessly to the ground, nearly hitting my head on the fence, very humiliating! Ha! I did my best and we did manage to get that last pill in him. For his part, he did plenty of wiggling and spitting his pill out. I noticed someone came over to the blog looking for directions on how to give a duck a pill. An avian vet is the best at showing you how to do it, and of course, you wouldn’t want to give medication to any animal without consulting a vet first anyway. It’s a lot like giving a pill to a cat, only you really need to wrap the duck’s body carefully in a towel first. Their beaks open just like your cat’s mouth opens, when you reach over the top of the head, pressing gently behind the corners of the mouth/beak, while tilting the head gently back. And, just like your cat, they can push their pills out with their tongues, and they learn to wiggle too. It takes some patience!
