 It’s been pouring and dark most of the day, and it’s seemed more like night than day. I’ve been making a muslin bodice for our original folk art kitty cat dolls, carefully hand basting it and then pulling it apart, making new markings, and then basting it together again. Whenever you make a clothing pattern for a doll, or anyone really, a muslin is a good idea. A muslin is a version of your garment made in an inexpensive fabric, sewn together with a basting stitch, which is a straight stitch with a long stitch length that can be pulled out easily.
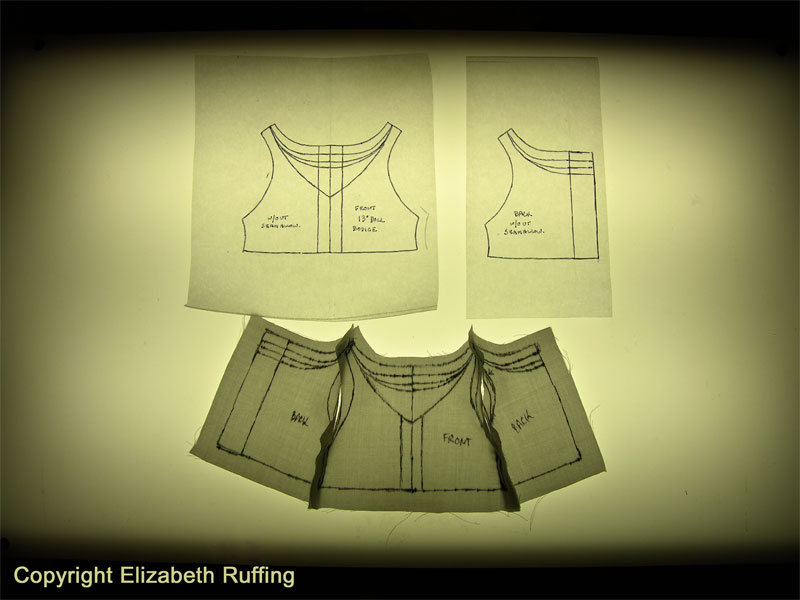
The bodice is the most difficult part of a dress to fit, next to the sleeves. I used some cotton fabric for my muslin, marked a rough draft of my pattern pieces directly on the fabric with a permanent marker, and then I sewed it at the shoulders and the sides. Next I tried it on the doll, and marked the arm and neck holes again using a pencil, so as not to mark the doll by accident, again directly on the fabric. Using a seam ripper, I pulled the stitching out, and sewed new shoulder and side seams, over and over until the bodice fit right. The fit will still change once the sleeves and skirt are attached, and the lining will add some bulk too. I tried to compensate for that by adding some ease, an extra amount at the sides and shoulders to accommodate the extra bulk of the gathered fabric that will be added once those are attached. It is a process of trial and error.
Once I had my muslin about the way I wanted it, I traced my front and back pieces, using a light box, onto tracing paper with a permanent marker. I will add seam allowances later. I think I will scan my pattern and print it so I can cut it without destroying my originals. The eerie light of the photo is from my light box glowing in the dark of this gloomy day.
I got a call today from a sweet older lady at the library. They did, in fact, find a copy of Picnic at Hanging Rock for me. So, my surreal conversation with the librarian actually worked out. I am happy because now I know I can use Interlibrary Loan, hopefully without causing too much trouble.
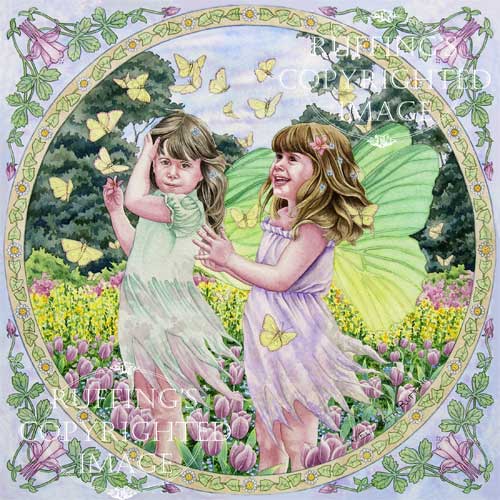
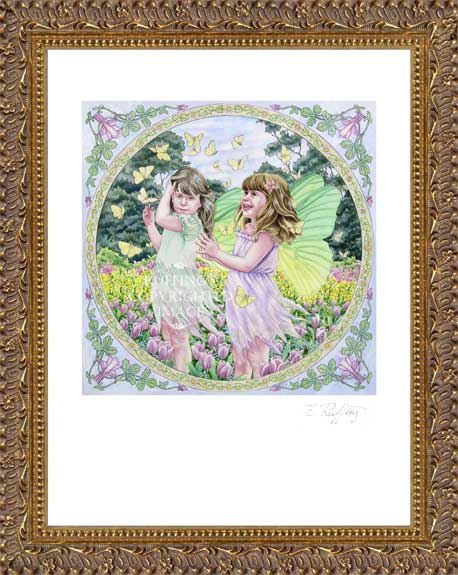
 “Fairies and Butterflies” is an original watercolor painting of little girl fairies watching yellow butterflies.
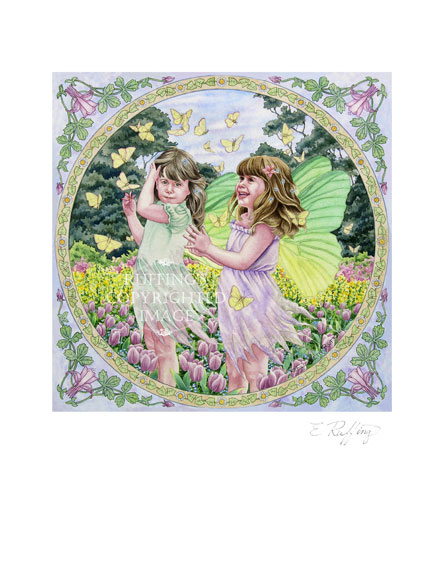 I am making a limited number of reproductions of this image as a signed giclée print, on 8 1/2 by 11 inch art paper.
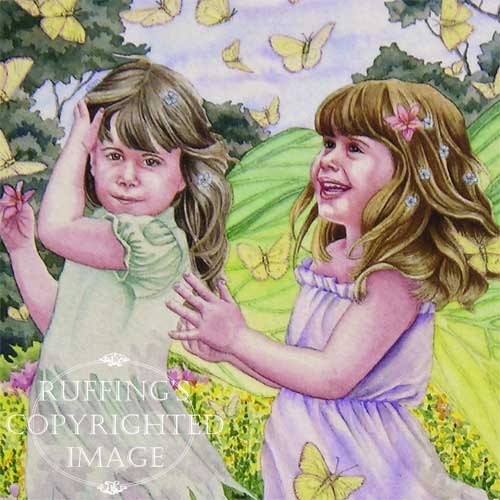 Two fairies are knee-deep in a field of pink tulips. Butterflies are flying all around them. One fairy is laughing and enjoying them, while the other seems somewhat disconcerted by them. I liked the idea of a meeting between the two types of winged creatures. They are enclosed in a border of pink columbines.